
Adobe Illustrator is not famous for designing layouts or pages like InDesign, but there’s a way to make it work by adding margins and columns in Adobe Illustrator.
Honestly, if I’m creating a one-page design or a simple brochure, sometimes I don’t bother to switch between programs, so I find a way to make it work in Adobe Illustrator by adding some “margins”.
You probably already notice that there are no “margins” in Adobe Illustrator. As in, you don’t see a “margin” setting anywhere. Well, because they have a different name in Adobe Illustrator.
What are Margins in Adobe Illustrator
But speaking of functionality, you can add margins in Adobe Illustrator and I’m sure most of you already know what they are. Margins are known as guides in Adobe Illustrator because they practically function as guides.
Usually, designers create margins to ensure artwork positions and prevent cutting off important information when sending the artwork to print. In many cases, we also create column guides when we work with text content in Adobe Illustrator.
All clear? Let’s jump into the tutorial.
How to Create Margins in Adobe Illustrator
You won’t be able to set up margins when you create the document, instead, you’ll create a rectangle, and make it a guide. It sounds so easy, but there are a couple of things you should pay attention to. I’ll cover them in the step below.
Step 1: Find out the artboard size. A quick way to find out the artboard size is by selecting the Artboard Tool and you can see the size info on the Properties panel.
For example, my artboard size is 210 x 294 mm.
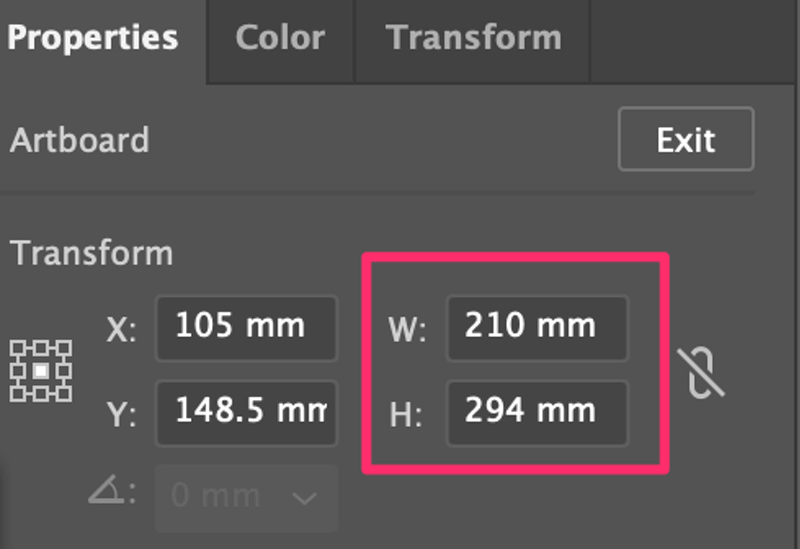
The reason to know the artboard size is that you’ll need to create a rectangle the same size as the artboard in the next step.
Step 2: Create a rectangle the same size as the artboard. Choose the Rectangle Tool (keyboard shortcut M) click on the artboard, and input the Width and Height value.
In this case, I’m going to create a rectangle that’s 210 x 294 mm.
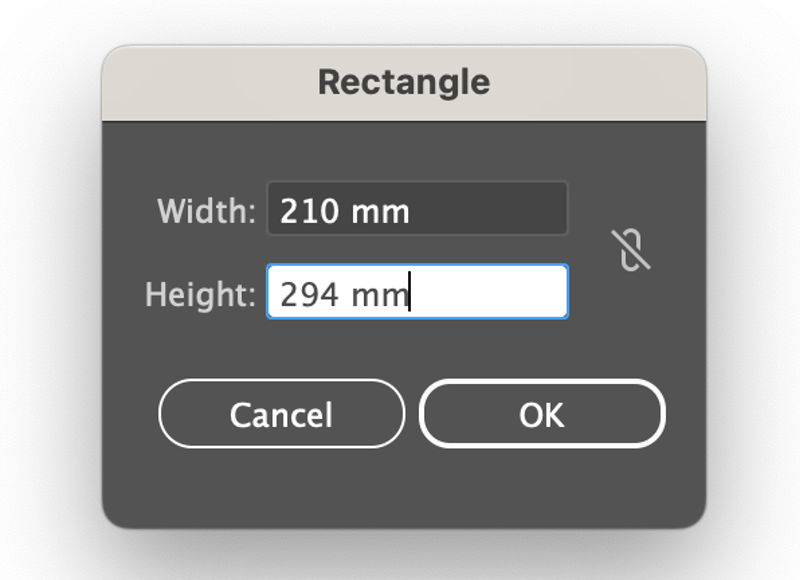
Click OK and you’ll create a rectangle the same size as your artboard.
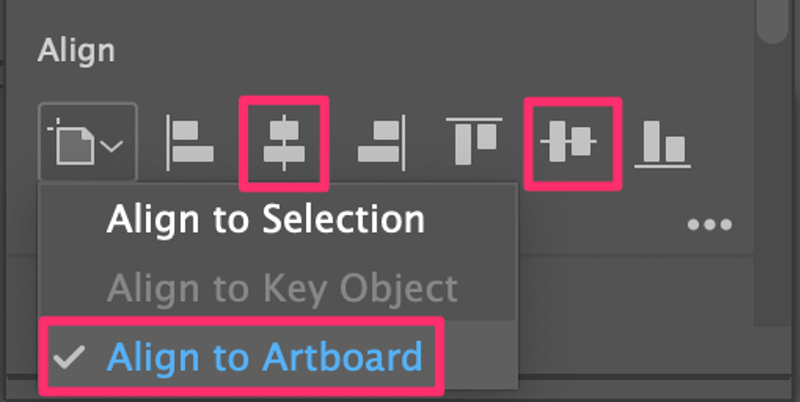
Step 3: Align the rectangle to the center of the artboard. Choose Horizontal Align Center and Vertical Align Center on the Align panel. Make sure that the Align to Artboard option is checked.
Step 4: Create an offset path from the rectangle. Select the rectangle, go to the overhead menu, and choose Object > Path > Offset Path.
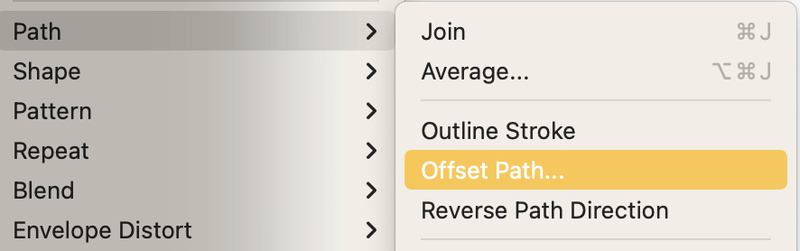
It’ll open a dialog box where you can change the offset path settings. Basically, the only setting you need to change is the Offset value.

When the value is positive, the path will be larger than the original object (as you can see from the image above), and when the value is negative, the path will be smaller than the original object.
We’re creating margins within the artboard, so we need to input a negative value. For example, I changed the offset value to -3mm and now the offset path falls within the original shape.
Click OK and it’ll create a new rectangle (offset path) on top of the original rectangle. You can delete the original rectangle if you want.
The offset path is going to be the margins, so the next step is to make the rectangle a guide instead of a shape.
Step 5: Convert the rectangle to guides. Select the rectangle (offset path), and go to the overhead menu View > Guides > Make Guides. I usually use the keyboard shortcut Command + 5 to make guides.
The default guides will show in a light blue color like this. You can lock guides from View > Guides > Lock Guides so that you won’t move them by accident.

So that’s how you set up margins in Adobe Illustrator. If you want to add column guides as margins for your text layout, keep reading.
How to Add Column Guides in Adobe Illustrator
Adding column guides works similarly to adding margins, but there’s one extra step, which is splitting the rectangle into several grids.
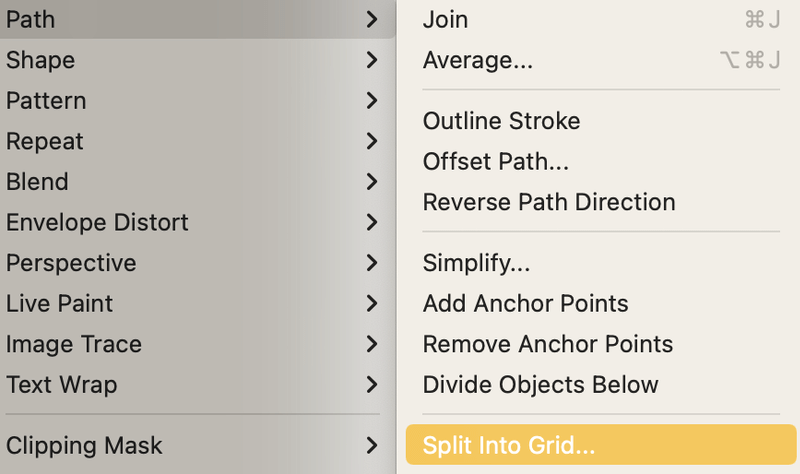
You can follow steps 1 to 4 above to create an offset path in the center of the artboard. Before converting the rectangle into guides, select the offset path and go to Object > Path > Split Into Grid.
Choose the numbers of columns you want and set the gutter (the space between columns). Check the Preview box to see how it looks.
Click OK, and use the keyboard shortcut Command + 5 (or Ctrl + 5 for Windows users) to make them guides.

FAQs
Here are more questions related to margins and guides in Adobe Illustrator.
How to remove margins in Adobe Illustrator?
If you didn’t lock the margin guides, you can simply select the rectangle and hit the Delete key to remove it. Or you can go to View > Guides > Hide Guides to hide the margins.
How to add bleed in Adobe Illustrator for printing?
You can set up bleed when you create the document, or go to the overhead menu File > Document Setup to add it.
How to add a gutter between columns in Adobe Illustrator?
You can add a gutter between columns from the Split Into Grid settings. If you want different spacing between columns, you need to adjust it manually.
Conclusion
Margins are guides in Adobe Illustrator. You can set it up by default but you can create it from a rectangle. Make sure to choose a minus value when you make the offset path. When the value is positive, it creates “bleeds” instead of “margins”.
Adam Garcia
Worked perfect, thank you!
June Escalada
You’re welcome!
Md.Manjurul Ahsan
I always enjoy your article.Thanks a lot.
June Escalada
You’re welcome.