
You can use an offset path to make outlined text effects or simply apply it to objects to make stroke effects. Some of you might be adding strokes to objects or duplicating objects and playing with the sizes to create these effects, but there’s an easier way – use the offset stroke!
I often use the offset strokes in Illustrator to make text or object boarders because I find it more efficient than applying strokes.
In this article, I’m going to show you what offset path is in Adobe Illustrator and how to use it.
Note: All screenshots from this tutorial are taken from Adobe Illustrator Mac version. Windows or other versions can look different. Keyboard shortcuts are from Mac as well, so if you want to use keyboard shortcuts on Windows, change the Command key to Ctrl.
What is Offset Path in Adobe Illustrator
Offset Path moves the stroke away from the selected object. Offset Path can look like stroke outlines, the difference is that it duplicates the original object and add a path from the duplicate, instead of adding a stroke to the selected object.
For example, when you add a stroke to an object, the stroke outline applies directly to the selected object. But when you add an offset path to an object, it creates a new shape.
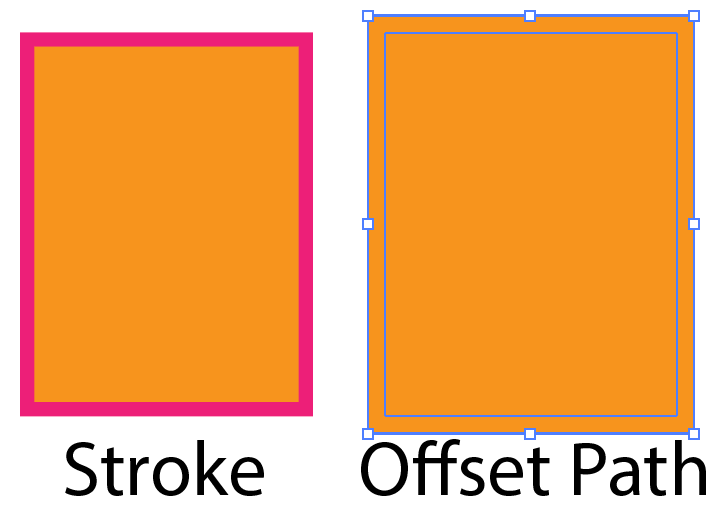
When you add a positive offset path, it moves away from the original object, so the offset will be outside the path. And when you add a negative offset path, it reduces the size of the original object, so the offset will be inside the path.
If you’re new to Adobe Illustrator, you might not find where Offset Path is, because it’s not on the toolbar.
Where is Offset Path in Adobe Illustrator
Offset Path is hidden in several places. You can find the Offset Path option from the overhead menu Object > Path > Offset Path or Effect > Path > Offset Path.
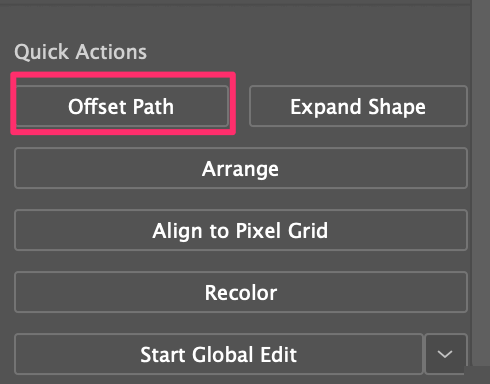
When you have an object selected, you can also see Offset Path under Quick Actions on the Properties panel.
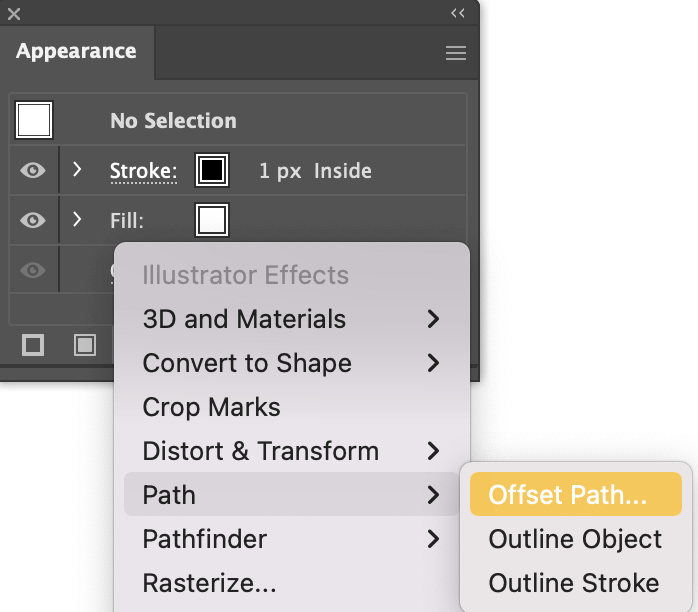
If you are familiar with the Appearance panel, you can also add an offset path to objects from there. It’ll be added as an effect, so you can find it by clicking on the Add New Effect (fx) button and choosing Path > Offset Path.
I’m going to explain to you how to use the Offset Path tool below.
How to Offset a Path in Adobe Illustrator
Adding an offset path is easy, all you need to do is select the object, go to the overhead menu Object > Path > Offset Path and adjust the distance and stroke style. If you want to offset text, there’s an extra step – create a text outline.
I’m going to show you an example of how to use an offset path on text in Adobe Illustrator.
When you add an offset path to objects or strokes, simply skip steps 1 and 2.
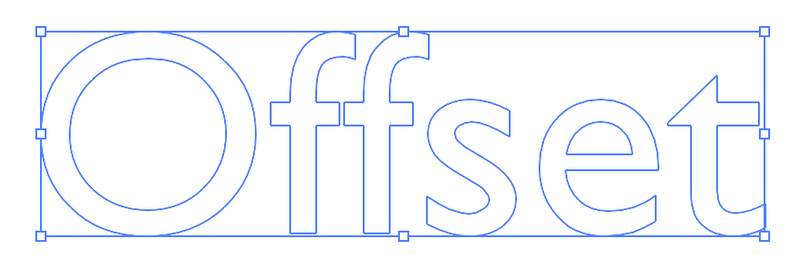
Step 1: Add text to your artboard using the Type Tool (keyboard shortcut T). If you have your text ready, you can skip this step.
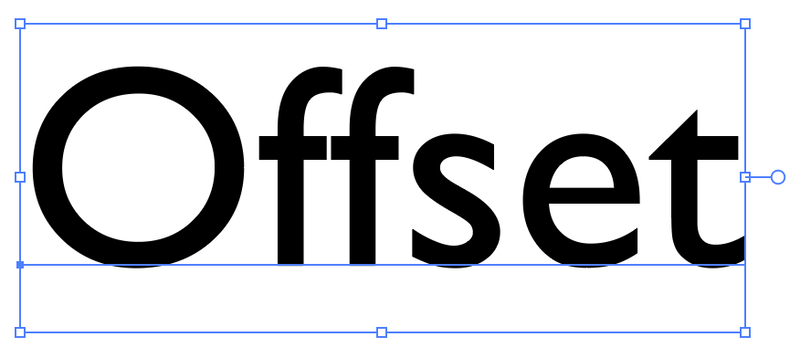
Step 2: Select the text and use the Create Outline keyboard shortcut Shift + Command + O to outline the font/text.
Note: Once you outline the text, you won’t be able to change the character style. So it’s a good idea to duplicate the text in case you want to edit the text later.
Step 3: Select the outlined text and make it a compound path using the keyboard shortcut Command + 8.
Step 4: Select the compound path and click Offset Path from the overhead menu Object > Path > Offset Path. It’ll open an Offset Path setting window where you can change the offset size and join style.
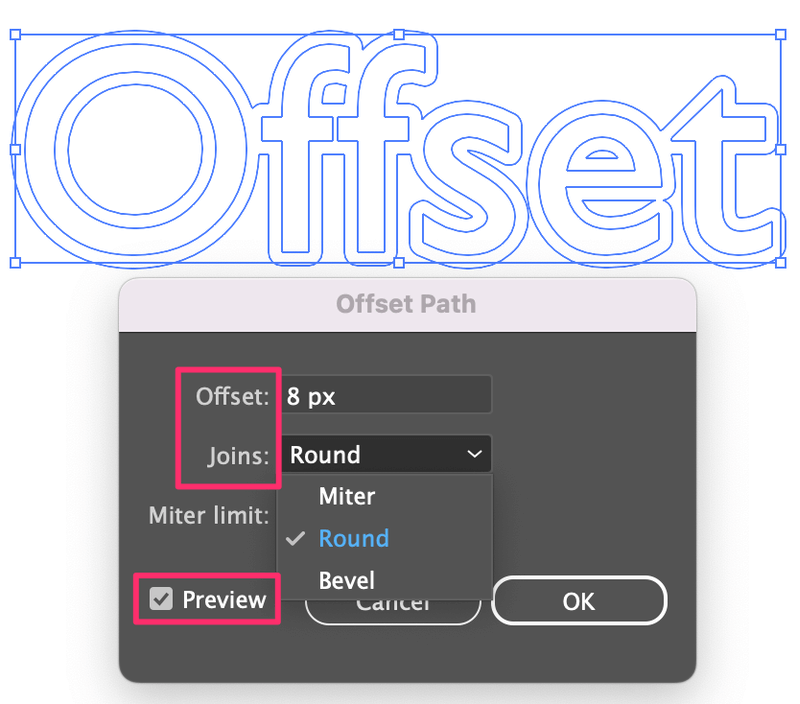
For example, I changed the Joins to Round, so you can see that the offset path is rounded. Turn on the Preview option to see how the offset looks as you modify it.
Step 5: Select the compound path and fill color. Then select the offset path, and fill in another color.
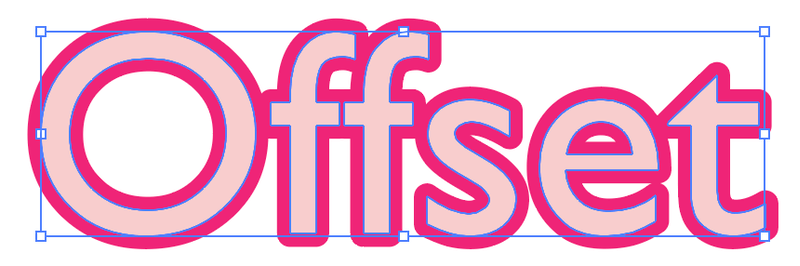
If your paths are grouped, select both the compound path and offset path and ungroup them to separate the offset path from the compound path so that you can fill them with a different color.
That’s it.
Wrapping Up
Offset path is useful for creating an outline effect and you can add an offset path to objects from different locations in Adobe Illustrator.
Keep in mind that when you make offset text, you need to outline the text first. And if you can’t separate the offset path, remember to ungroup it from the original object.
Chrystal
I can create the offset path… but it is invisible. And I cannot Add a colour to the outline?? How do I make it turn into a colour? I read your link to fill but it isnt working either. I’m offset path from an Clipping Mask image – Not text. Help Please.
June Escalada
Hi Chrystal, if it’s a path you should be able to change the color. Simply select the path/shape, and choose a fill color.
Linda
I’m trying to join 2 compound path lines (made by image tracing) after cutting them and reshaping the line. But cannot figure out how to join the two ends as the join tool will not allow it me to.