From my experience working as a graphic designer specializing in branding, I would say that using the right color and font are two things that really make a big difference in your visual design. And of course, the consistency of colors in the artwork is essential as well.
That’s why the Eyedropper Tool comes in handy in brand design. I always use the Eyedropper Tool to change the text/font color to make it the same as the brand colors, because it’s important to keep the consistency of the brand image.
Of course, you can also be creative and make your own unique color for your font. It’ll take a bit more time, but if you’re not in a rush, why not?
In this article, you will learn three ways to change text color in Adobe Illustrator along with some useful tips that’ll help simplify your design process.
Without further ado, let’s get started!
Table of Contents
3 Ways to Change Font Color in Adobe Illustrator
Note: Screenshots are taken on the Illustrator CC Mac version. Windows or other versions might look slightly different.
You can change the font color using the color palette or the Eyedropper Tool. The color palette gives you the freedom to create a new color and the Eyedropper Tool is best when you want the font color to be the same as certain elements in your design.
Besides that, you can also change the color of a specific part of the font using either the Eyedropper Tool or the color palette.
Method 1: Color Palette
Step 1: Use the Selection Tool (keyboard shortcut V) to select the font you want to change.

Step 2: Select the font. If you haven’t added text, use the Type Tool (keyboard shortcut T) to add text first.

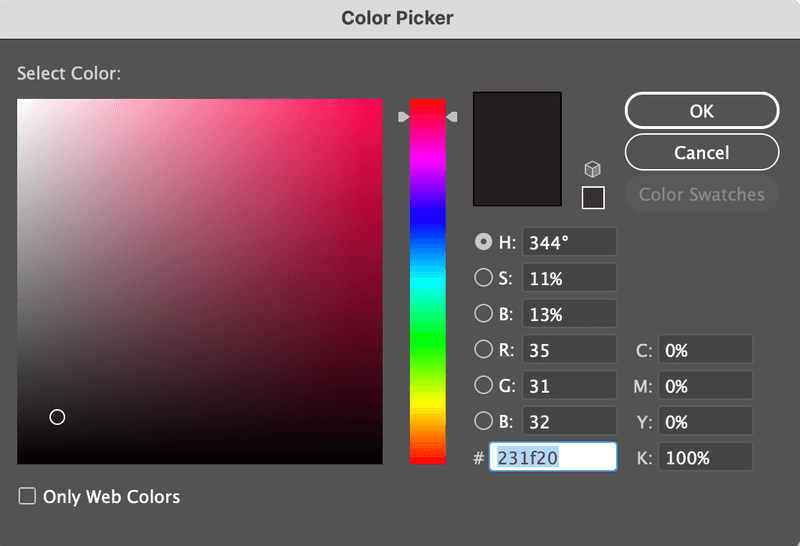
Step 3: Double-click on the color palette on the toolbar.

A Color Picker window will appear, you can play around with it and choose a color. Or you can type in the color hex code if you have one.
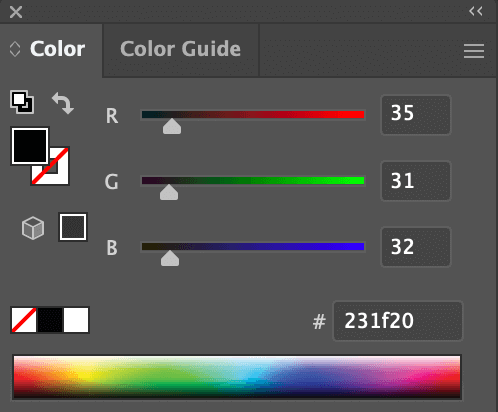
Another option is you can change the color on the color panel on the right side of your document. Move the sliders to adjust colors.
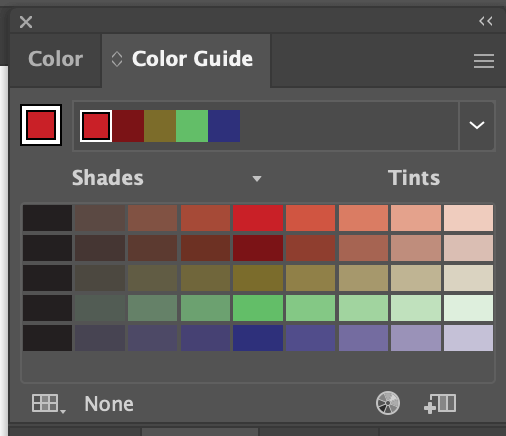
Here’s a tip, if you have no clue where to start, try the Color Guide (next to Color). It’ll help you with color schemes.
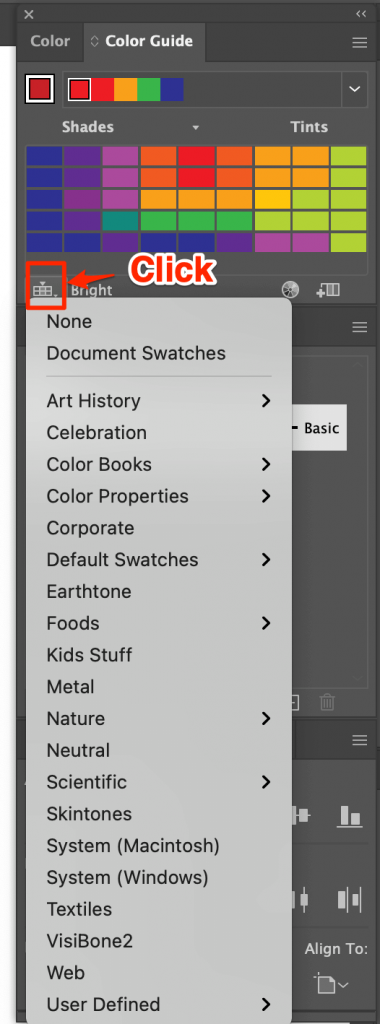
And if you click on this icon in the left bottom corner, you’ll see options of color tones that should help you quite a lot.
You’re welcome 😉
Method 2: Eyedropper Tool
Step 1: Place the image of your color reference in Adobe Illustrator. If you are choosing a color from the existing object on your artwork, you can skip this step.
Step 2: Select the text you want to change color.
Step 3: Select the Eyedropper Tool from the toolbar or activate it using the I key.

Step 4: Click on your reference color.

You can copy and paste the font, and try different options to see which one looks best.

Method 3: Change the Color of Specific Text
Step 1: Double-click on the font. You should be able to edit the text.
Step 2: Select the area you want to change the color.

Step 3: Use the Color Palette or Eyedropper Tool to change the color.

Easy!!
More How-tos?
You’ll find some useful and quick answers to the following questions related to modifying fonts in Adobe Illustrator.
How do you change the color of the text in an outline in Illustrator?
When your text is outlined, it becomes an object. You can simply select and use one of the methods above to change text/object color.
If you want to change the font color of a specific letter, you need to ungroup the text first, and then select the letter to change color.
How do you modify a font in Adobe Illustrator?
There are two easy ways to change fonts in Illustrator. Whether you need to change a font on your original artwork or replace fonts on an existing file. You will have solutions for both.
You can change the font from Type > Font from the overhead menu, or open the Character panel Window > Type > Character, and then choose a new font.
How do you outline font in Illustrator?
There are three ways to outline fonts and as always, the fastest way is using keyboard shortcuts Command + Shift + O.

You can also outline text by right-clicking your mouse and selecting Create Outlines. Or do it from the overhead menu Type > Create Outlines.
Final Thoughts
Working with colors is fun and easy. But to be honest, choosing a color scheme for your design is not as easy as it seems, especially if you’re just starting your graphic design journey.
But no worries, it’s part of the learning curve. I would strongly suggest you start with the color guide I mentioned above, it’ll help you get a better sense of color combinations, and later for sure, you can make your own swatches.
Have fun with the colors!
About June Escalada
Perry
does not work, stays black
June Escalada
Hi Perry,
From which step?
Richard
Can you contact me?
June Escalada
Hi Richard,
How can I help?