Can you make a GIF in Adobe Illustrator?
The truth is, you can’t make a GIF in Adobe Illustrator all alone. Yes, the initial steps can be done in Adobe Illustrator. Meaning you can prepare the artboards for the animated GIF in Adobe Illustrator, but you’ll need to export the artboards to a GIF maker or use Photoshop to make the actual GIF.
In this tutorial, you’ll learn how to create animated GIFs in Adobe Illustrator and Photoshop. I’ll break down the tutorials into two parts.
Part 1 will introduce the steps that need to be done in Adobe Illustrator, and Part 2 will show you how to convert artboards into animated GIFs in Photoshop. If you’re not a Photoshop user, no worries, I’ll also show you how to make a GIF using online GIF makers.
Note: the screenshots in this tutorial are taken from Adobe Illustrator CC Mac version and Photoshop CC Mac version. Windows or other versions can look different.
Part 1: Making a GIF in Adobe Illustrator
If Adobe Illustrator doesn’t animate, why are we using it to make a GIF? Simple answer: You need to create the vectors for the GIF in Adobe Illustrator and the key is to have different frames/actions separated into different artboards.
As confusing as it may sound, you’ll get it as I show you an example here with detailed steps.
Step 1: Create a new Adobe Illustrator File and set the artboard size to 400 x 400px (Just my suggestion, feel free to set up any other size you like).
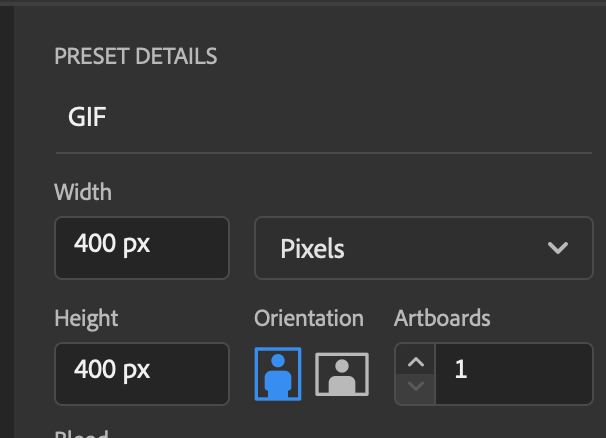
Since it’s going to be a GIF, I don’t recommend having a large file and it’s best if the artboard is a square.
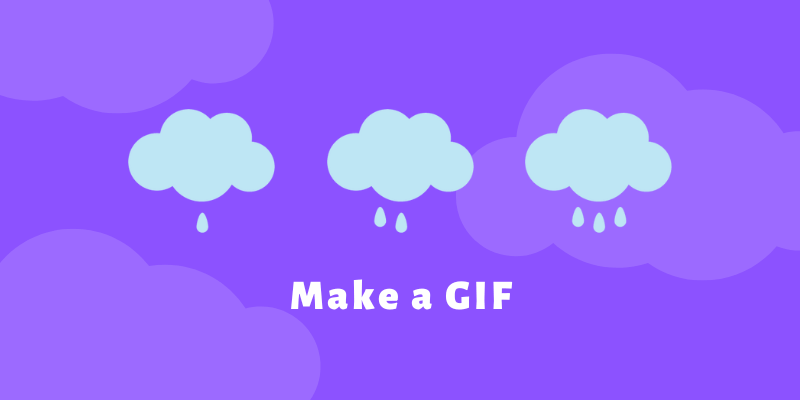
Step 2: Create an icon or illustration you want to animate. For example, I’m going to make a rain GIF, so I’ll create a cloud shape and some raindrops.

All shapes are on the same artboard right now, so the next step is to divide them into different artboards to create the animation frames.
Step 3: Create new artboards. These artboards will be the frames later on in Photoshop, so the number of artboards depends on the number of frames/actions you want the GIF to have.
For example, I added five extra artboards so now I have six artboards in total.
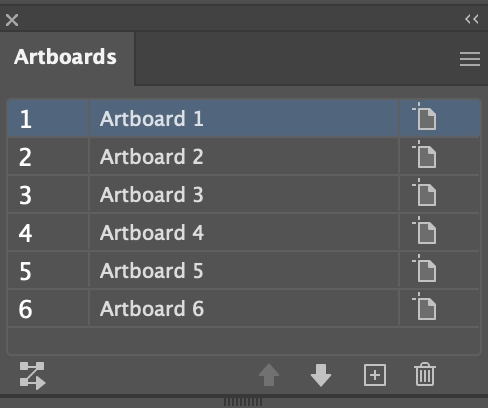
Don’t stress out if you’re not sure at the moment, you can always add or delete artboards later.
Step 4: Copy and paste the shapes to the new artboards. If you’re editing on the same shape, you can copy the shape to all artboards and make the edits on each artboard.
Note: it’s very important to place the shapes in place on the new artboards when making a GIF. The keyboard shortcut for placing a copied object in the same place is Command + F (Ctrl + F for Windows users).
The elements on the artboards should follow a sequence of how the GIF will show.
For example, the cloud shape will be shown on the GIF the whole time, so copy the cloud shape to all new artboards. You can also add elements to your new artboard one by one. Up to you.

Decide which part will show next and organize the artboards following the sequence of the frame that’s going to show on the GIF.
In my case, I want the middle raindrop to show first, so I’ll put it together with the cloud shape on Artboard 2. Then on the next frames (artboards), I’ll add the raindrops on the sides one by one.

Once I had all the artboards set up, I decided to remove the raindrops from the first artboard so now my artboards look like this, and they are ready to go.
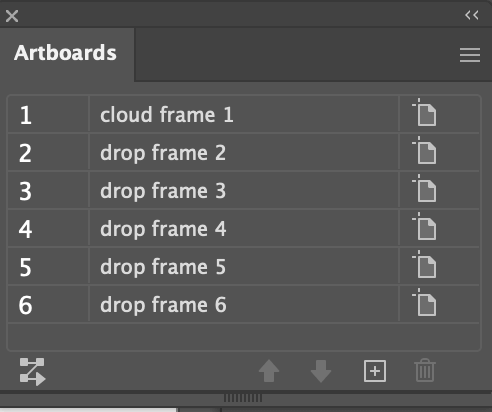
Step 5: Name the artboards and put them in a sequence of how you want them to look on a GIF. I’ll name them from frame 1 to frame 6 to make them easier to identify later in Photoshop.
Step 6: Export the artboards. Go to the overhead menu File > Export > Export for Screens and choose Export Artboards.
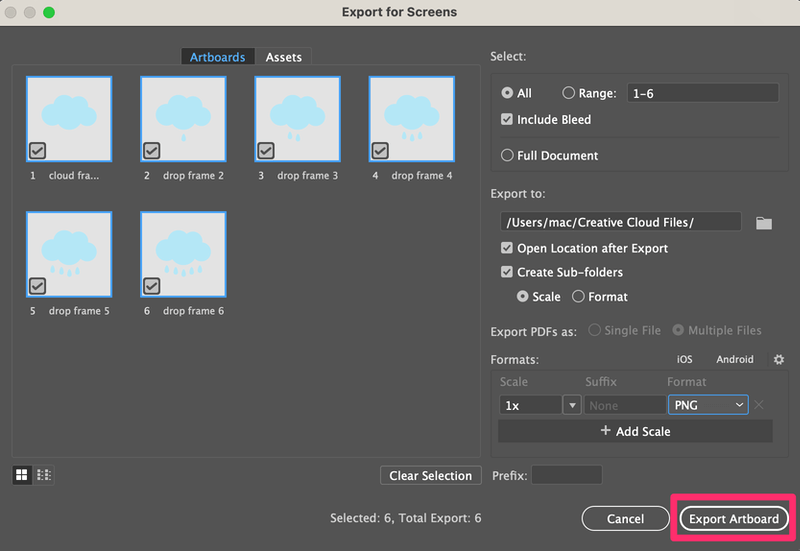
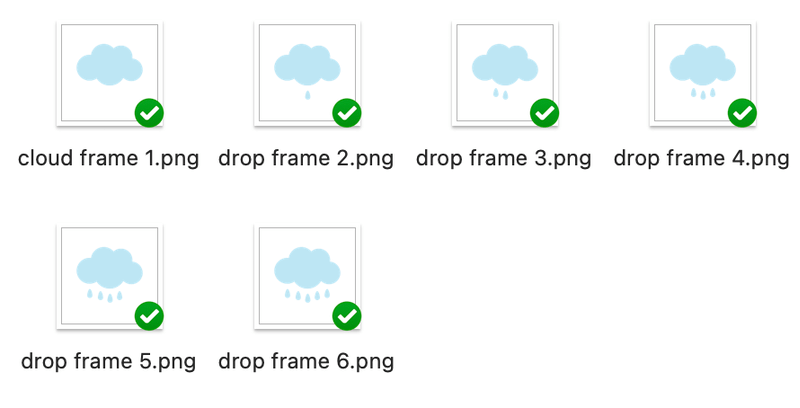
You should see your artboards saved as individual images with names.
You’ve finished the job in Adobe Illustrator, let’s continue the animation process in Photoshop.
Part 2: Making a GIF in Photoshop
Once you have all the frames ready, it only takes a few minutes to create an animated GIF in Photoshop.
Step 1: Create a new document in Photoshop, the same size as the Adobe Illustrator file from Part 1. In my case, it would be 400 x 400px.
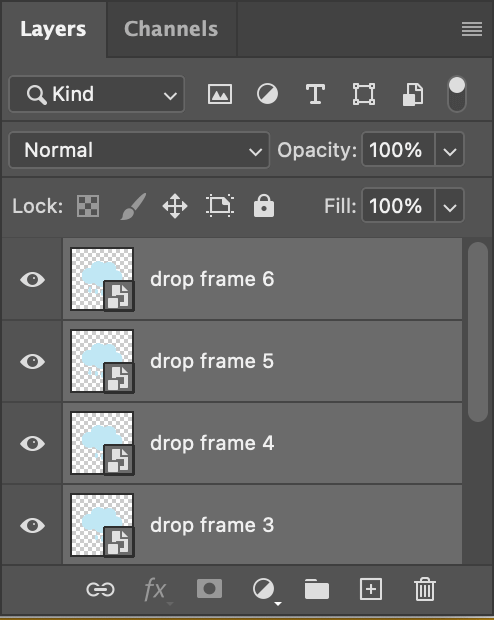
Step 2: Drag the images you exported from Adobe Illustrator to Photoshop, and they will show as layers.
Step 3: Go to the overhead menu Window > Timeline, or you can directly change the workspace to Motion.

You should see a Timeline workspace at the bottom of your Photoshop window.

Step 4: Click Create Frame Animation on the Timeline workspace, and you’ll see the top layer showing on the Timeline workspace.

Step 5: Click on the top right corner of the Timeline window to open the folded menu and choose Make Frames from Layers.
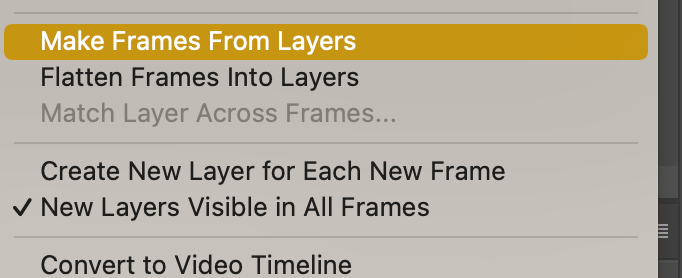
Then all the layers will show as frames.
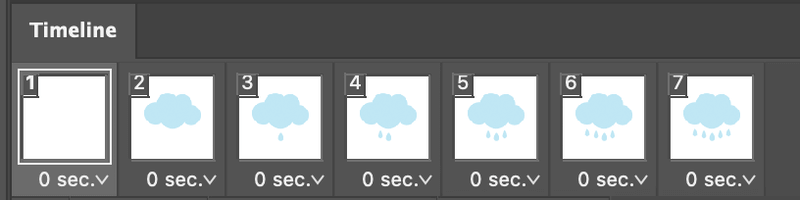
As you can see, the first frame is empty, because it’s the background later. You can delete the first frame by selecting the frame and clicking the Deletes selected frames button on the Timeline window.
Step 6: Click on the down arrow below each frame to change the speed of each frame accordingly. For example, I’ve changed the speed of all frames to 0.2 secs.
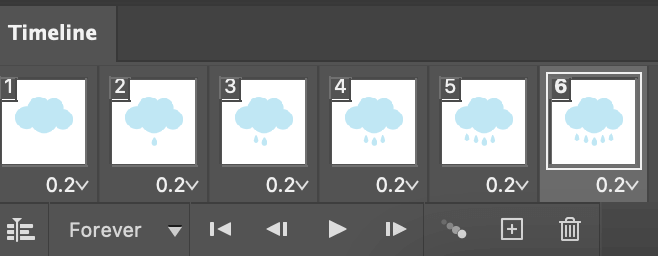
You can click the play button to see how the GIF looks. Once you’re happy with the result. The last step is to export it as a GIF.
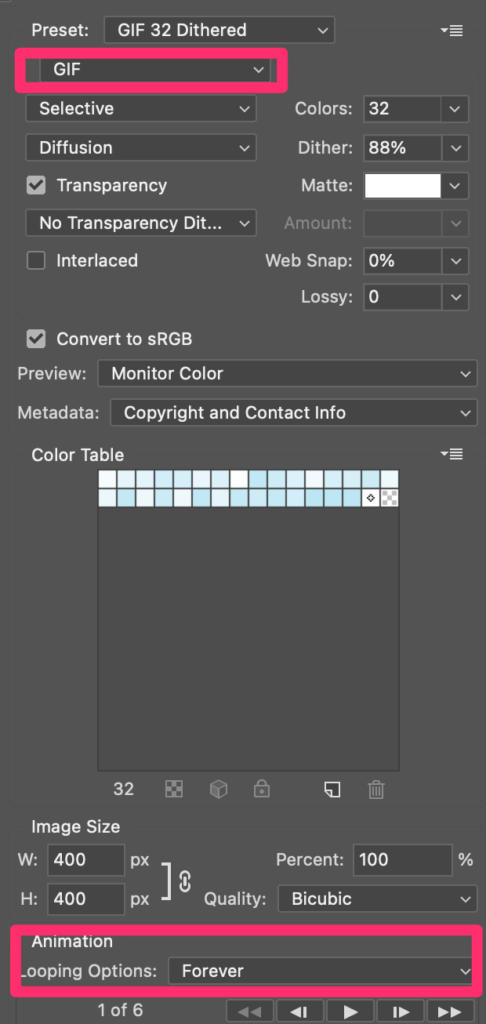
Step 7: Go to the overhead menu File > Export > Save for Web (Legacy).
From the settings menu, the most important thing is to choose GIF as the file type and choose Forever as the Lopping Options. You change other settings accordingly.
Click Save and congratulations! You just made an animated GIF.

How to Make a GIF without Photoshop
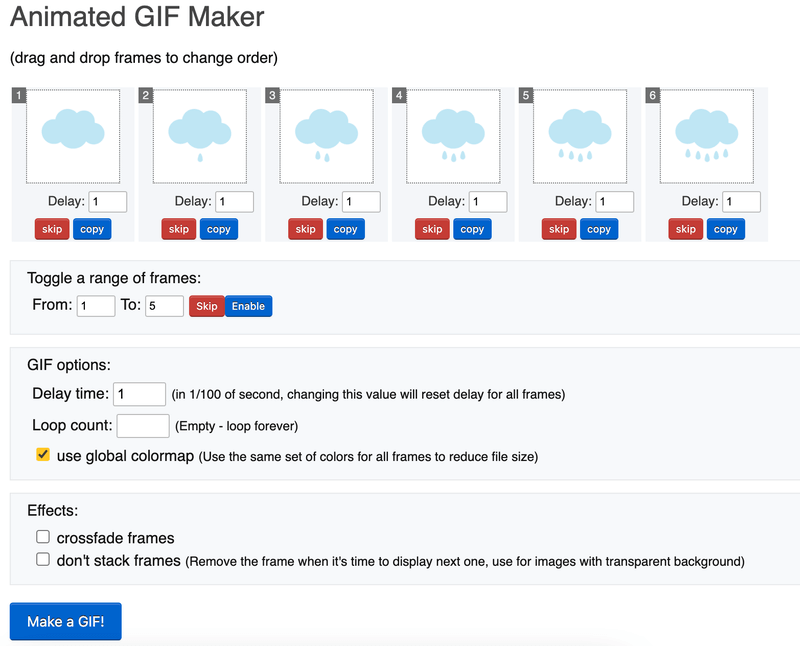
Not familiar with Photoshop? You can certainly create a GIF without Photoshop as well. There are so many online tools that allow you to make a GIF for free.
For example, EZGIF is a popular GIF maker and it’s easy to use. All you need to do is upload your images, choose a play speed and it’ll automatically make the GIF for you.
Conclusion
Adobe Illustrator is where you create the elements of the animation and Photoshop is where you make the animated GIF.
An easier option would be to use an online GIF maker. The advantage is that it would save you a lot of time, especially if you’re not familiar with Photoshop. However, I prefer the flexibility of Photoshop because I have more control over the frames.
Mary
Hi June, thanks for this tutorial! I need to slow down a very short animated gif that my photographer made of my artwork. There are other projects that I plan to do after that. I’ve used PS and AI for a long time so this is just what I needed to start moving forward.
June Escalada
Hey Mary! You’re welcome. Glad it helped 🙂