
The Pathfinder is one of my favorite tools to create shapes or text effects in Adobe Illustrator because it’s so easy to use and it can turn basic shapes into something totally different. The Pathfinder Tool can combine and cut shapes in different ways.
For example, I often use it to divide shapes to make geometric backgrounds or merge shapes to create icons.
In this tutorial, you will learn how to use the Pathfinder Tool in Adobe Illustrator. And for those of you who don’t know what the Pathfinder Tool is, I also have a complete guide on what each option does.
Note: The screenshots from this tutorial are taken from Adobe Illustrator CC Mac version. Windows or other versions can look different.
What’s the Pathfinder Tool in Adobe Illustrator
There isn’t an official definition of Pathfinder, and the name is quite confusing. If this is the first time you’ve seeing it and have absolutely no idea what it is, you might assume that it’s a tool to help you find paths.
But no, the Pathfinder isn’t used to find paths. Instead, it allows you to create new shapes by cutting or uniting two or multiple shapes. Don’t worry, I’ll go over how each tool works in the tutorial below.
So where is the Pathfinder Tool in Adobe Illustrator?
You can open the Pathfinder panel from the overhead menu Window > Pathfinder. Or you can use the Pathfinder keyboard shortcut Shift + Command + F9 (or Shift + Ctrl + F9 for Windows users).
Actually, you don’t necessarily have to open the panel, because when you have two or more shapes selected, you will see some Pathfinder options on the Properties panel.
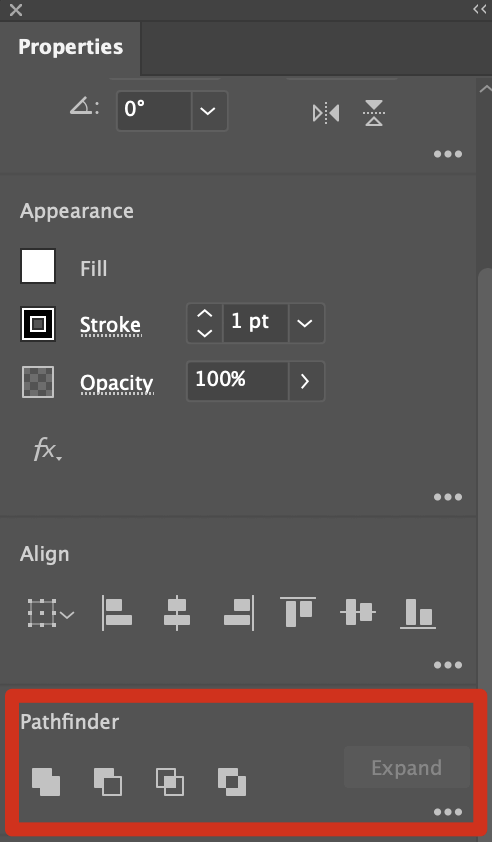
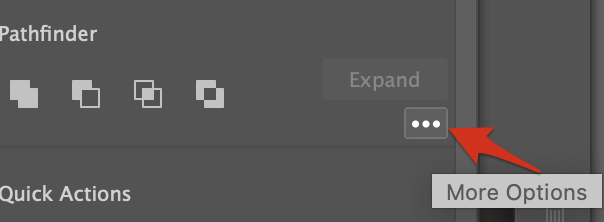
If you want to open the full panel, you can click on the More Options button.
How to Use the Pathfinder Tool in Adobe Illustrator
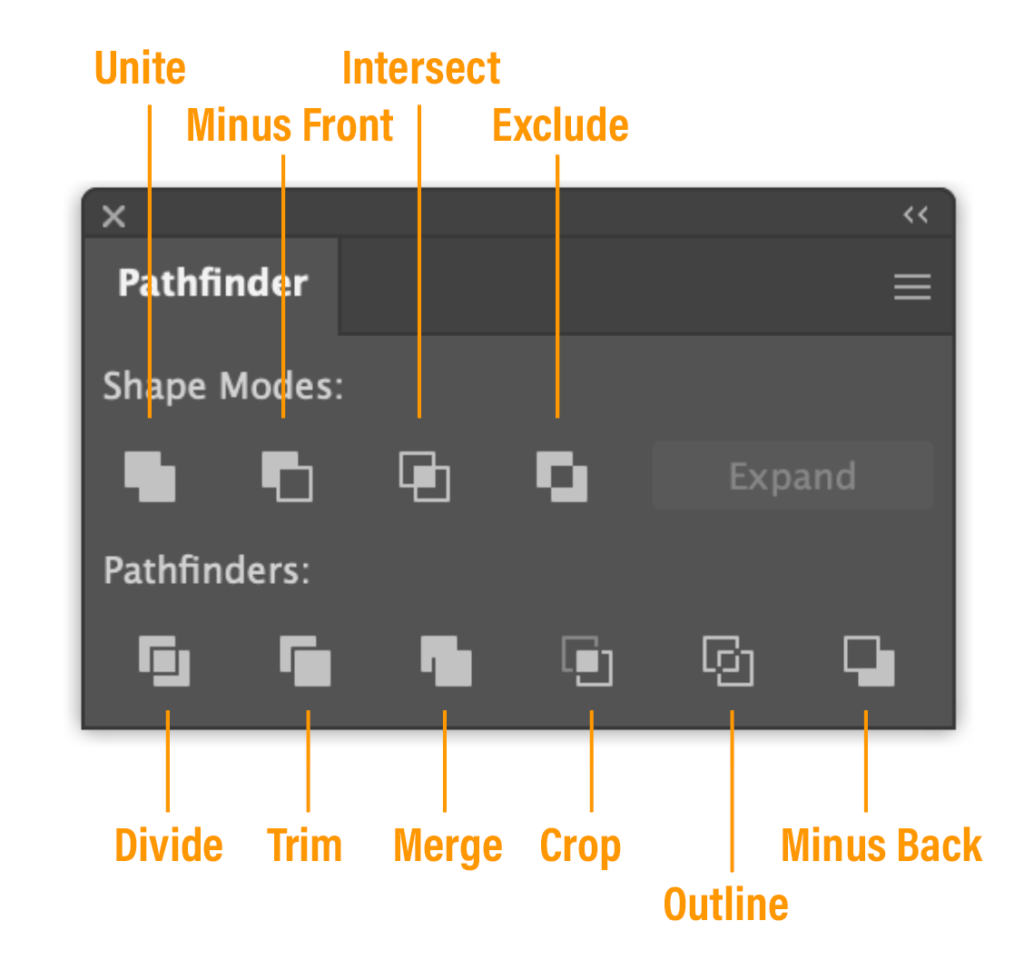
It’s easy to use Pathfinder tools because all you need to do is overlap the shapes and then click on one of the Pathfinder options to make new shapes. I’m going to show you an example of each Pathfinder tool.
Unite
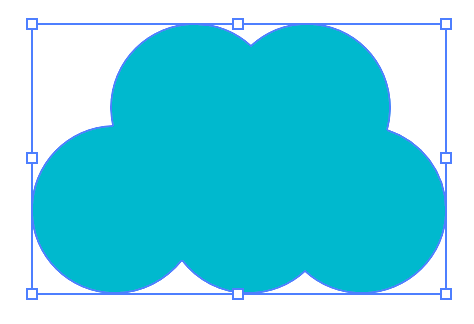
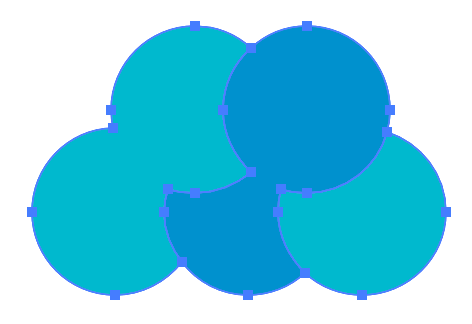
The Unite Tool combines shapes together. All you need to do is place the shapes you want to combine, select them, and click Unite. For example, you can use it to make a cloud. Here I’ve created five circles.

If I click Unite, the circles will combine and become one cloud shape.
Merge
The Merge tool A lot of people get confused about Merge vs Unite because sometimes they get you the same result. You’ll see the difference when you try to combine shapes of different colors, the Merge tool only combines shapes of the same color.
Trim
The Trim tool cuts the shape from the top layer. You can create a paper-cut effect. For example, you can use it to make a logo cut out for some marketing materials.

Divide
The Divide tool is similar to the Trim tool. It cuts and divides an object into different parts along its intersecting paths. You can use this tool to change the colors of different parts within a shape or move the shapes around to make a shape poster.
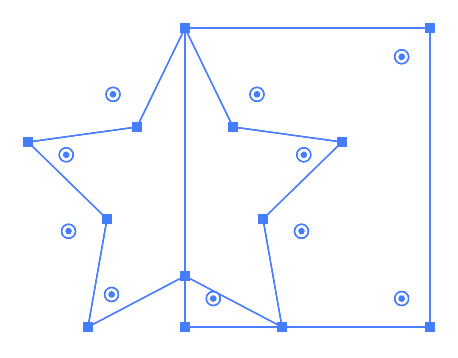
For example, you can turn something like this:
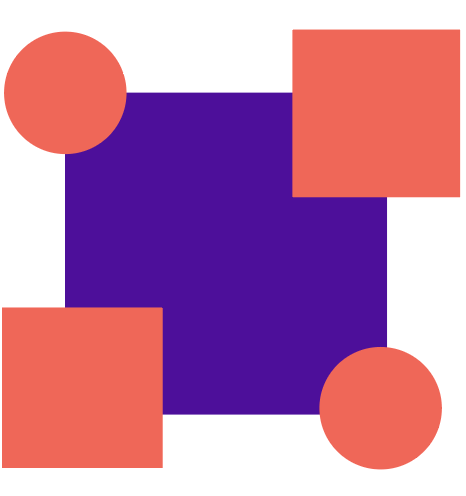
Into something like this:

As you can see, the only shapes I used were circles and squares but it created more shapes after I cut the overlapping paths using the Divide tool.
Minus Front & Minus Back
This is the easiest way to create a crescent moon. All you need to do is create two circles and click Minus Front (or Minus Back). Minus Front deletes the shape on top, while Minus Back deletes the shape at the bottom.
For example, here are two overlapping circles.
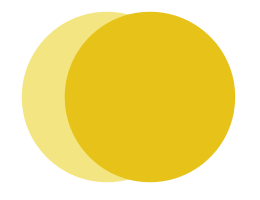
If you choose Minus Front, it’ll delete the circle on the top, which is the darker yellow color, so you’ll only see the lighter yellow in the shape of a crescent moon.

If you choose Minus Back, as you see, it cut out the bottom lighter yellow circle, leaving the darker yellow crescent moon.

Exclude
This tool deletes the overlapping area of overlapping shapes. It’s an easy way to cut overlapping areas. For example, you can use it to make abstract patterns decorative borders, and text effects.
For example, You can play with overlapping letters and make this effect.

Intersect
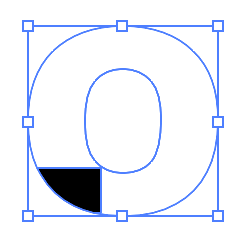
The Intersect tool is opposite to the Exclude tool because it only keeps the shape of the intersecting (overlapping) area shapes. For example, you can quickly make a quarter circle using this tool.
Simply overlap a circle and square.

Click Intersect.

Crop
It almost looks like the intersect tool except that the crop tool doesn’t delete the top object. Instead, you can see the selection, ungroup, and edit it.
Let’s see an example.
As you can see, the letter “O” is the top object and the overlapping area is the small area between the letters L and O.
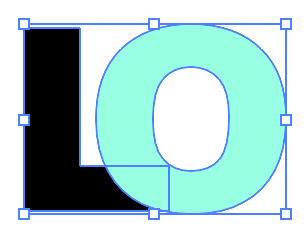
If you click Crop, you’ll still be able to see the outline of the letter O together with the overlapping area that’s cropped out.
You can ungroup to edit it.

In general, the Pathfinder tool is great for cutting objects to create new shapes.
Outline
The name says it. The Outline tool gets you the outline stroke of the overlapping shapes, when you click Outline, the fill color disappears leaving only the stroke (outline).
Pathfinder Effects
Besides the Pathfinder panel, there are also Pathfinder effects. Most options are the same, except there are some more effects like Add, Hard Mix, Soft Mix, and Trap, that aren’t shown on the Pathfinder panel.
You can see the effect from the overhead menu Effect > Pathfinder.
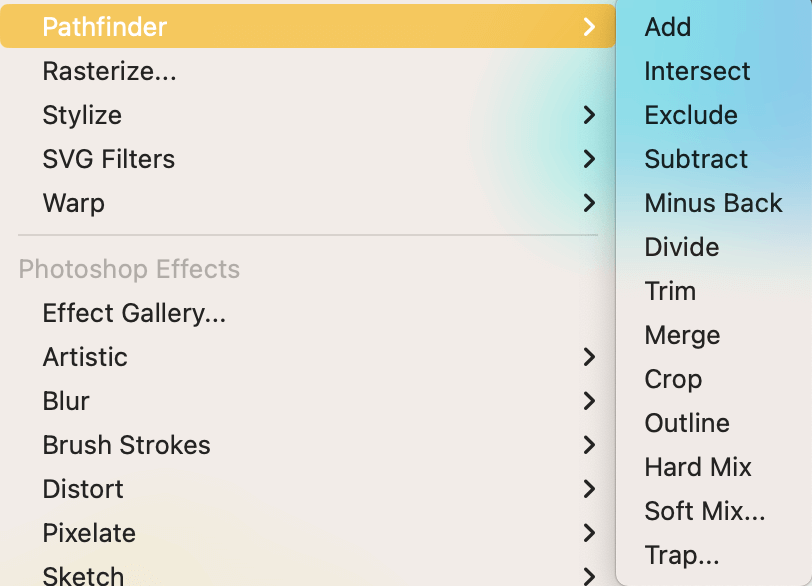
Here’s a quick explanation of the four Pathfinder effects that aren’t on the Pathfinder panel.
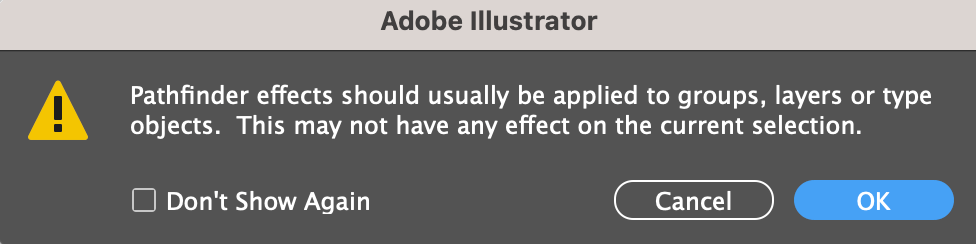
The Add option traces the outline of all objects and makes them merged objects. When you apply the effect, you might see this message. If you don’t see changes, you can use the Unite tool instead.
Hard Mix combines colors and it automatically chooses the highest value of all selected color components.
Soft Mix makes underlying colors are made visible by overlapping your artwork. The setting also divides an image into multiple components’ faces. You can specify the amount of visibility you want from the overlapping colors.
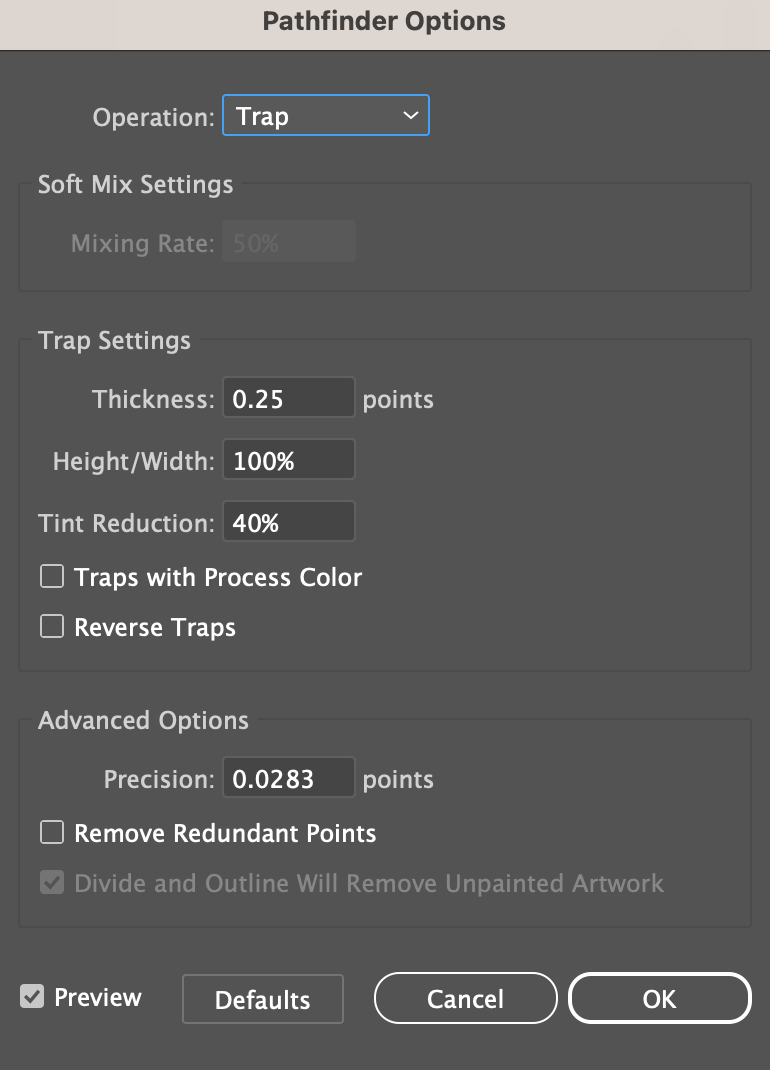
The Trap option compensates for any gaps in your artwork by creating a trap (a small area of overlap) between two adjoining colors. When you choose this effect, it will open a setting window for you to adjust the values.
Honestly, I barely use the Pathfinder effects because I think having the panel is more than enough.
Wrapping Up
The Pathfinder tools in Adobe Illustrator help you create new shapes by cutting or combining multiple overlapping shapes. You’ll only see the result when you have overlapping shapes, otherwise, there’s no point in using the Pathfinder tools.
Freakk
I love your information about the pathfinder, and I would love to know more
June Escalada
Great! Let me know what other tutorials you’re looking for so that I can refer you to the related ones.