I used to work between Photoshop and Adobe Illustrator when I made packaging mockups. But later, I found out that the Perspect Grid Tool works pretty well too, the two-point perspective mode made it so easy to do a box mockup.
Besides making packaging mockups, you can also use the perspective tool to create perspective illustrations or drawings. And that is exactly what you’ll be learning from this tutorial.
Before jumping into the steps, you need the find the perspective tool in Adobe Illustrator.
Note: all screenshots from this tutorial are taken from Adobe Illustrator CC Mac version. Windows or other versions can look different.
Where is the Perspective Tool in Adobe Illustrator
You can find the Perspective Tool from the overhead View menu, the advanced toolbar, or keyboard shortcuts.
Note: showing the perspective grid isn’t exactly the same as having the Perspective Grid Tool active. The difference is that when you show the perspective grid from the view menu, you can see the grid but can’t edit it. If you’re using the Perspective Grid Tool you can edit the grid.
Turn on the Perspective Grid from the View menu
If you simply want to see the perspective grid and don’t need to edit it, you can go to the overhead menu View > Perspective Grid > Show Grid to see the grid.
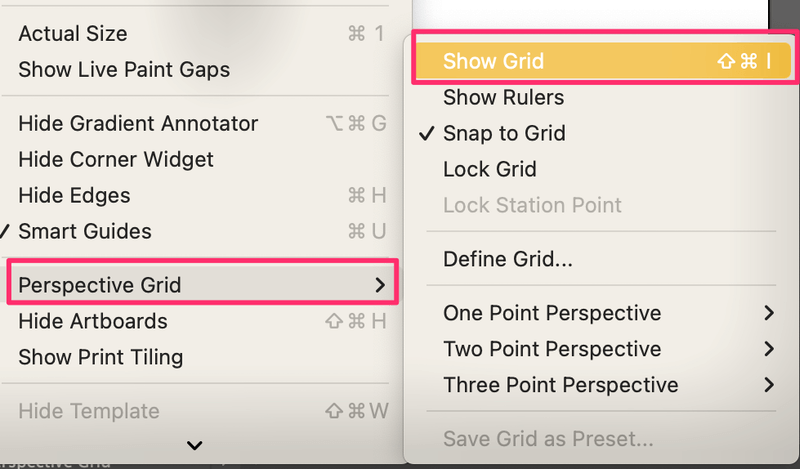
Find the Perspect Grid Tool on the toolbar
If you need to use the perspective grid to create a perspective design, then choose the Perspective Grid Tool from the toolbar. If you’re using the basic toolbar, you can quickly change it to the advanced toolbar from Window > Toolbars > Advanced.
Then you should see the Perspective Grid Tool and on the same menu, you’ll also the Perspective Selection Tool.

Keyboard shortcuts
You can also use the Perspective Grid Tool keyboard shortcut Shift + P and the Perspective Selection Tool keyboard short Shift + V to activate and use the tools.
If you want to view the perspective grid, you can also use the keyboard shortcut Command (or Ctrl for Windows users) + Shift + I to show (and hide) the perspective grid.
Now that you find the tools, I’ll show you how to use them.
How to Use the Perspective Tool in Adobe Illustrator
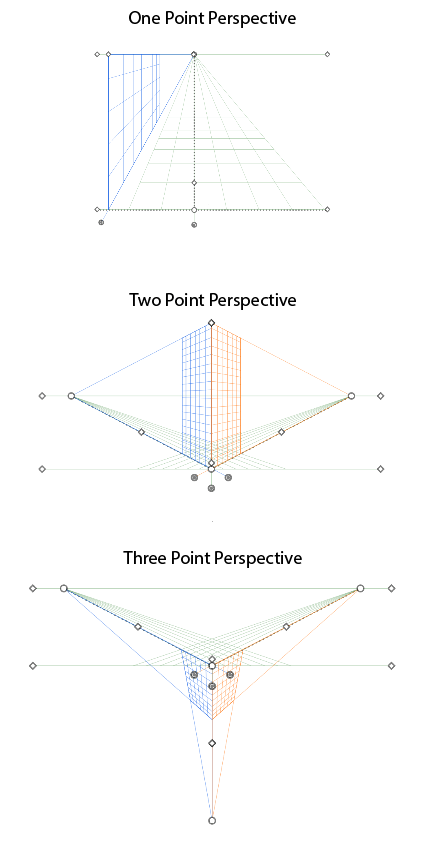
The preset perspective view is two points perspective, but you can switch to a one-point perspective or three points perspective mode from the overhead menu View > Perspective Grid.

Here’s a quick preview of what each perspective mode looks like.
“Point” means “vanishing point” here, but you can also understand it as “side”.
As you can see, the 1-point perspective has only one side (and one vanishing point), the 2-point perspective has two sides (and two vanishing points) and the 3-point perspective has three sides (and three vanishing points).
The perspective grid can look complicated not just because there are so many lines, but also the different widgets with different functions.
You can move the widgets to adjust the perspective grid horizontally, vertically, and from different perspectives.
Additionally, you’ll also see this plane widget which you can choose the side you want to work on by simply clicking on the side. As you can see, the selected side will be highlighted in blue.

I’ll show you how it works using a couple of examples.
Example 1: Drawing on the perspective grid
It’s super easy to draw shapes to the perspective grid and you can create a shape from scratch on the grid or add an existing shape to the grid.
I’ll show you an example of using the one-point perspective grid to draw part of a sidewalk.
Tip: If you can’t get the right point to start, using a reference image can help. Simply lower the opacity of the image, and lock the image layer.
Step 1: Go to the overhead menu View > Perspective Grid > One Point Perspective > [1P-Normal View].
You can also choose the Perspective Grid Tool from the toolbar and then go to the view menu to change the mode to [1P normal view].
This is what a standard 1P perspective grid looks like.
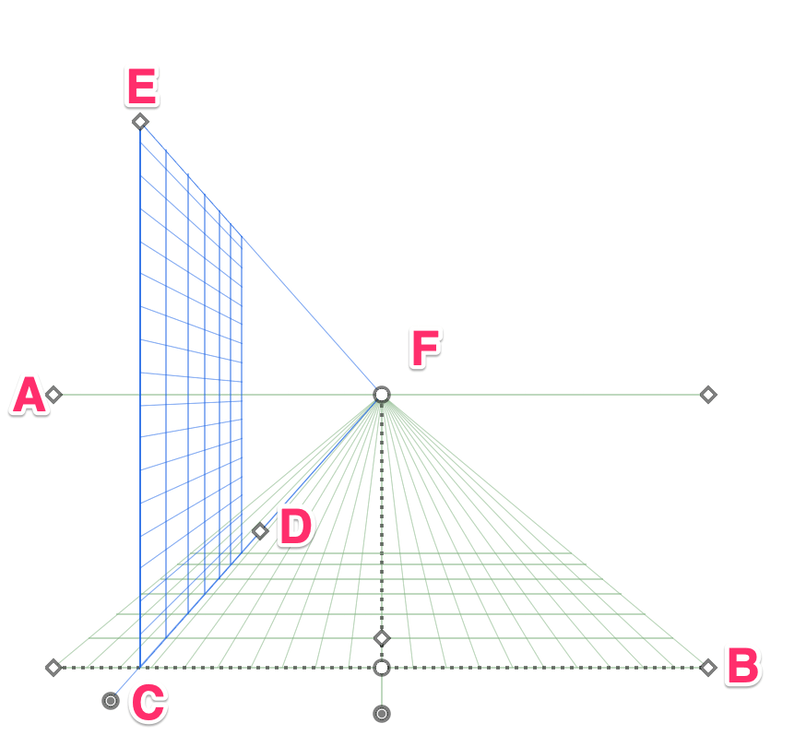
You can click and drag the widget handles to adjust the perspective view accordingly.
For example, I moved widget C to the left end to extend the grid horizontally and moved widget C down to reduce the distance from the horizontal ground level.
Then I moved widget F to the right to extend the grid further, at the same time moving widget E up to extend the grid vertically, and moved widget D towards the vanishing point.
If you’re tracing an image, you can click on widget B, hold and move the perspective grid around to fit your image.
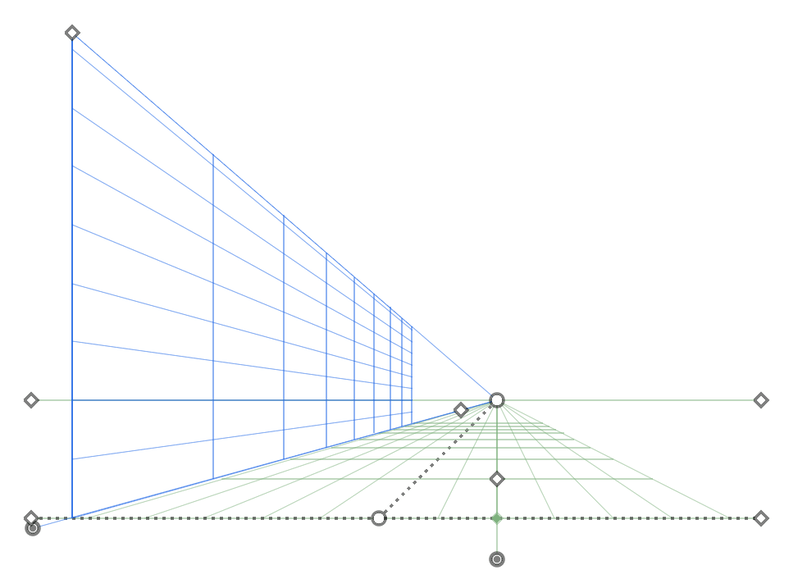
Now it’s starting to look like one side of the street, right? The next step is to draw shapes. We can start with the building shapes and then add details.
Step 2: Choose the Rectangle Tool (M) from the toolbar, click along the grid line (you can start from the line between widgets C and E) as a guide, and drag to create a perspective rectangle.
When you create shapes on the perspective grid, your shapes will automatically follow the perspective view.
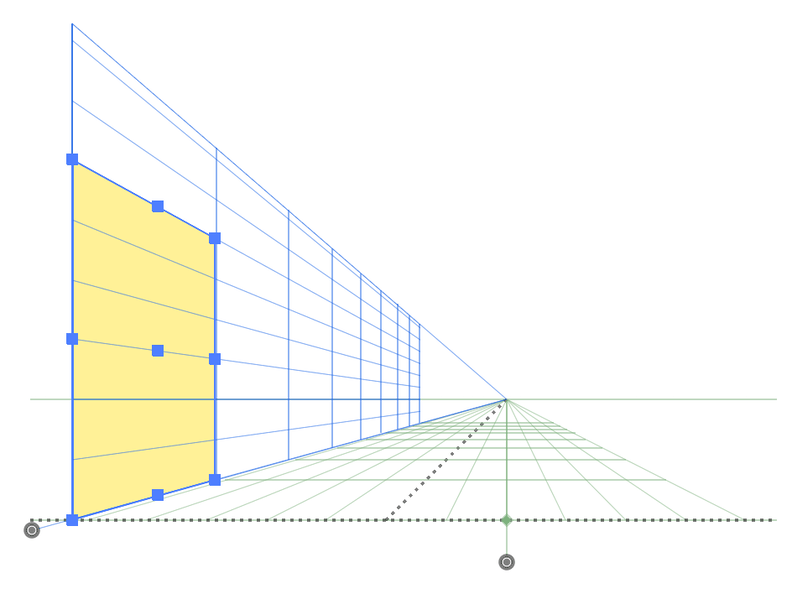
Use the same method, and follow the grid lines to create a few more rectangles as buildings on the sidewalk.
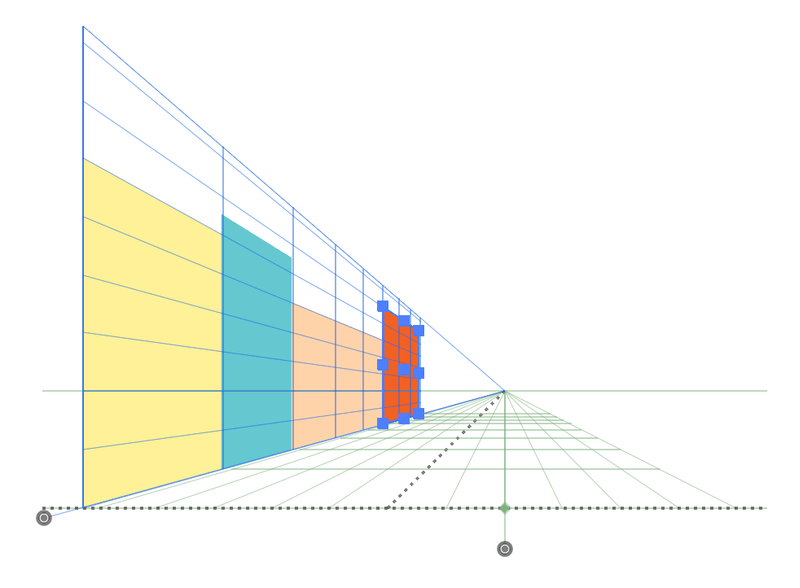
Step 3: Add details to the drawing. You can add some windows, lines, or other shapes to the buildings or add a walking path/lane.
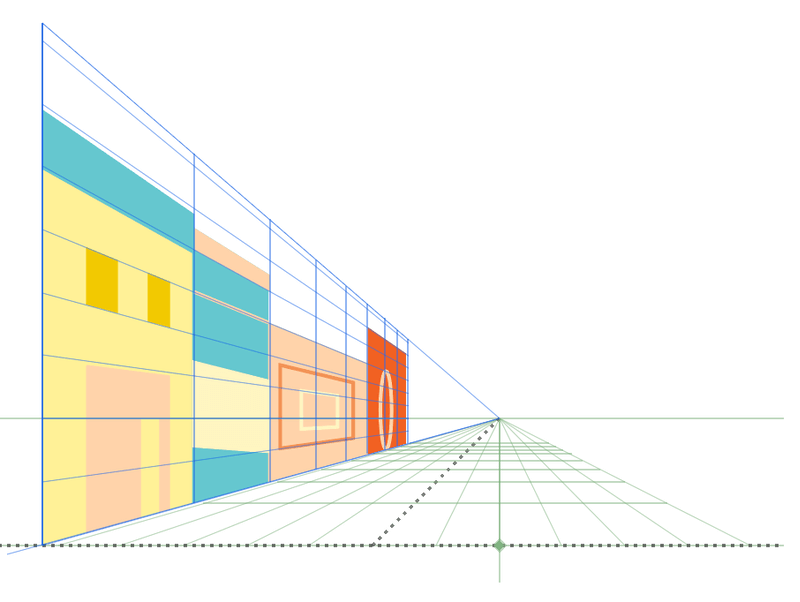
If you find it difficult to draw on the perspective grid, you can also create shapes out of the grid in a usual way, and use the Perspective Selection Tool to place the objects into the grid.
For example, let’s add this object to one of the buildings.
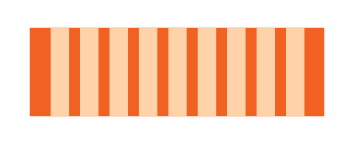
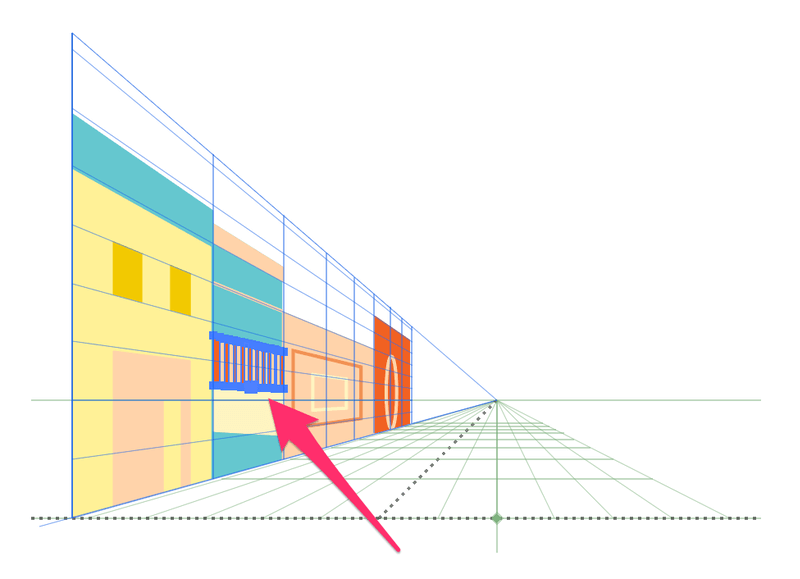
Choose the Perspective Selection Tool from the toolbar, click and drag this object to where you want it to be on the perspective grid. In this case, I dragged it to the blue building.
Now let’s add a street to the drawing.
Step 4: Click on the bottom side of the plane widget to work on the ground perspective area.
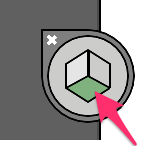
Follow the same method to add shapes or lines to draw a sidewalk.
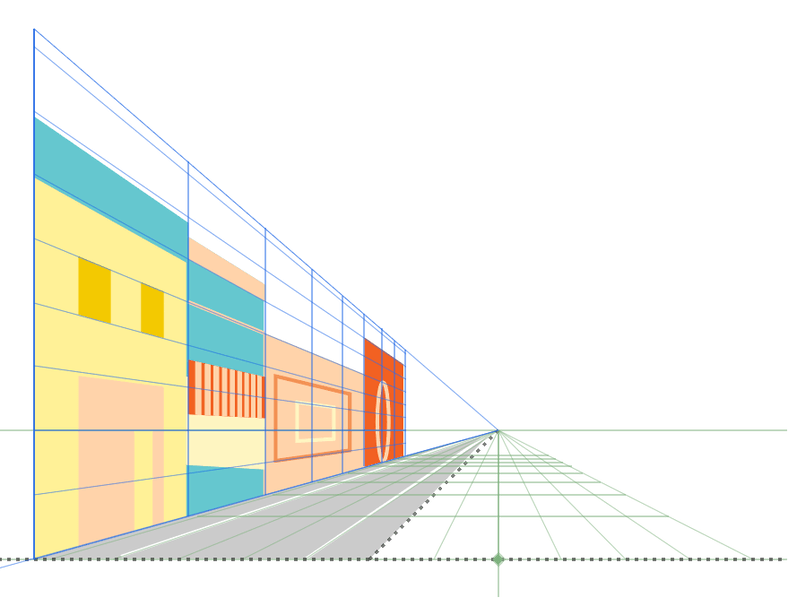
Got the idea?
Now, how about adding some text to the perspective grid?
Example 2: Use the Perspective Tool with text
Adding text to the perspective grid basically works the same as adding a shape. Use the Perspective Selection Tool to select the text and drag it to the area where you want the text to be. Here are the detailed steps.
Step 1: Use the Type tool to add text to Adobe Illustrator.
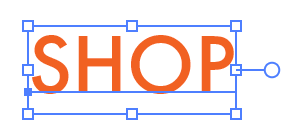
Step 2: Switch the plane widget to the side where you want to add the text to. In this case, we’re switching to the left side, where the buildings are.
Step 3: Choose the Perspective Selection Tool on the toolbar. Select the text and drag it to the area you want the text to be. For example, we can drag it to the first building.
Initially, it would look like this.
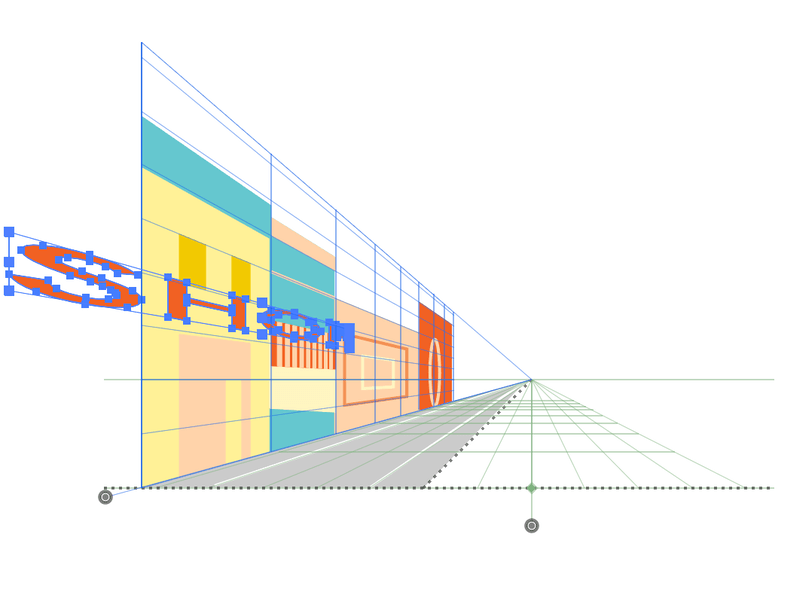
However, you can adjust the anchor points to resize and move the text to an ideal position.
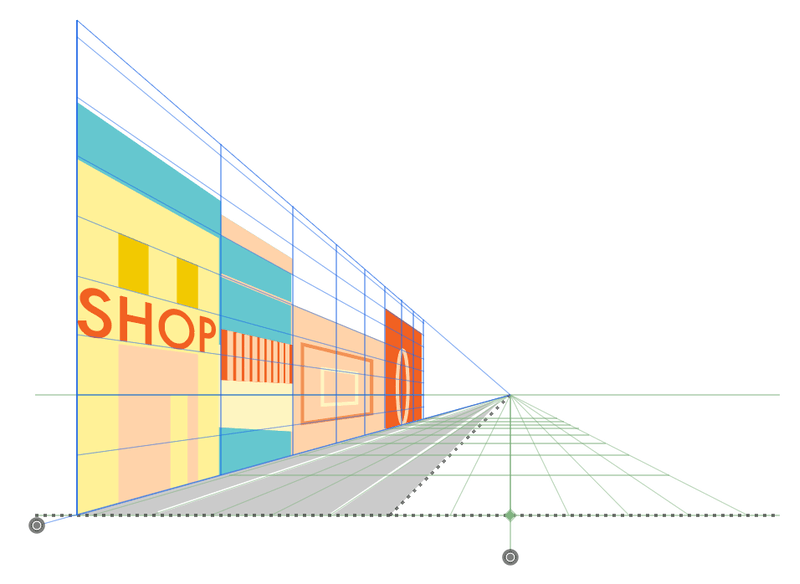
Step 4: Click on the small x on the widget plane to remove the perspective grid.
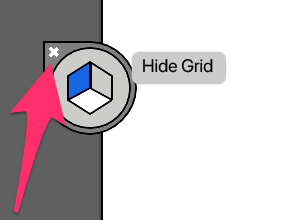
Or you can use the keyboard shortcut Command/Ctrl + Shift +I to turn off the perspective grid view mode and see how it looks.

That’s it for this tutorial. Feel free to add more details to your perspective drawing.
Wrapping Up
Now you should get an idea of how the perspective tool works and what you can do with it. I only showed you the example of a 1-point perspective here, if you want to create 2-point or 3-point perspective drawings, you’ll have more widgets to move around and adjust the grids, but the drawing method works the same.
