
Not going to lie, I didn’t know the answer to this question. Sharpening an image means increasing an image’s quality by enhancing the definition of an image’s edges, and that’s NOT what Adobe Illustrator does!
The best and easiest way to sharpen an image is doing it in Photoshop, but I understand that not everyone uses Photoshop.
It took me hours to research and come up with a couple of imperfect solutions that can be helpful for what you’re looking for. If Adobe Illustrator is the only option, depending on your image, you might not get exactly what you want. Doesn’t hurt to give it a try though 😉
In this tutorial, I’m going to show you how to sharpen an image using Image Trace and changing resolution. Try the image trace option if you’re sharpening a vector image, and try to change the resolution if image quality is your concern.
Important note: for the best result, the image you want to sharpen should be a high-quality image. The minimum requirement, let’s say, when you zoom in to 100%, the image shouldn’t be pixelated.
Note: all screenshots are taken from Adobe Illustrator CC Mac version. Windows or other versions can look different.
Method 1: Change Resolution
As I briefly mentioned above, when you sharpen an image, it enhances the image quality, so changing the resolution of your image is one way to do it. Usually, the resolution of screen images is 72 ppi, you can change it to 300 ppi to enhance the image quality.
Step 1: Place and embed your image in Adobe Illustrator.
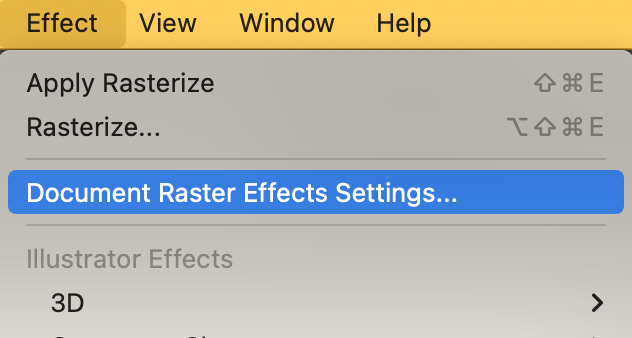
Step 2: Go to the overhead menu and select Effect > Document Raster Effect Settings.
You’ll see this dialog window and change the resolution to High (300 ppi), or you can choose Other and manually type in the value.
Click OK when you’re done. As I said earlier, this is one of the imperfect solutions, so you can enhance the image quality but you wouldn’t see a huge difference in colors and edges.
Method 2: Image Trace
There are two ways to trace an image, using the Pen Tool and the Image Trace tool. The Pen Tool is good for tracing outlines while the image trace tool is good for vectorizing a raster image.
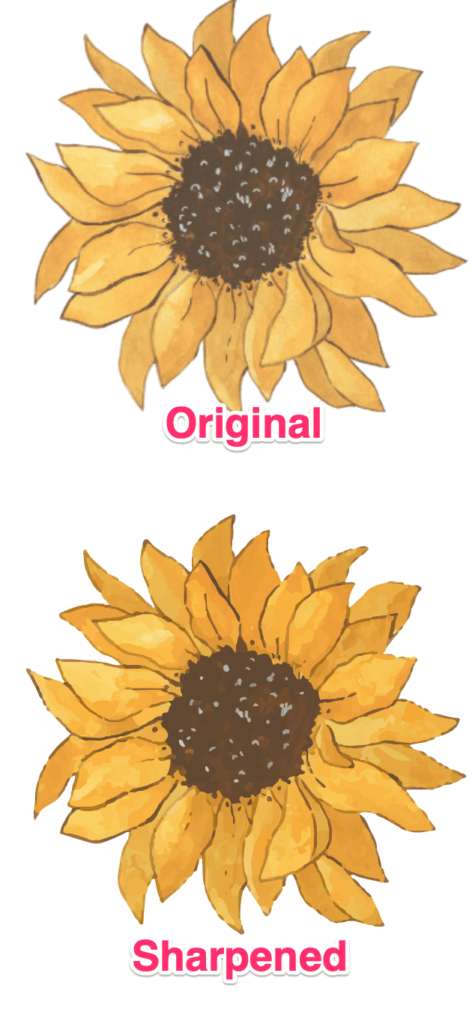
I’ll show you how to sharpen this sunflower image by tracing and recoloring it.

Step 1: Place and embed the image in Adobe Illustrator.
Step 2: Select the image and you’ll see an Image Trace option under Properties > Quick Actions panel.
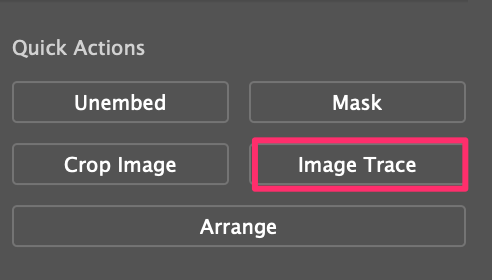
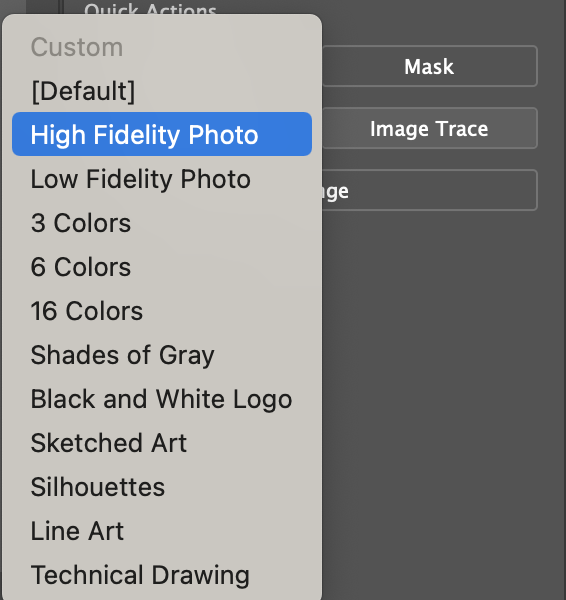
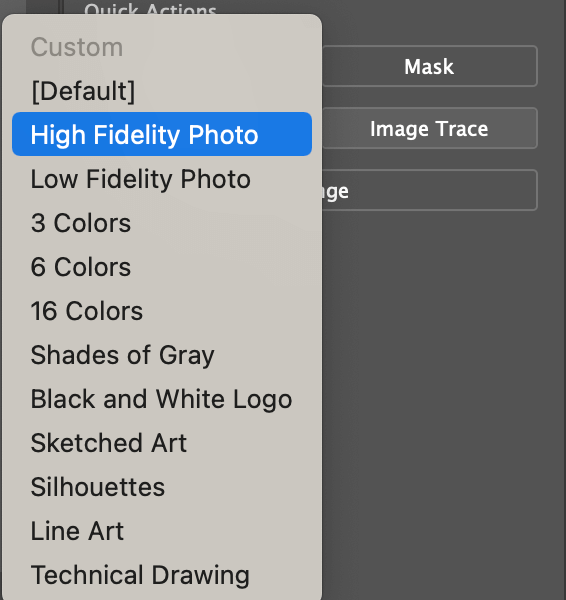
Step 3: Click Image Trace and choose High Fidelity Photo.
You won’t see much difference in the colors yet, but we’ll get to it.

Step 4: Select the traced image, and click Expand on the Quick Actions panel.
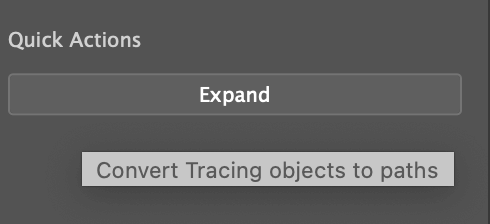
Your image should look like this.

After you expand the image, you should see a Recolor option under Quick Actions.
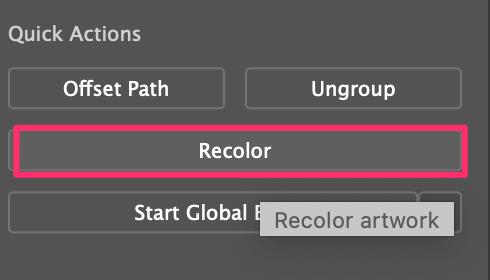
Step 5: Click Recolor and adjust the colors on the color wheel.
Tip: It’s easier to adjust colors from the Prominent Colors section.
See the difference now? 🙂
Final Thoughts
Again, Adobe Illustrator is NOT the best option for sharpening an image. It’s much easier if you can sharpen the image in Photoshop and then use it in Adobe Illustrator. However, if this is not an option for you, as you can see, you CAN sort of sharpen a vector image in Adobe Illustrator.