There are different tools you can use to make spooky designs in Adobe Illustrator. For example, the Pen Tool offers a little more control as to where you place the anchor points and angles. The paintbrush offers a free-motion way to draw within Illustrator with a variety of brush styles.
This post will show you three spooky graphics to create with tools in Adobe Illustrator for your Halloween poster or any spooky designs!
Let’s go!
Key Takeaways
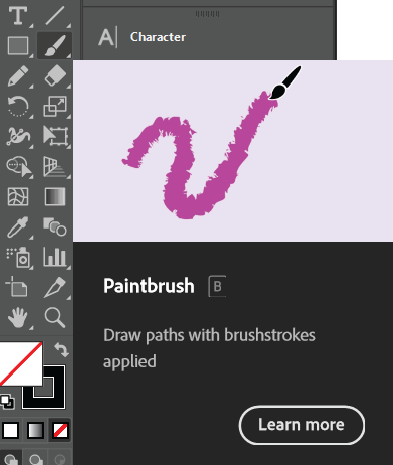
- The Paintbrush tool (keyboard shortcut B) is great for drawing organic lines.
- The Pen tool (keyboard shortcut P) is good for controlled lines
- The different stroke styles can alter the way the lines look
How to Draw a Spider Web in Adobe Illustrator with the Paintbrush tool
Note: The screenshots from this tutorial are taken from Adobe Illustrator CC Windows version.
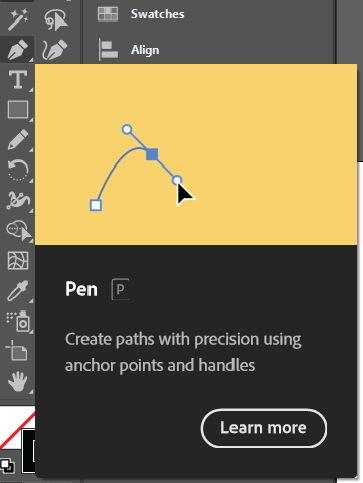
Step 1: Choose the Paintbrush tool from the toolbar.
Step 2: Open your Brushes panel to change the type of stroke that will be used.

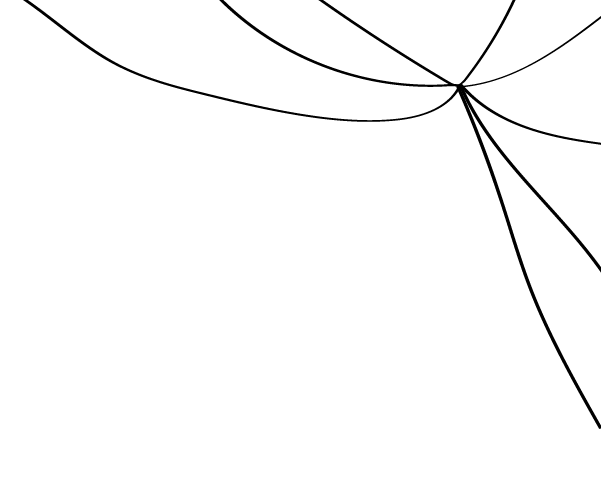
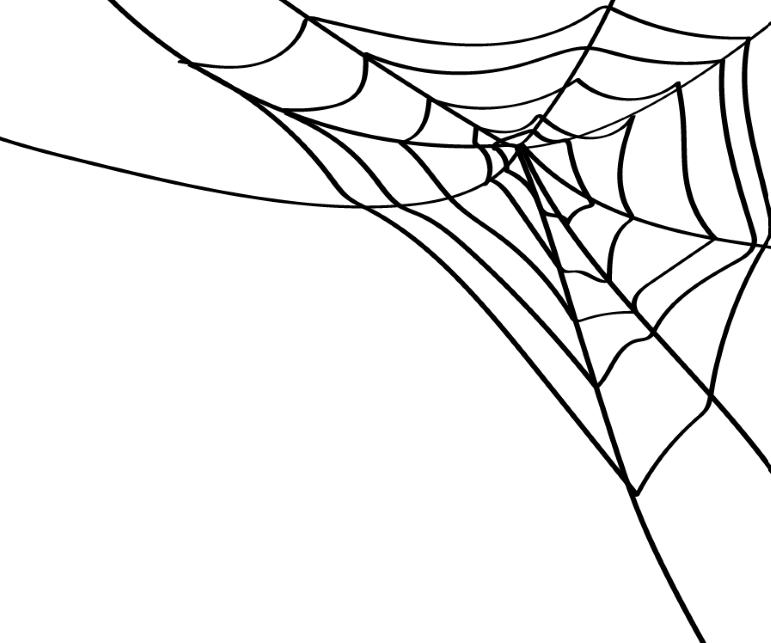
Step 3: Start drawing on the Artboard. We are going to start with the connecting legs of the web, in the corner of our document.

You can draw 3 more so you have 8 legs that connect to the edges.
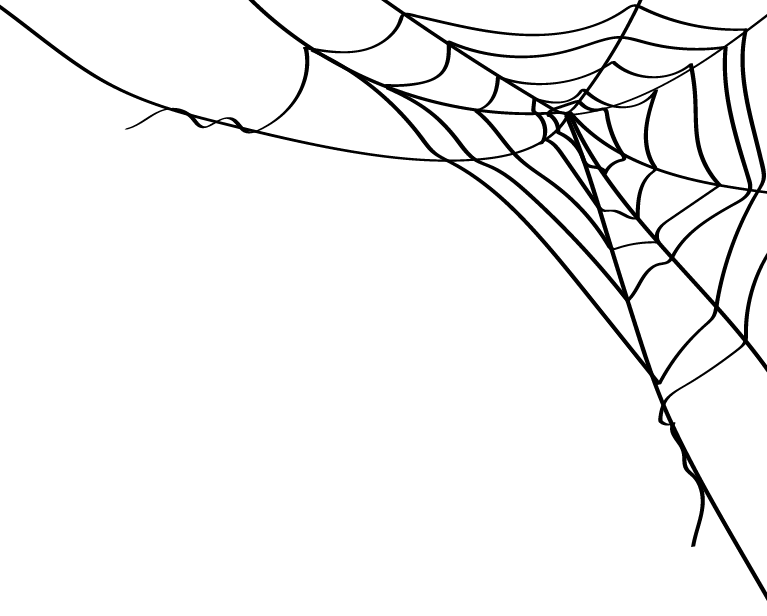
Step 4: Now we are ready to draw the opposite direction of webbing. You will droop where it connects to each leg. The lines do not need to be uniform, they need a little spookiness and droopiness added in, which is also why I chose to use the paintbrush tool for the spider web.
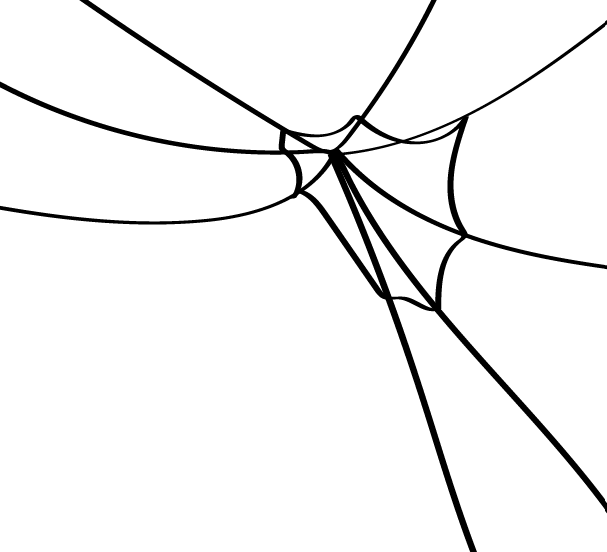
Draw in several lines, bigger and bigger so it fills in the web.
Step 5: Now you want to add some more characteristics. Will your web have some loose hanging bits? Will it have a spider? Will it have caught some bugs? I am going to add some loose pieces.
I also want to add a spider hanging down from the web.
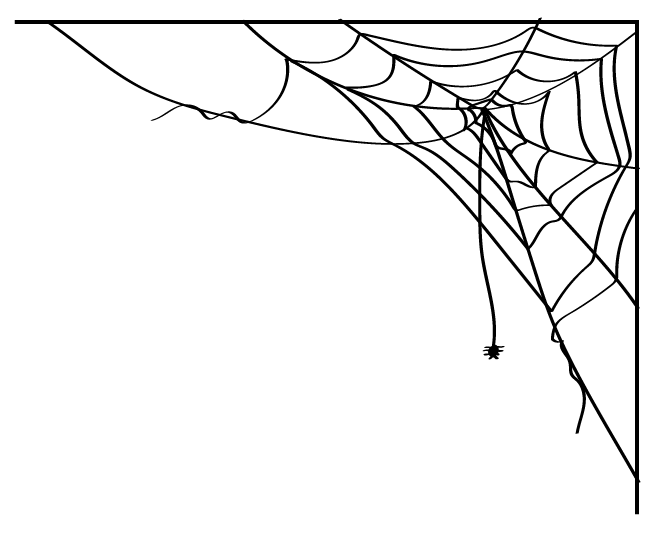
Now we have a spooky spider web graphic to use!
How to Draw a Spooky Tree Silhouette with the Pen Tool
Follow the steps below to make a spooky tree silhouette from scratch.
Step 1: Click on your pen tool (keyboard shortcut P).
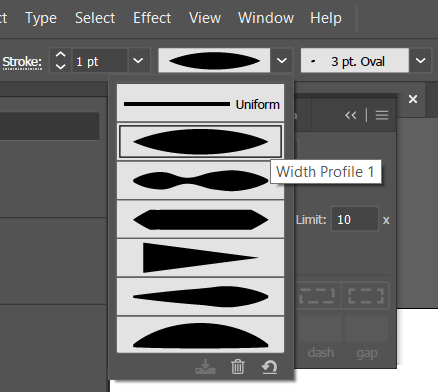
Step 2: Select a stroke profile. For example, we are going to choose a tapered stroke so we can get some spooky silhouettes.
You are going to start by drawing the main outer lines of the tree. The more curves you give it, the spookier it gets!
Step 3: Use the Pen Tool to create lines. I just created two curved lines to begin with.

Now we are going to add the main branches.
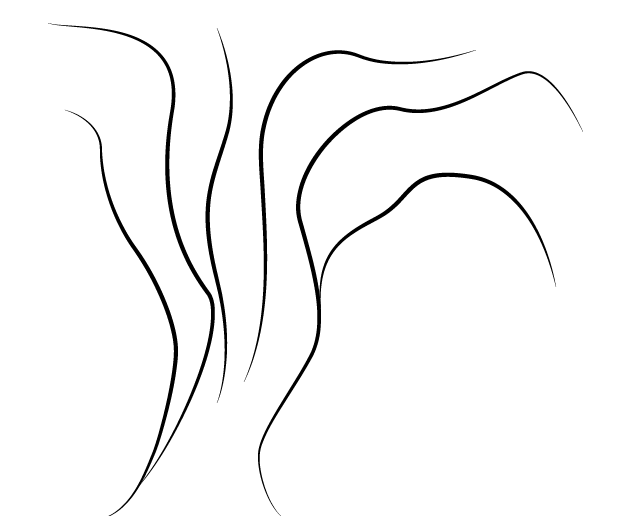
Use different stroke weights of the lines to make it look more alive. Bump the stroke weight up on a few.
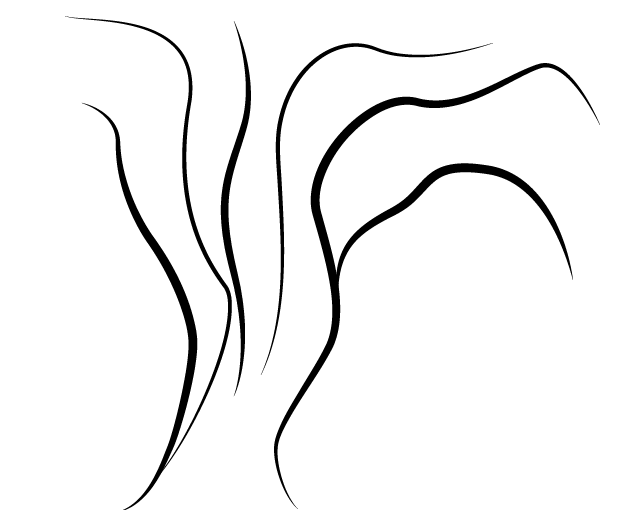
Now we are going to focus on drawing in the roots of the tree. I am choosing to make mine shorter because I want the top of the tree to be my focus.
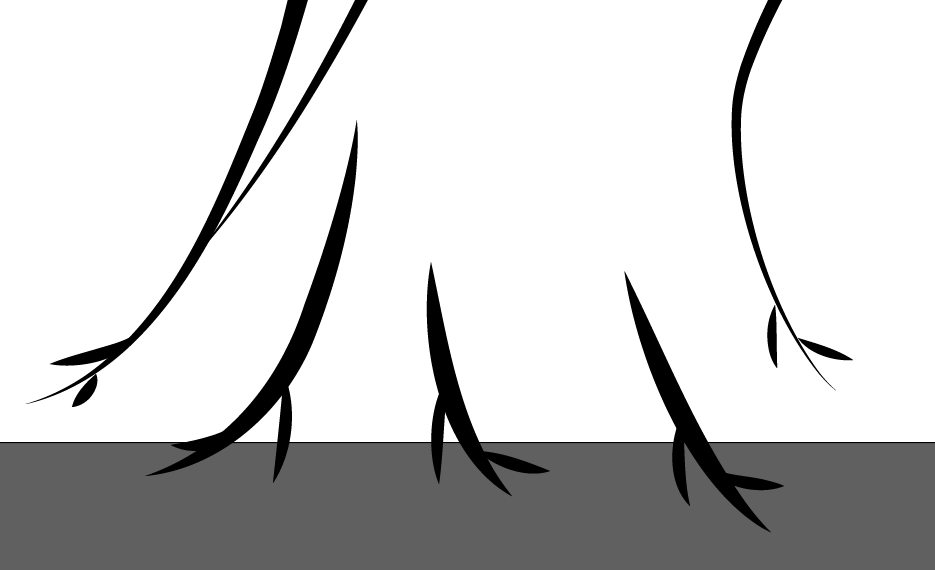
Then we need to start filling in the gaps. Keep drawing lines with your Pen Tool to start connecting the roots to the tree.
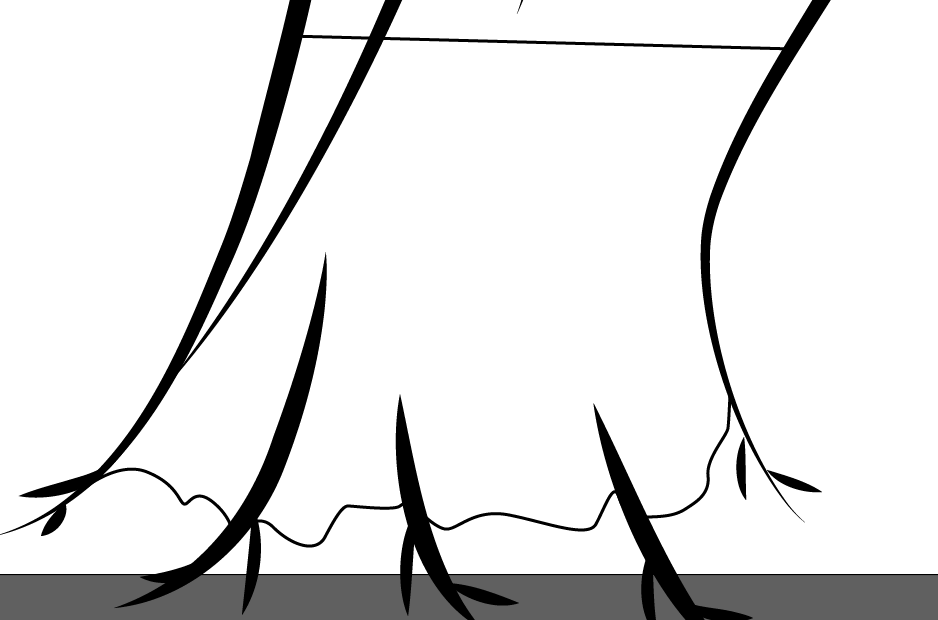
Up to now, we have been using a stroke to create the lines. We are now going to flip it to black to fill in the bottom of the tree. For this, we will need a closed path.
Step 4: Take your Pen tool and hover near the end of your line until you see a slash.
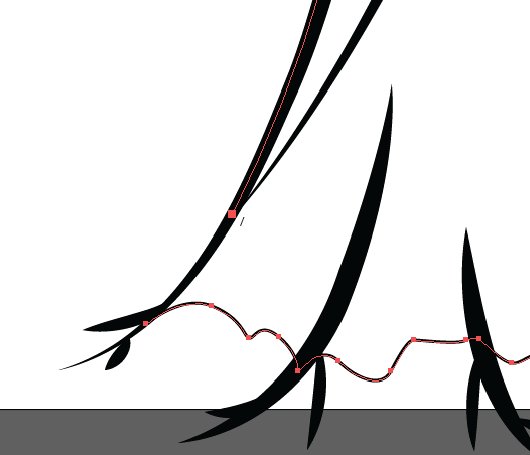
Click and it will connect the line so you can keep drawing. Follow up your tree a bit, cross the other side of your tree, and down to connect to the other side of the line.
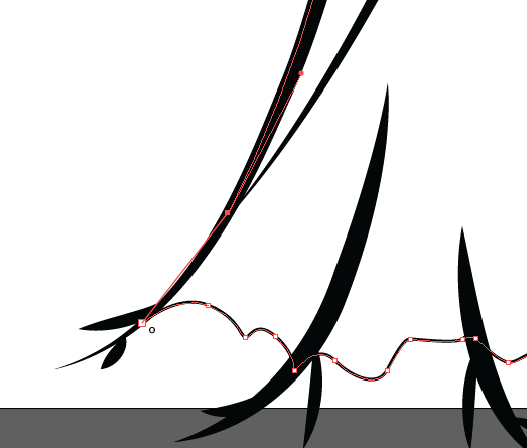
You will see a small circle when you near the end and that lets you know you are closing the path. When you close the path, you can fill it with color.
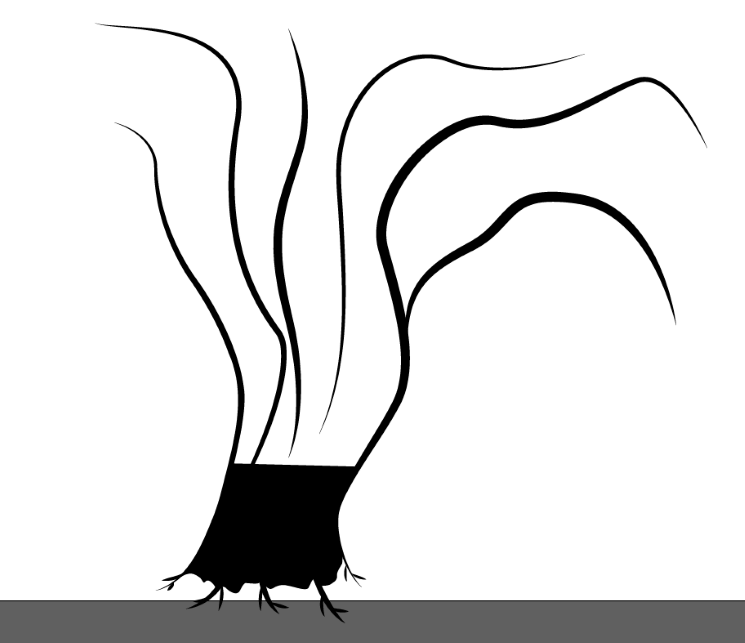
Now we want to focus on the top branches. You want to add smaller branches at several levels.

Step 5: Fill in the upper part of the tree by connecting the anchor points to close some path and then fill it with color.
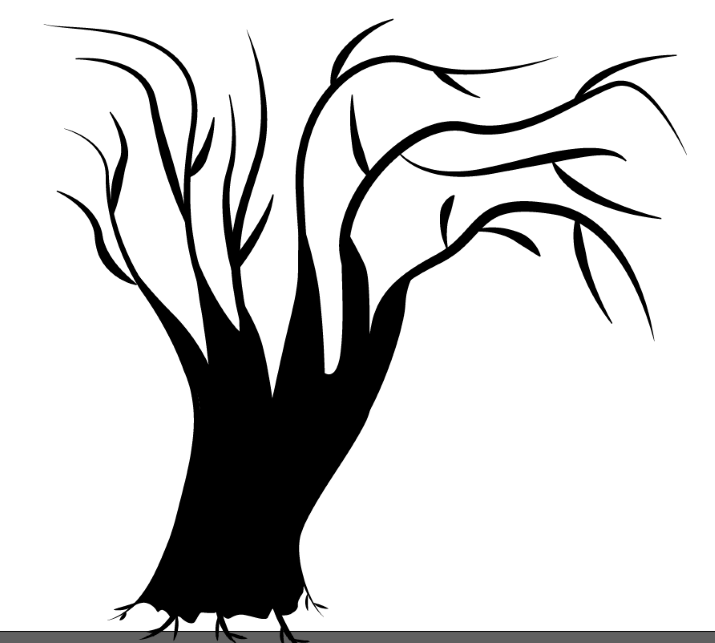
If your tree looks a bit silly like mine, no worries we can change and fill in more! Keep drawing to fill in. You can even try the paintbrush for a more natural flow for your spooky tree.

For one more added effect, we are going to put a spooky face on the tree.

How to Make a Ghost Pattern in Adobe Illustrator
Use the same method as above using the Pen Tool. You can draw a ghost silhouette and make it a pattern. Here’s how.
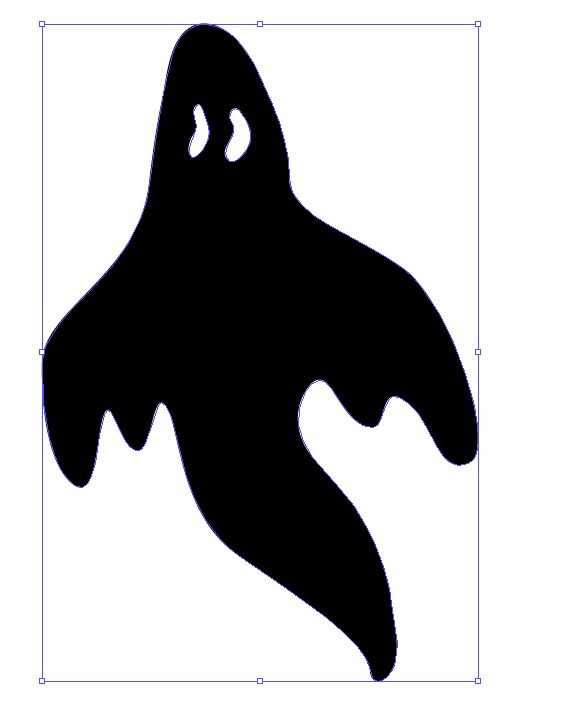
Step 1: Use the Pen Tool to draw a ghost silhouette.

Add a face to your ghost if you would like.

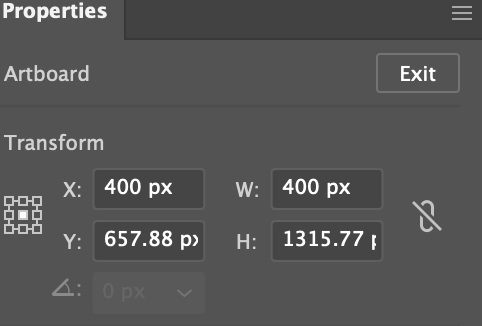
Step 2: Use a square artboard. You can change the Artboard size by selecting it with the Artboard tool, can change the size on the Properties panel.
You should have something like this.

Step 3: Select your ghost and the face (if you made one). To keep the ghost one color only, we are going to use the Minus Front button in the Pathfinder panel. This will essentially cookie cutter out the top graphics.
Step 5: Now let’s create our pattern. I am going to give it a background color by using the Rectangle tool (keyboard shortcut M) and pick a color from our swatches palette.
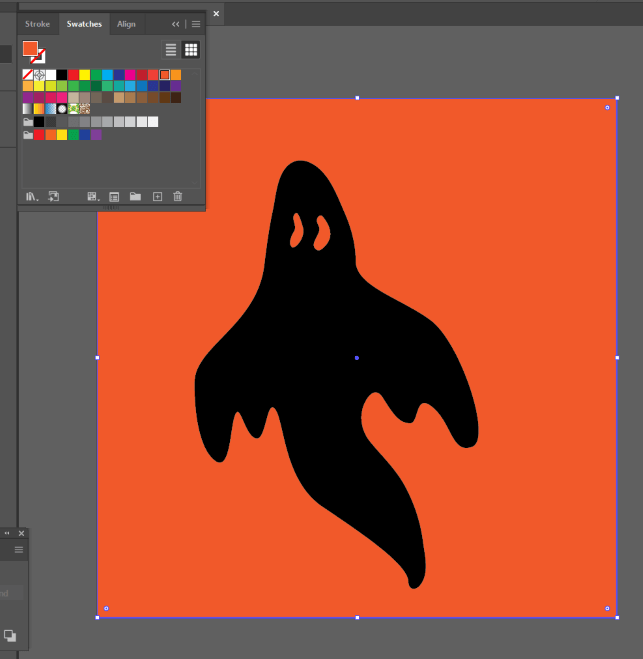
Because I don’t want my ghost that big, I’m going to make it smaller. To do that, click and drag the top middle anchor point downwards but also hold the Shift key so it scales proportionallly.

Now we are ready to add more ghosts to create a pattern. You can make them different sizes, colors, or whatever you want for your pattern.

Try making several color variations and find a spooky way to use your new pattern!

Final Thoughts
Adobe Illustrator is great for creativity. Take a moment to have a little fun and get into the fall spooky mood. Using the paintbrush, pen tool and a combination of the two is a world of possibilities.
Have you made anything spooky in Illustrator lately? What did you create and was it for fun or work? Let me know in the comments below.