
Arrows are useful for informative designs such as menus. They guide readers to find information faster and you don’t have to squeeze in the images right next to your text. Sometimes when there are limited spaces for photos, using an arrow to point at the corresponding dish was the easiest solution.
When I designed menus for the food & beverages industry over the years, I created all types of arrows for different types of menus. So if you want to draw a curvy arrow, hand-drawn style, or simply a standard arrow? You’re in the right place!
In this tutorial, I’ll show you four different ways to draw an arrow in Adobe Illustrator. You can use the line tool, shape tools, or drawing tools.
Get the tools ready and let’s get started.
4 Ways to Draw an Arrow in Adobe Illustrator
You can use different tools to draw different types of arrows in Adobe Illustrator. For example, if you want to make a standard straight arrow, simply draw a line and add an arrowhead from the Stroke panel. If you want a cute hand-drawn style, use the paintbrush or pencil tool.
Note: all screenshots from this tutorial are taken from Adobe Illustrator CC Mac version. Windows or other versions can look different.
Method 1: Stroke style
This is the quickest method to make an arrow in Illustrator. Technically, you don’t have to draw it, all you need to do is to choose an arrowhead style from the Stroke options.
Step 1: Select the Line Segment Tool (\) to draw a line.

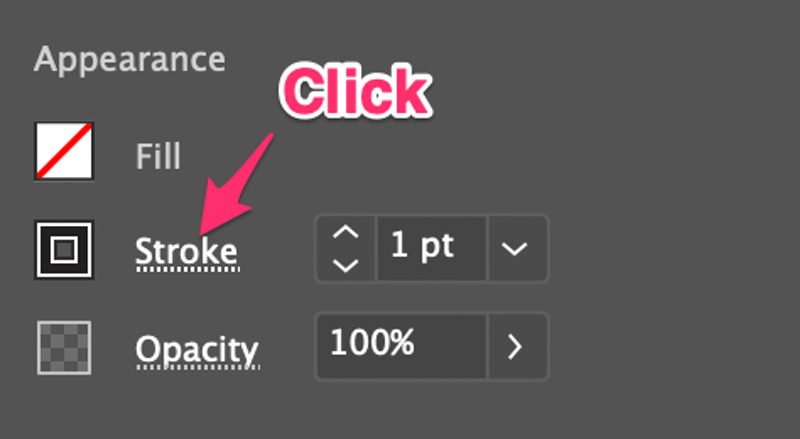
Step 2: Select the line and you’ll see the Stroke panel on the right-hand side of the document window. If not, open the Appearance panel from the overhead menu Window > Appearance, and you will see Stroke. Click on Stroke.
You’ll see more options such as weight, corner style, arrowheads, etc.
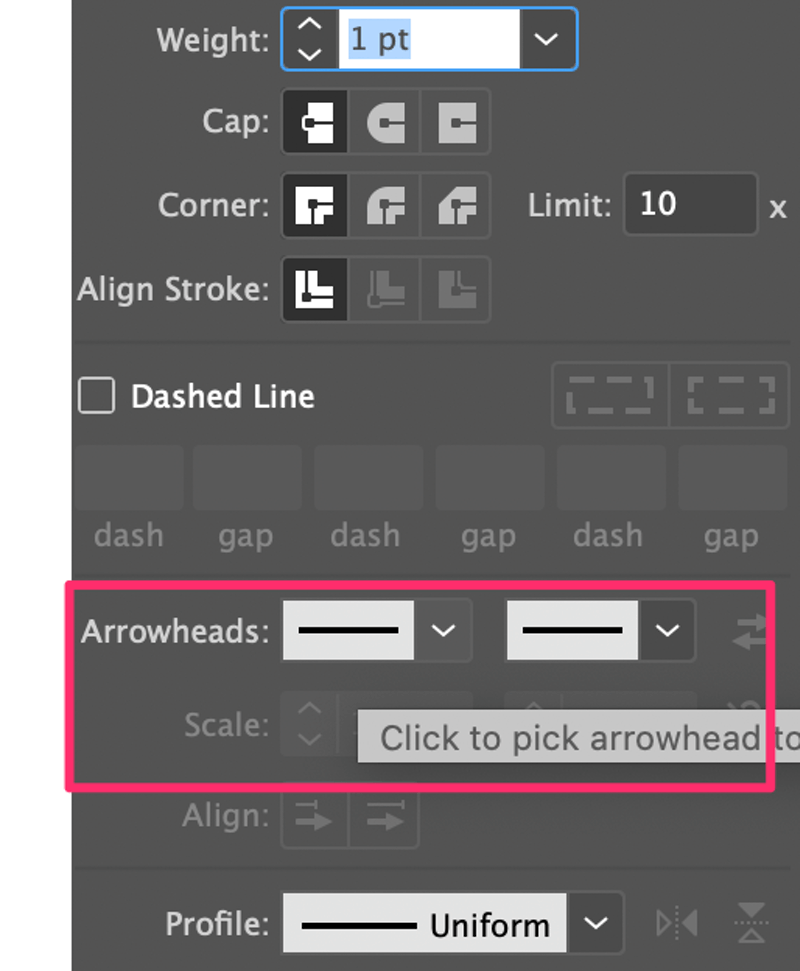
Step 3: Click on the arrowheads option to choose the arrowheads that you want. If you choose the left box, the arrowhead will be added to the left end of the line, and vice versa.
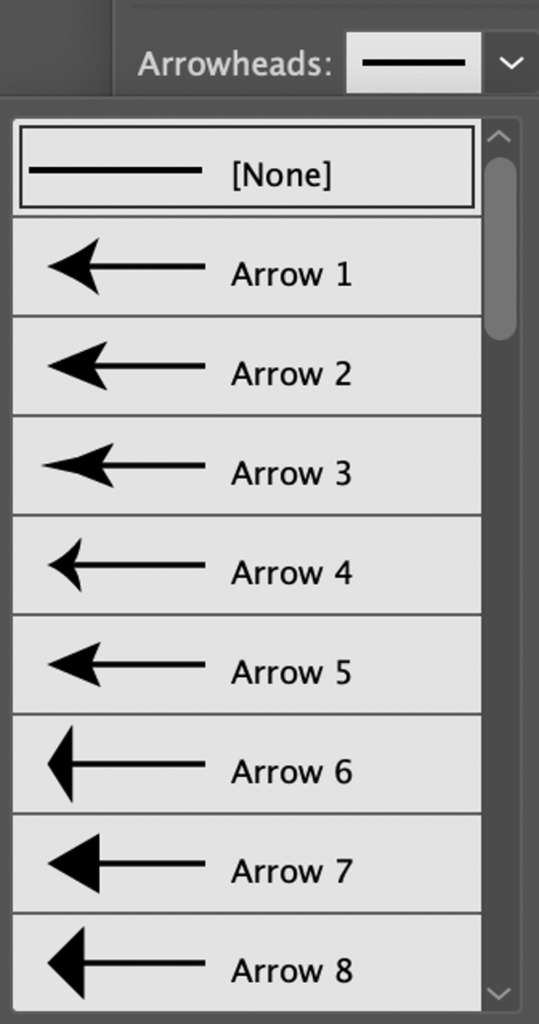
For example, I added Arrow 2 to the left end.

If the arrow is too thin, you can increase the stroke weight to make it thicker.


You can also add an arrowhead on the right side if you need it. The two arrowheads can be different.


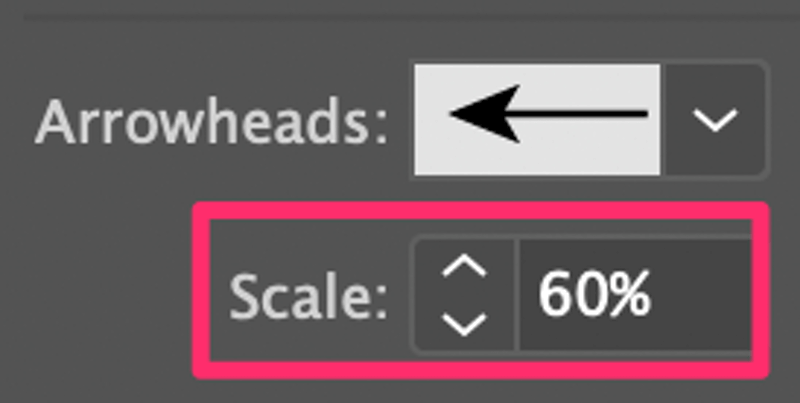
Under the Arrowheads option, you can adjust the scale to change the size of the arrowhead. For example, I changed the Scale to 60% so that it looks more proportional to the line.

Method 2: Shape tools
You’ll be uniting a rectangle and a triangle to make an arrow.
Step 1: Use the Rectangle Tool (keyboard shortcut M) to draw a skinny and long rectangle.

Step 2: Use the Polygon Tool to make a triangle. Simply select the Polygon Tool from the toolbar, click on the canvas, and input 3 sides in the dialog box.


Note: You can use any method you like to make the triangle. I use the Polygon Tool because it’s easier.
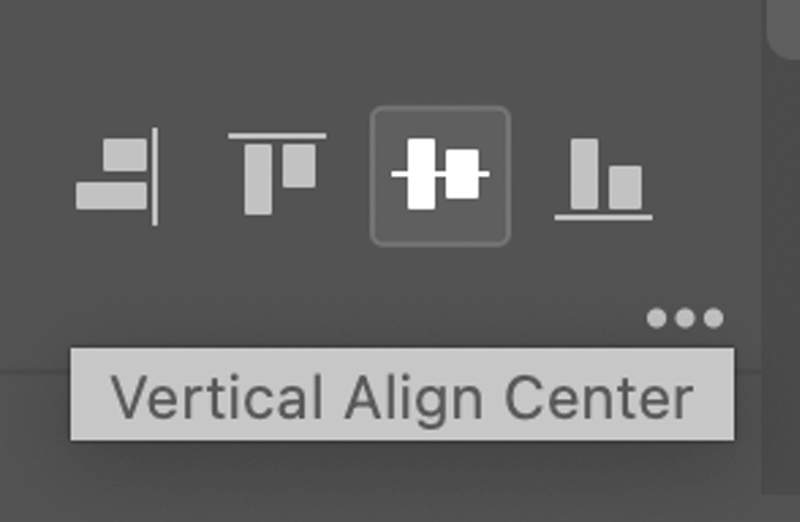
Step 3: Rotate the triangle 45 degrees, place it on either side of the rectangle, and center align both shapes. Resize the shapes accordingly.

Looks like it’s done but we’re still missing one important step! If you press Command/Ctrl + Y to see the outlines, you’ll see that these two are separate shapes, so we’ll need to make them into one.

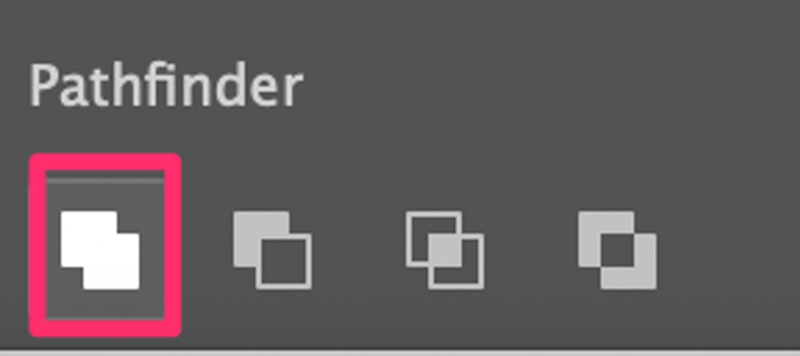
Step 4 (Important): Select both shapes, go to the Pathfinder panel and click Unite.
Now if you go to the Outline view again, you’ll see that the combined shape.

Exit the Outline view by clicking Command/Ctrl + Y again and you can add color to match your design.

Method 3: Pen Tool
You can use the pen tool to make a curvy arrow. The idea is to draw a curve line, and then you can either add arrowheads from the Stroke panel or draw your own with the pen tool.
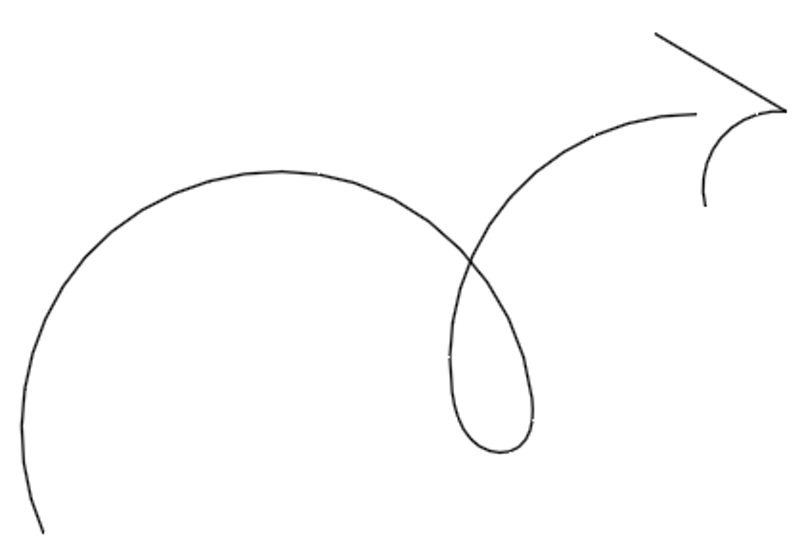
Step 1: Select the pen tool, click on the artboard to create the first anchor point, click again, hold the mouse and drag to create the second anchor point, and you’ll see a curve.

Step 2: Draw a triangle or an arrowhead shape using any method/style you like. I’ll keep using the pen tool.

Tip: You can also add an arrowhead from the Stroke panel. If you do that, you can skip step 3.
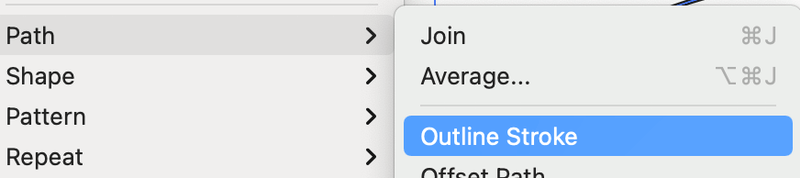
Step 3: Select both the curve line and the arrowhead, go to the overhead menu, and select Object > Path > Outline Stroke. This step turns the curve line (stroke) into a path (shape).
Step 4: Select both again, go to the Pathfinder panel and click Unify.
Tip: If you want to make a crazy wavy arrow, you can keep adding anchor points at Step 1.

Method 4: Paintbrush/Pencil
You can use either the Paintbrush Tool or Pencil Tool to draw freehand a freehand arrow.
Step 1: Select a drawing tool (Paintbrush or Pencil) and start drawing. For example, I used the Paintbrush Tool to draw this arrow.

If you go to the outline view, you’ll see that the arrowhead is not connected to the line and they are both strokes instead of shapes.
Step 2: Select both the curve line and the arrowhead, go to the overhead menu, and select Object > Path > Outline Stroke. Now the actual shape of the arrow shows.
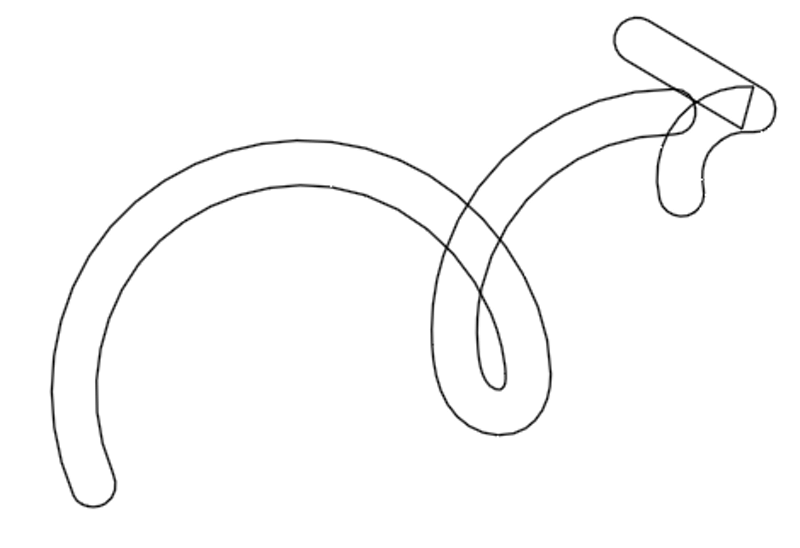
Quite a mess here, but don’t worry, we’ll combine the shapes and the outline will look like this.
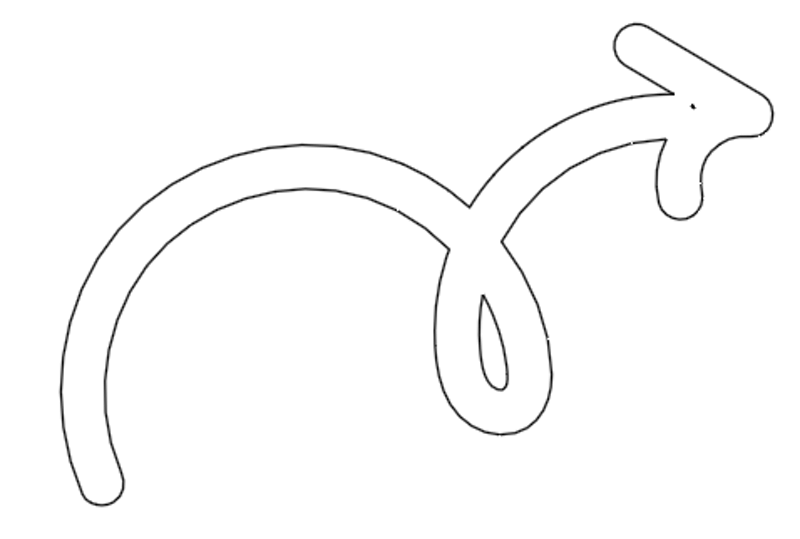
Step 3: Select both again, go to the Pathfinder panel and click Unify, same as step 4 from Method 2.
That’s It!
It’s super easy to draw an arrow in Adobe Illustrator. If you choose method 1, basically you only need to draw a line and change the stroke options.
For other methods, remember to convert to a stroke outline because it’ll be easier for you to edit it later. Also, don’t forget to combine the shapes so that you move, and scale the arrow proportionally. If you want, you can also combine the tools to make your favorite arrows.
Alaa
very helpful. thanks!