
Inverting color is a simple step that can make cool image effects. It can turn your original image into something funky, and weird but creative, depending on how you use it.
Here’s a lazy trick that I use sometimes when I want to explore color combinations. I make several copies of my design and invert its colors, making different variations of each copy. You know what, the results can be stunning. Give it a try.
Well, this only works if the image is editable in Adobe Illustrator. If it’s a raster image, there’s only one step you can do.
In this tutorial, you’ll learn how to invert the color of vector objects and raster images in Adobe Illustrator.
Before getting into the tutorial, make sure you understand the difference between a vector image and a raster image.
Note: the screenshots from this tutorial are taken from Adobe Illustrator CC Mac version. Windows or other versions can look different.
Vector vs Raster
How to tell if the image is editable (vector)? Here’s a quick example.
When you create the design in Adobe Illustrator using its tools, your design is edible. When you select the object, you should be able to see paths or anchor points.
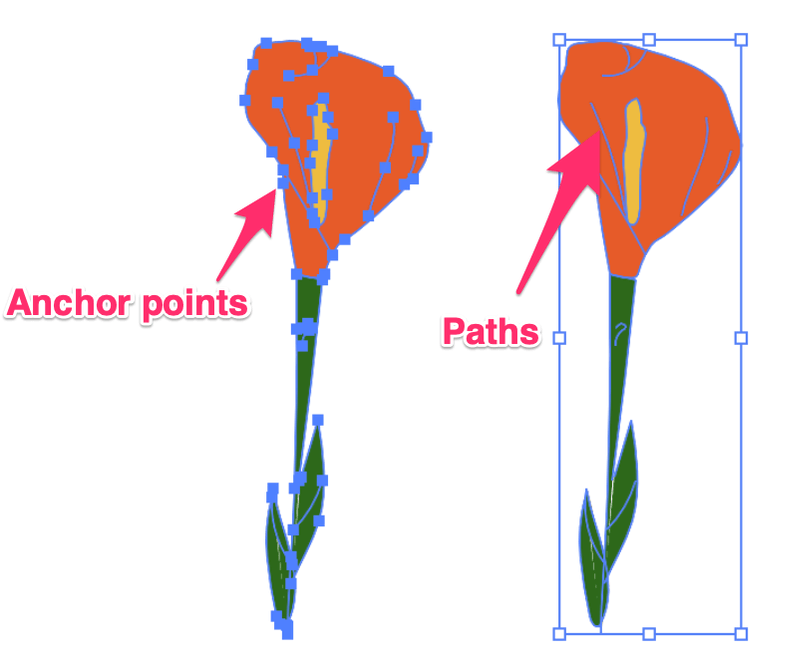
If you use an embedded image (an image you place into an Illustrator document), when you select it, you will not see any paths or anchor points, only the bounding box around the image.
Inverting Vector Color
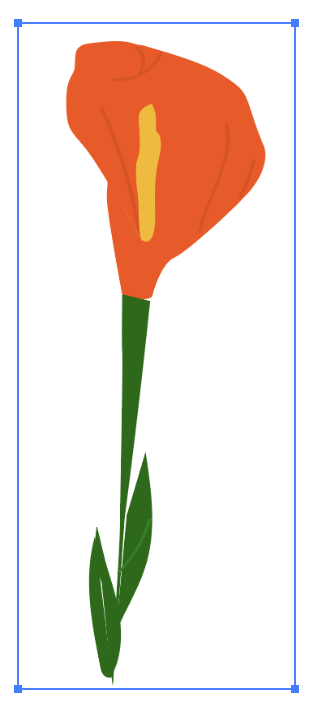
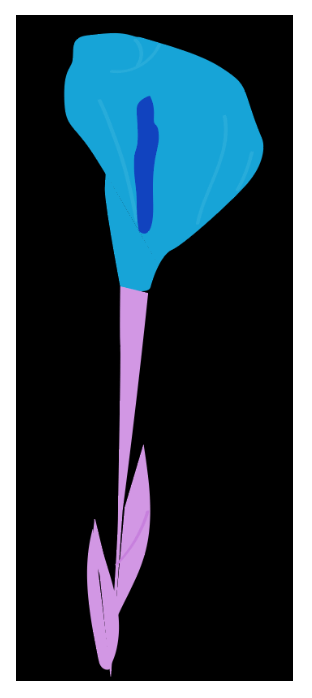
If the vector is editable, meaning if you’re able to change the color in this case, you can invert color from either the Edit menu or the Color panel. Continuing with the flower example, I created it using the pen tool and brush tool in Illustrator, so it’s an editable vector.
If you want to invert the color of the whole vector image, the quickest way would be from the Edit menu. Simply select the object, and go to the overhead menu Edit > Edit Colors > Invert Colors.
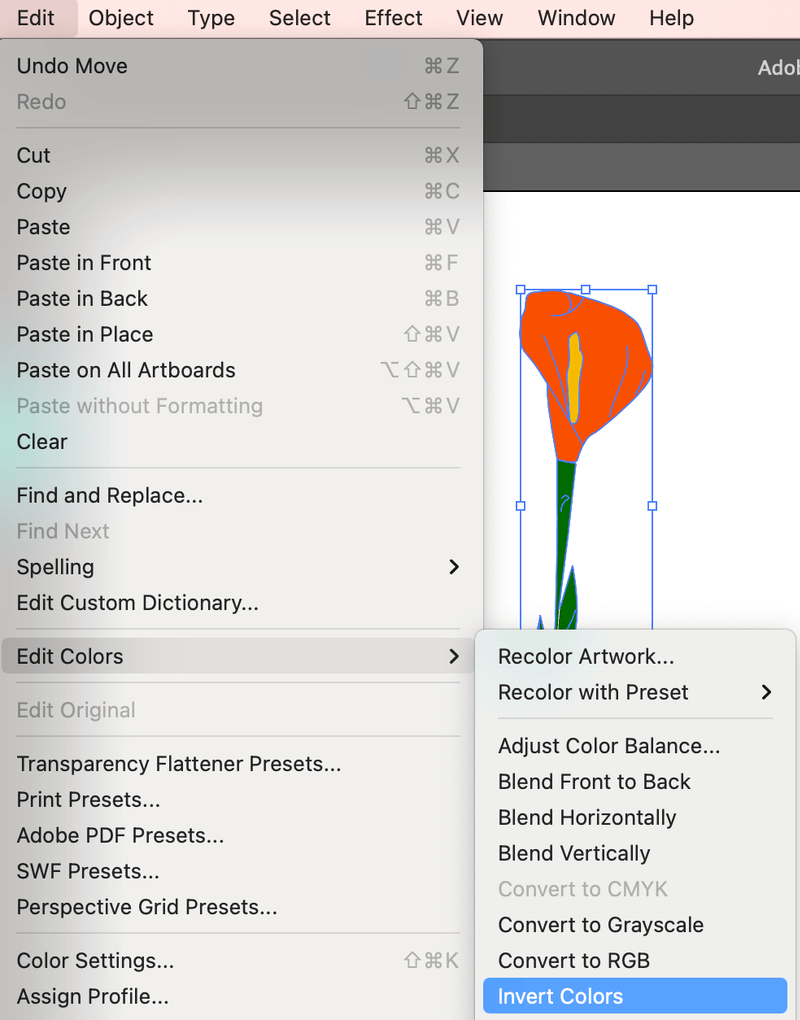
Tip: It’s a good idea to group the objects just in case you miss something. If you decide to change the color of a specific part, you can ungroup and edit it later.
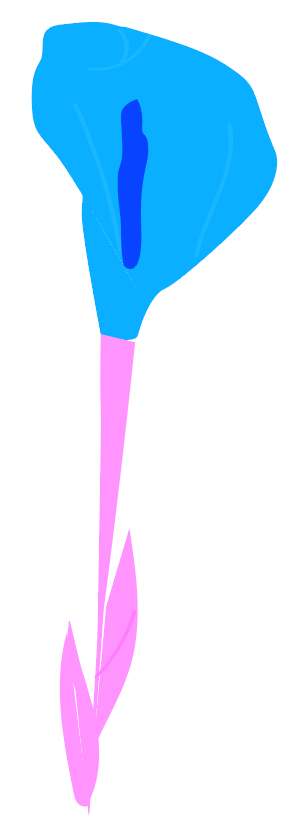
This is the inverted color version.
Not happy with the look? You can select a specific part of the object and change the color from the Color panel. For example, let’s invert the color of the leaves back to the original green.
Step 1: Ungroup the objects if you grouped them previously and select the leaves. Note: you can only select one color at a time if you want to invert color from the Color panel.
Step 2: Click on the hidden menu and select Invert.
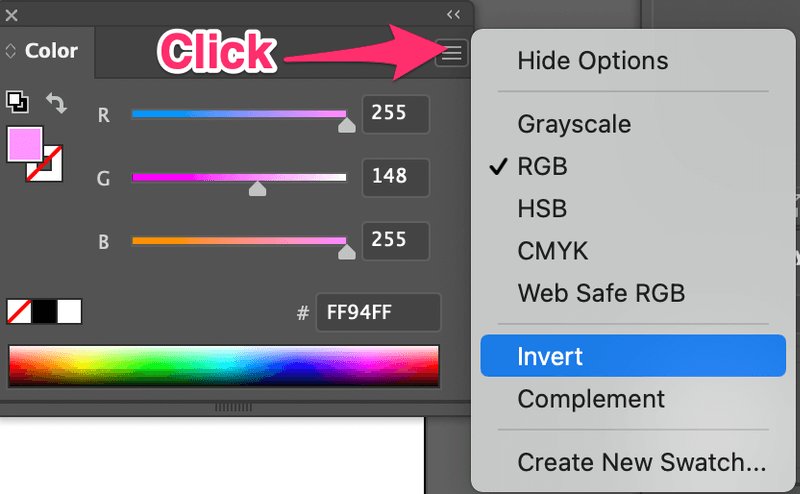
If you don’t want to invert the color back to the original, you can also adjust the color sliders to change it to other colors. Besides shapes, you can also invert pen tool paths or brush strokes.

Inverting Raster Image Color
If you want to invert the color of a photo that you embedded in Illustrator, there’s only one option. You can only invert the image color from the Edit menu and you won’t be able to change the colors.
Using the same example, select the raster flower image, go to the overhead menu and select Edit > Edit Colors > Invert Colors.
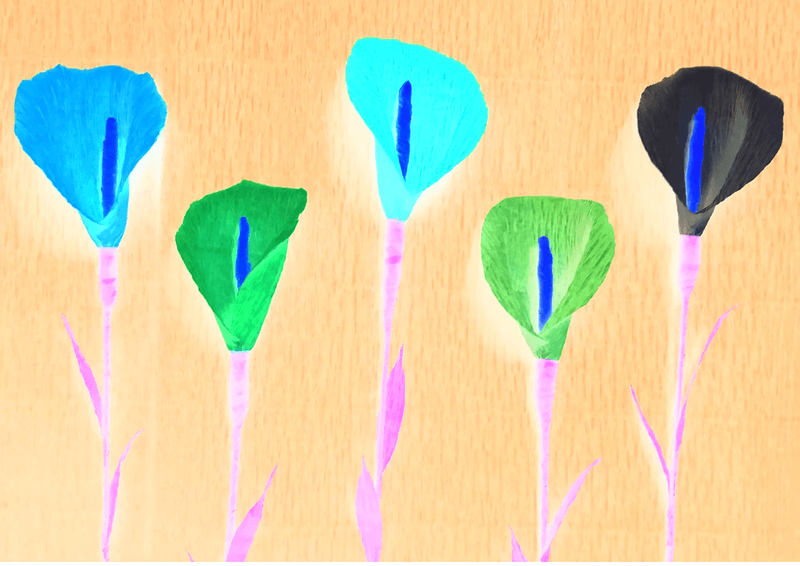
Now you see that the color of the flowers is the same as the vector inverted image, but in this image, there’s a black background. Why is that? Because it inverted the white background from the raster image as well.
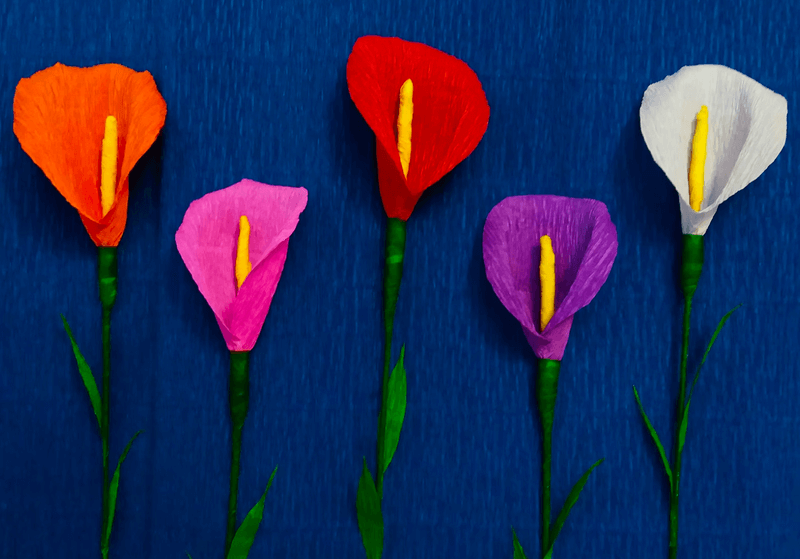
It works the same way for real images, it inverts the whole image, including the background. For example, I placed this image into my document.
This is how it looks after I selected Invert Colors.
Conclusion
You can invert colors of both vector and raster images from the Edit menu, the only difference is, if your image is a vector, you can edit the colors later. And you have the flexibility to invert part of the image instead of the whole image.
Senthil
Very nice
June Escalada
Thanks!