
Although Adobe Illustrator already has a bunch of brushes to choose from, I find some of the brushes not necessarily practical, or they don’t look like real drawing strokes. That’s why I prefer to make and use my own brushes sometimes.
I’m sure some of you feel the same way, and that’s why you’re here, right? Just can’t find the perfect brush for a watercolor project or portrait sketch? No worries!
In this tutorial, you’ll learn how to make hand-drawn brushes, customized vector brushes, and pattern brushes in Adobe Illustrator.
Note: all screenshots from this tutorial are taken from Adobe Illustrator CC Mac version. Windows or other versions can look different.
How to Make a Vector Brush in Illustrator
Actually, you can customize any brush in Adobe Illustrator, and if you want to create one from scratch, of course, you can do that too. Follow the steps below.
Step 1: Open the Brushes panel from the overhead menu Window > Brushes.
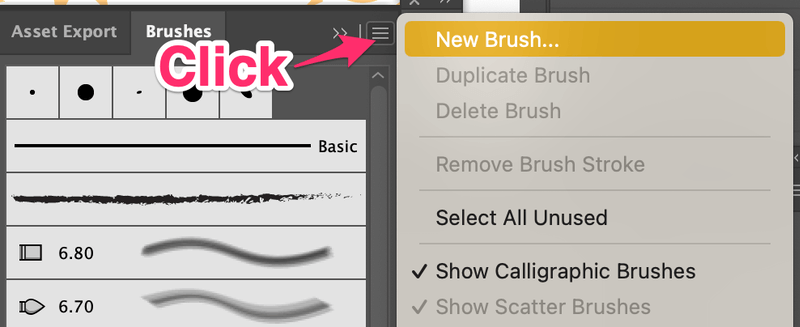
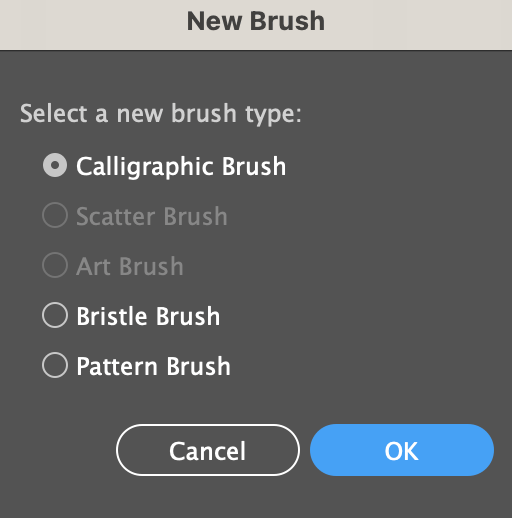
Step 2: Click on the folded menu and choose New Brush. You’ll see five brush types.
Note: Scatter Brush and Art Brush are greyed out because no vector is selected.
Types of Illustrator Brushes
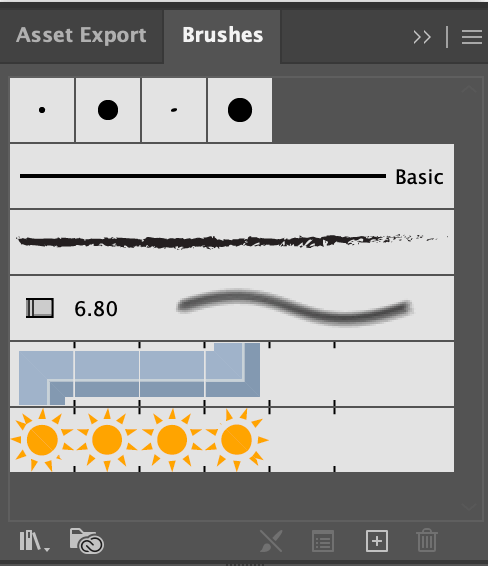
Here’s a quick overview of what they look like.
Calligraphic Brush is similar to a pen or pencil stroke. It’s often used for drawing or hand lettering.

Scatter Brush is made from an existing vector, so you must have a vector selected in order to make a scatter brush.

Art Brush is also made from an existing vector. Usually, I use the pen tool to create an irregular shape and turn it into a brush.

Bristle Brush is similar to a real brush stroke because you can choose the softness of the brush. You can use it to make watercolor effects.
Pattern Brush allows you to create a brush from vector shapes, and you can control the spacing between shapes to create pattern brush strokes.

Step 3: Choose a brush type and customize the settings. The settings for each brush are different.
For example, if you choose Calligraphic Brush, you’ll be able to change its roundness, angle, and size.
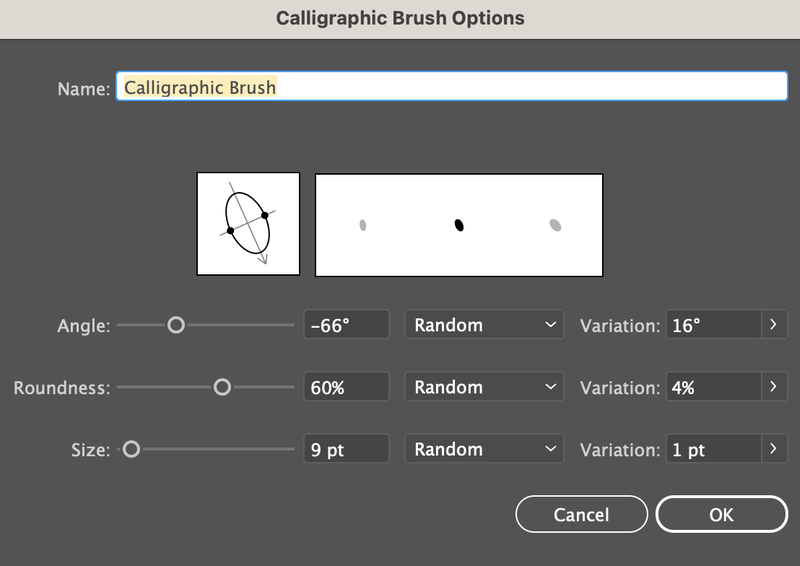
Honestly, size is the least concern because you can adjust the brush size as you use them.

How to Create a Hand-Drawn Brush in Illustrator
Can’t find the perfect watercolor or marker brushes for your project? Well, the most realistic ones are created with actual brushes! It’s easy but complicated at the same time.
It’s easy because you can use a physical brush to draw on paper and the complicated part is vectorizing the brush stroke.
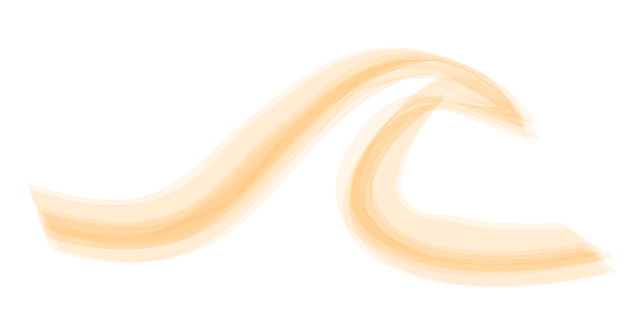
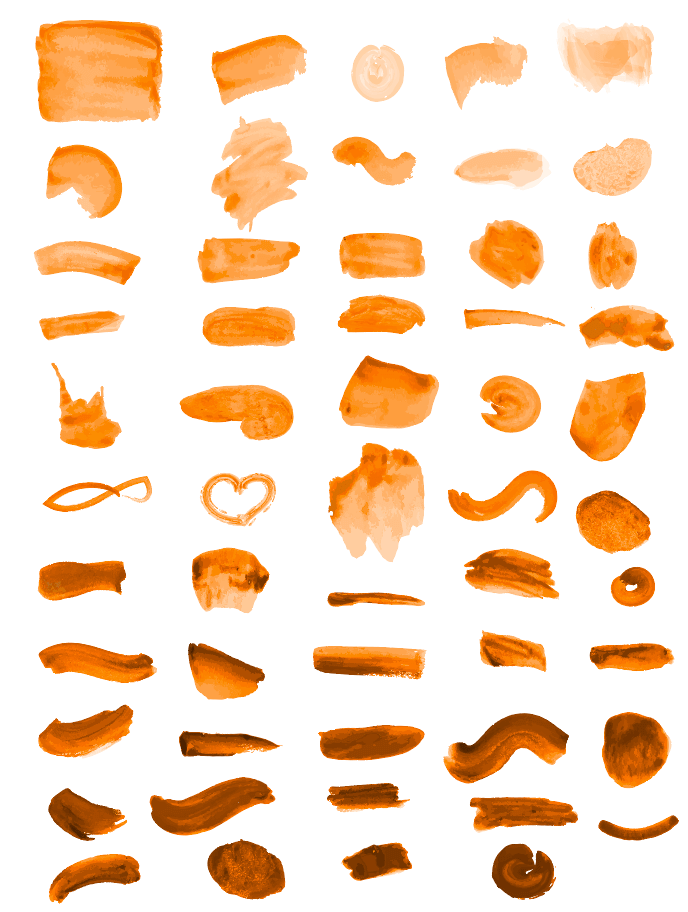
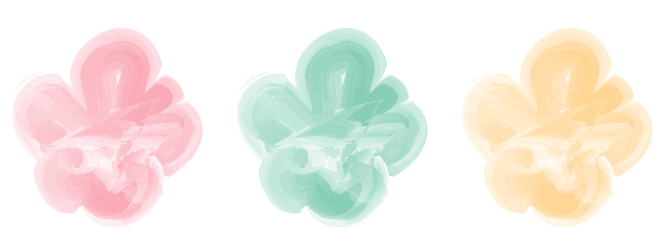
Here is a set of hand-drawn watercolor brushes that I created a while ago.
Want to learn how I added these hand-drawn brushes to Adobe Illustrator? Follow the steps below.
Step 1: Take a photo or scan your hand-drawn brushes and open it in Adobe Illustrator.
Step 2: Vectorize the image and remove the image background. I usually remove the image background in Photoshop because it’s faster.
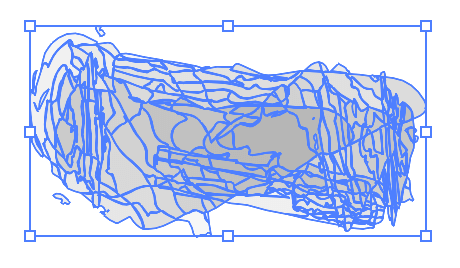
Your vectorized brush should look something like this when it’s selected.
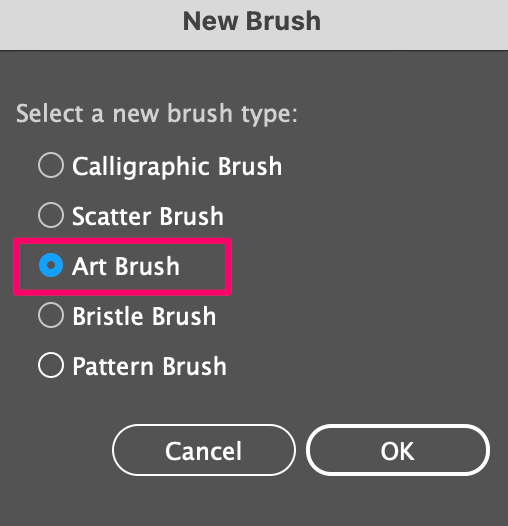
Step 3: Select the vectorized brush and drag it to the Brushes panel. Choose Art Brush as the brush type.
Step 4: You can edit the brush style in this dialog window. Change the brush name, direction, colorization, etc.
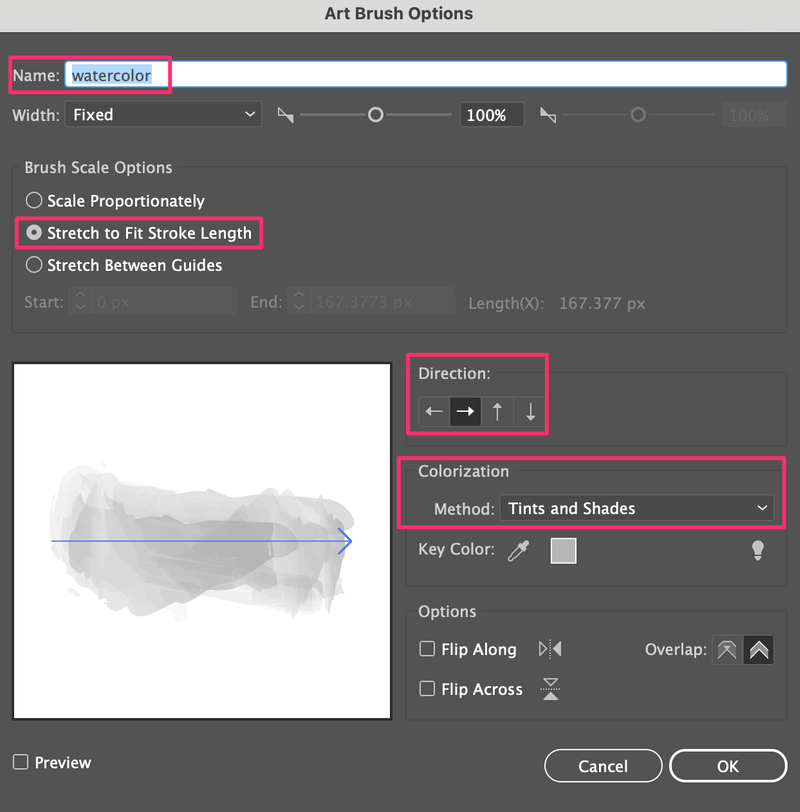
The most important part is Colorization. Choose Tints and Shades, otherwise, you wouldn’t be able to change the brush color when you use it.
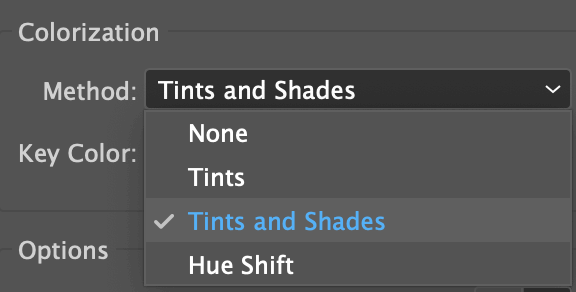
Click OK and you can use the brush!
How to Create a Pattern Brush in Illustrator
You can use this method to turn a vector into a brush. All you need to do is drag a vector pattern or shape to the Brushes panel.
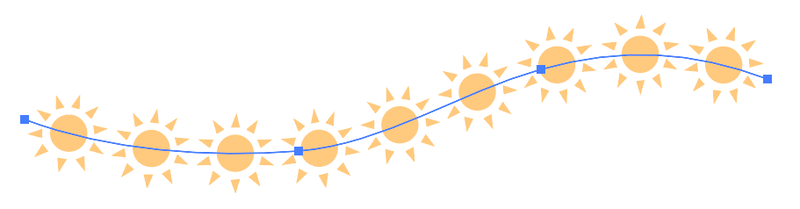
For example, I’ll show you how to make a pattern brush from this sun icon.

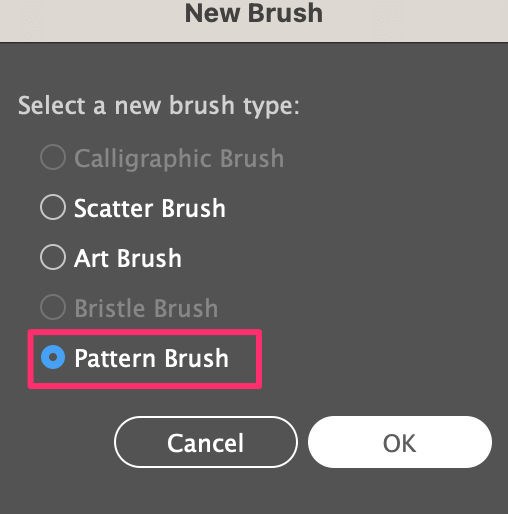
Step 1: Select the sun vector and drag it to the Brushes panel. The New Brush setting window will pop up.
Step 2: Choose Pattern Brush and click OK.
Step 3: Change Pattern Brushes Options settings. From this settings window, you can change the spacing, colorization, etc. I usually change the colorization method to Tints and Shades. You can explore the options and see how it looks from the preview window.

Click OK once you’re satisfied with the pattern brush and it’ll show on the Brushes panel.
Try it out.
Tip: If you want to edit the brush, simply double-click the brush on the Brushes panel and it’ll open up the Pattern Brush Options settings window again.
If you don’t have time make brushes every time. Feel free to check out some of the commonly used Illustrator brushes that I put together:
Wrapping Up
You create a brush from scratch or from a vector shape in Adobe Illustrator. I’d say the easiest way is by dragging an existing vector to the Brushes panel. Remember, if you want to make a hand-drawn brush, you must vectorize the image first.
Ravi
Really helpful!
Bonnie
I fell across your website today and just wanted to let you know how great I think your tutorials are; very clear and concise! Plus, I think I’m burnt out on videos online for courses/tutorials with fast forwarding/rewinding, long introductions. Your tutorials allow me to read and scan for what I need. Thank you!
June Escalada
Hey Bonnie, glad you find my tutorials helpful.