Creating pixel art in Adobe Illustrator? That sounds rare because Illustrator works best with vectors, but you’d be surprised how great it is for making pixel art too. Actually, it’s a good choice to make pixel art in Illustrator because you can scale the vector without losing its quality.
Some of you might’ve already tried to duplicate squares to make pixel art, okay, you could use the grids and squares to make it, and actually, that was how I started.
But as I create more, I’ve found a much easier solution and I’ll be sharing the method with you in this tutorial.
The two essential tools you’ll be using are the Rectangular Grid Tool and Live Paint Bucket. These tools can sound new to you but don’t worry, I’ll guide you through using a simple example.
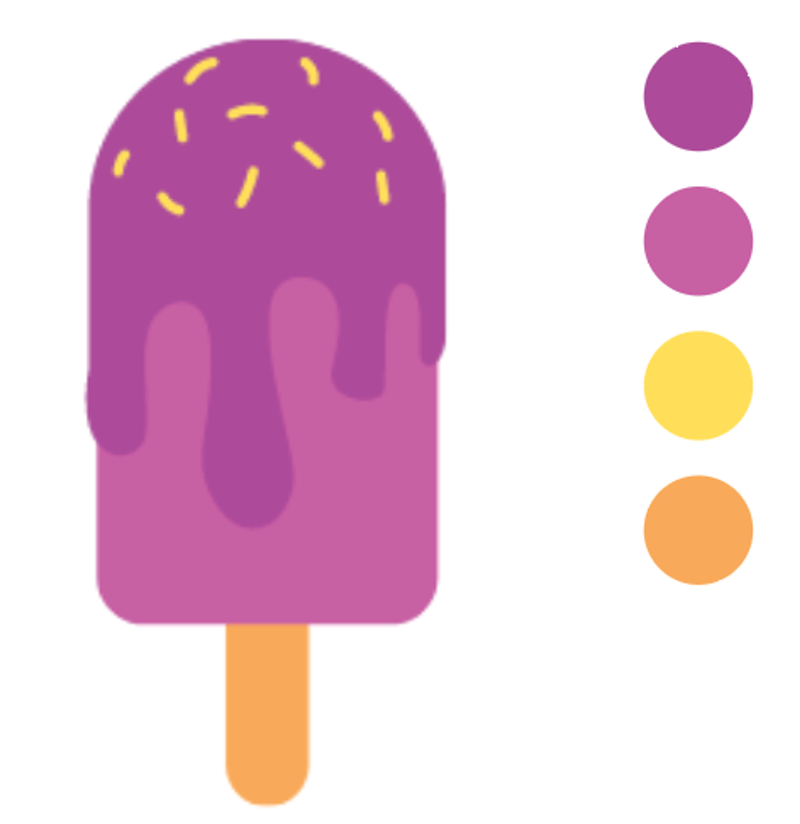
Let’s make a pixel art version of this ice cream vector following the steps below.

Note: the screenshots from this tutorial are taken from Adobe Illustrator CC Mac version. Windows or other versions can look different.
Step 1: Create a new document and set the Width and Height to 500 x 500 pixels.
Step 2: Choose the Rectangular Grid Tool from your toolbar, which should be in the same menu as the Line Segment Tool. If you’re using the basic toolbar, you can find the Rectangular Grid Tool from the Edit Toolbar menu.
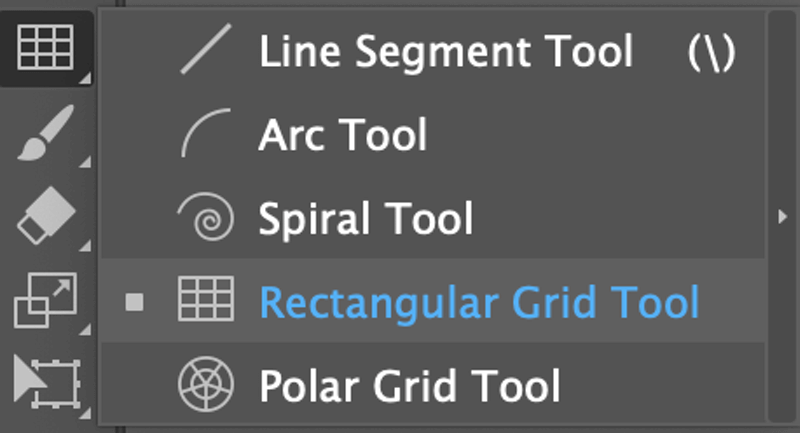
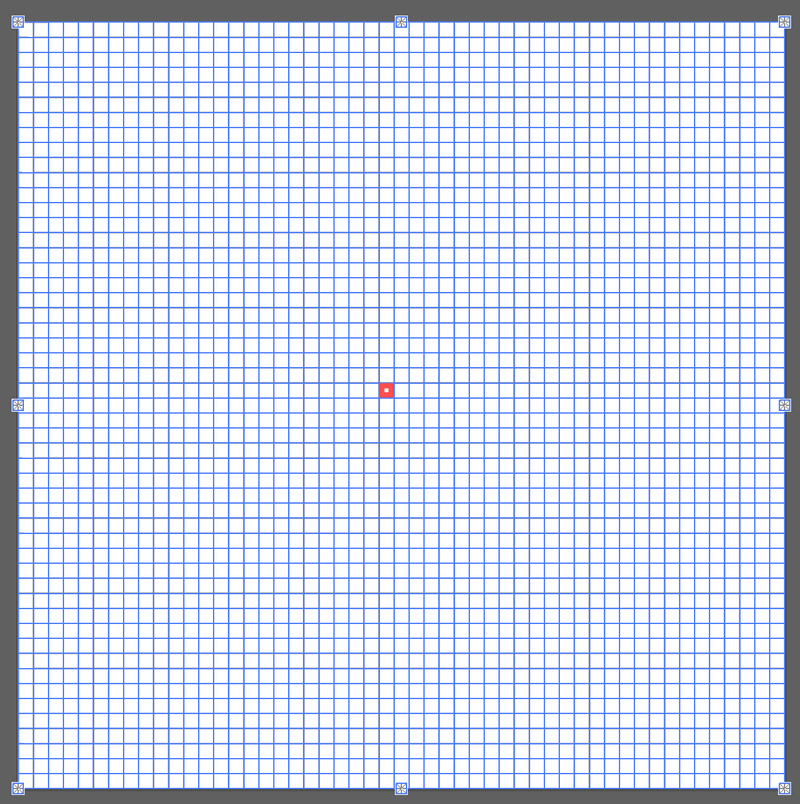
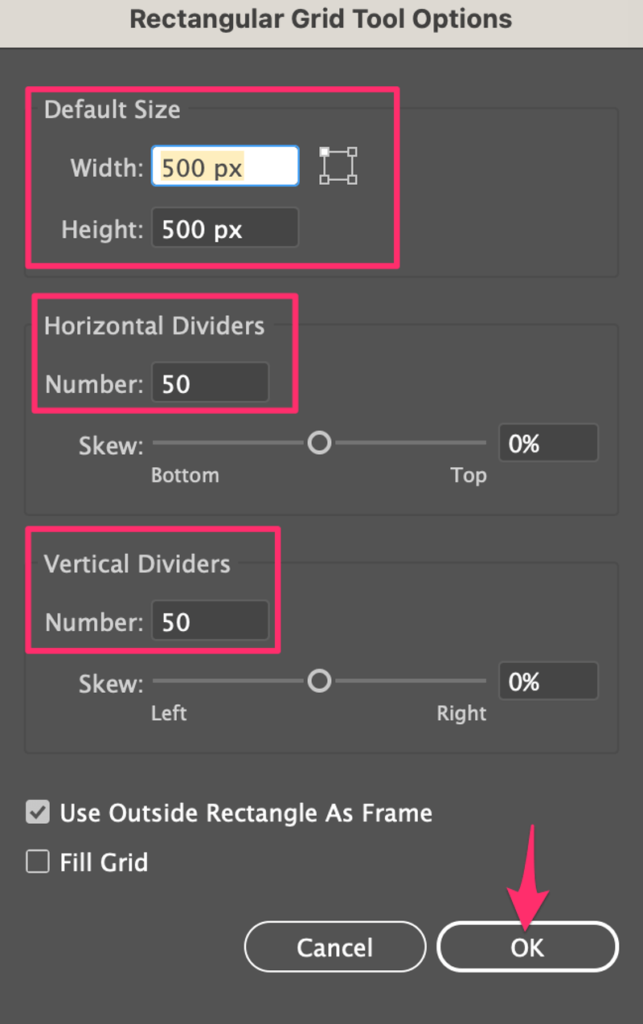
Select the Rectangular Grid Tool and click on the artboard. Set the Width & Height to the same size as your artboard, and increase the number of horizontal & vertical dividers. The number determines the number of grids in a vertical or horizontal row.
The higher the number, the more grids it’ll create and more grids mean each grid is smaller than if you’d have fewer grids. For example, if you put 50 for Horizontal Dividers and 50 for Vertical Dividers, this is what it would look like:
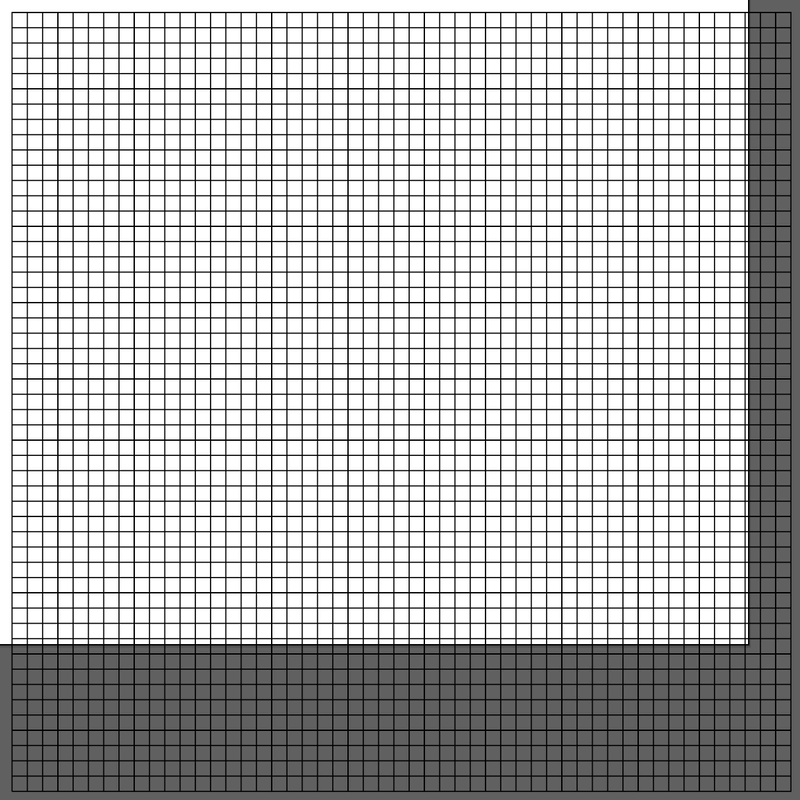
Step 3: Align the grid to the center of the artboard. Select the grid, and click on Horizontal Align Center and Vertical Align Center from Properties > Align.
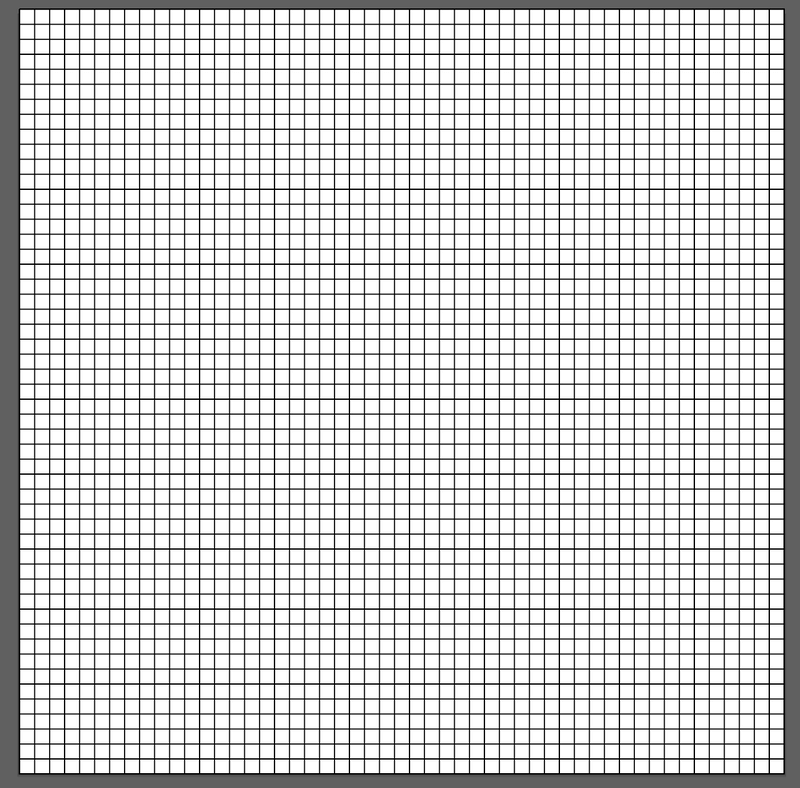
Step 4: Make a palette of the colors you’re going to use for the pixel art.
For example, let’s use the colors from the ice cream vector. So use the Eyedropper tool to sample colors from the image, and add them to the Swatches panel.
Step 5: Use the Selection tool (keyboard shortcut V) to click on the grid, and activate the Live Paint Bucket tool using the K key or find it on the toolbar.
You should see a small square on the grid that you hover over, which means you can start drawing or simply click on the grids to fill up the grids.
Step 6: Choose a color and start drawing. If you want to change colors from the same palette, simply hit the left and right arrow keys on your keyboard.
If you’re not confident to draw it freehand, you can place the image to the back of the grid, lower the opacity and use Live Paint Bucket to trace the outline.
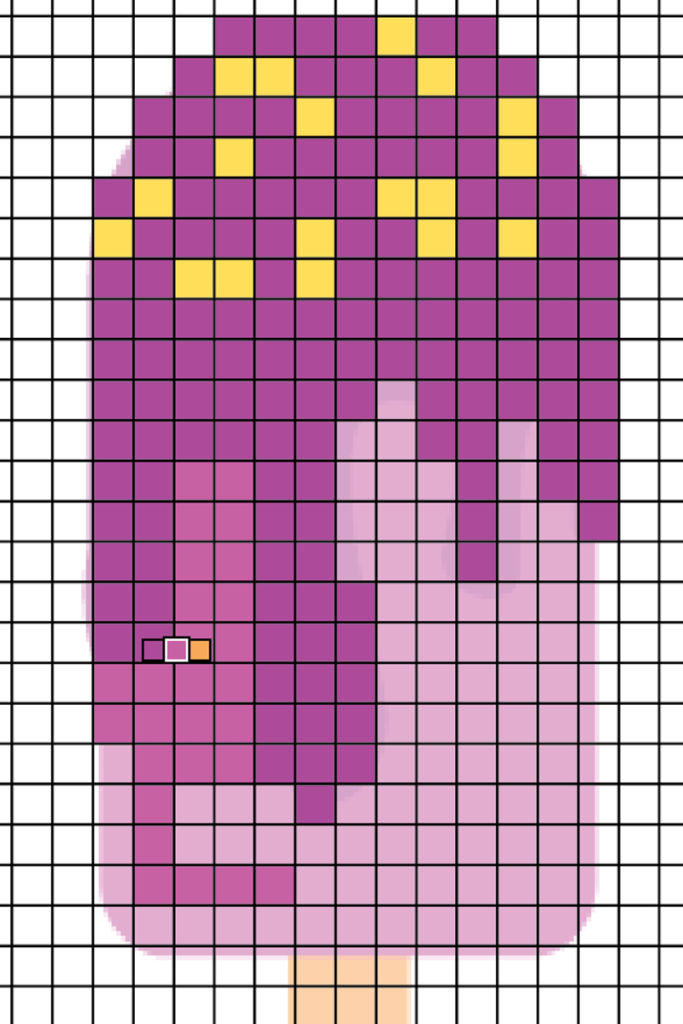
Once you finish adding colors, delete the image on the back.
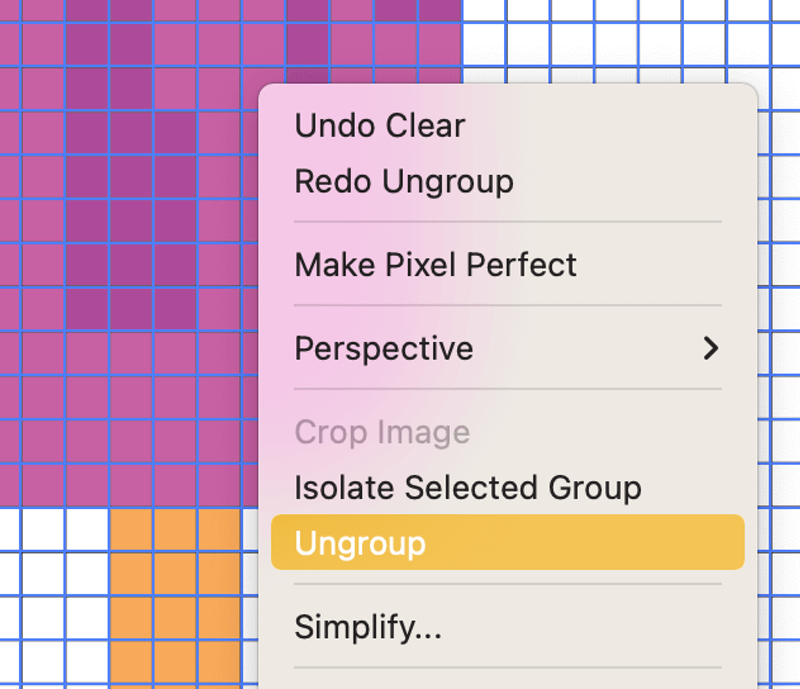
Step 7: Right-click on the grid and choose Ungroup.
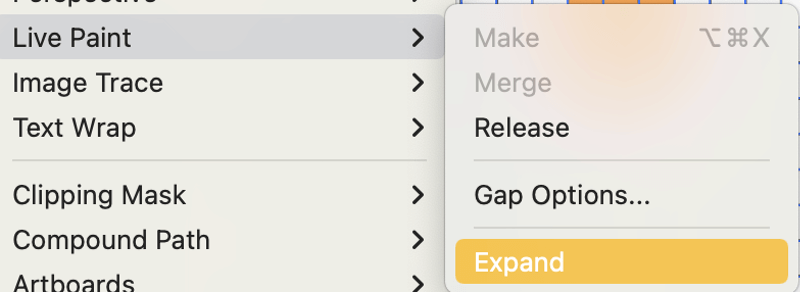
Step 8: Go to the overhead menu Object > Live Paint > Expand.
Step 9: Choose the Magic Wand Tool (keyboard shortcut Y) on the toolbar.
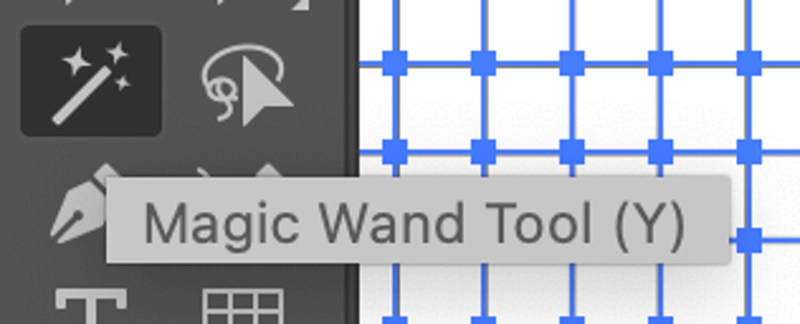
Click on the grid and hit the Delete button. That’s how you can convert a vector to pixel art in Adobe Illustrator.

You can use the same method to create pixel art from scratch. Instead of tracing the image, simply draw freely on the grids.
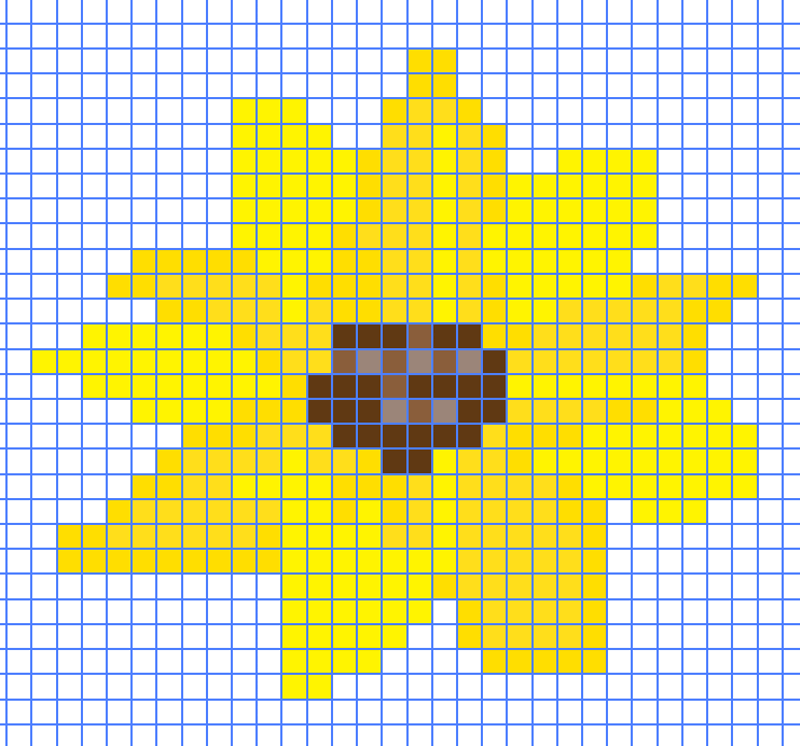
That’s It
So yes! You can definitely make pixel art in Adobe Illustrator and the best tools to use are Live Paint Bucket and Rectangular Grid Tool. Make sure to ungroup the artwork and the grid once you finish, and expand the Live Paint to get final the result.
The best part of making pixel art in Illustrator is that you can always go back to recolor artwork or scale it for different uses.

Jessica
Thank you so much for this! I’ve been having a blast at work today making pixel art.
June Escalada
Hey Jessica, glad it helped!
Samuel
This is an amazing discovery for me and wonderful past time. Thank you for making this guide. In the future, make one of those moving pixels, maybe??
June Escalada
You’re welcome, Samuel! Sure, I’ll be creating new content for sure.
Lumus
Tedious dumbass tutorial. Why bother making a grid when you can just use the Rasterize effect?