There are many ways to draw circles in Adobe Illustrator. For example, you can use the Pen Tool or Brushes to draw circles. However, there’s only one tool that you can use to draw a perfect circle – the Ellipse Tool.
I know, I’ve also tried to trace a circle with the Pen Tool when I was trying to create something more of a handmade feel because I didn’t want the circle to be “too perfect”, but the result just wasn’t ideal.
There’s a trick to that though, you can use the Ellipse Tool to draw a perfect circle, and then modify the stroke 😉 I’ll show you how later on.
In this article, you’ll learn how to make a perfect circle and some tricks to make variations a perfect circle in Adobe Illustrator.
Note: All screenshots from this tutorial are taken from Adobe Illustrator CC Mac version. Windows or other versions can look different.
Method 1: Click and Drag
You can use the Ellipse Tool to quickly draw a perfect circle. Creating a shape using the ready-to-use shape tools is super easy. There are five ready-to-use shape tools in Adobe Illustrator, and the Ellipse Tool is one of those.
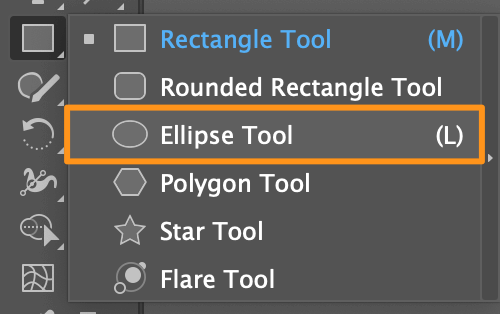
Step 1: Choose the Ellipse Tool from the toolbar or use the keyboard shortcut L to activate the Ellipse Tool.
Step 2: Hold down the Shift key, click, and drag toward the bottom right corner of the artboard to create a circle.
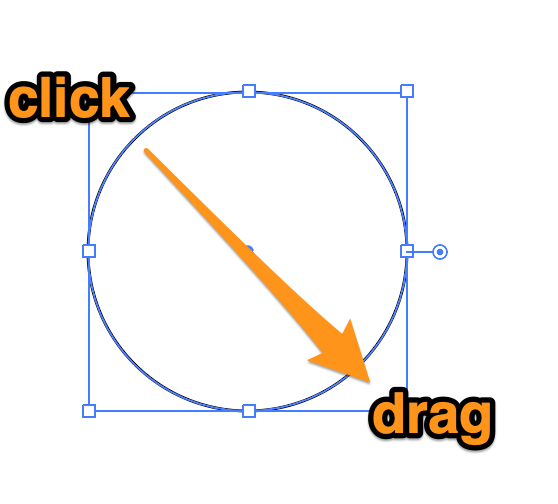
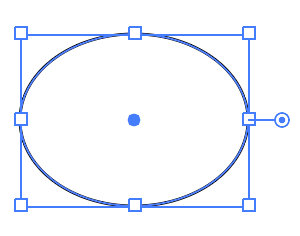
Note: Don’t let go of the Shift key until you let go of your mouse or trackpad (if you’re drawing a circle without a mouse), otherwise, the circle will be distorted.
Method 2: Input the Size
If you have a specific size for the circle, you can use this method to make sure that the circle is exactly what you need.
Step 1: Same as in Method 1. Choose the Ellipse Tool from the toolbar or use the keyboard shortcut L to activate the Ellipse Tool.
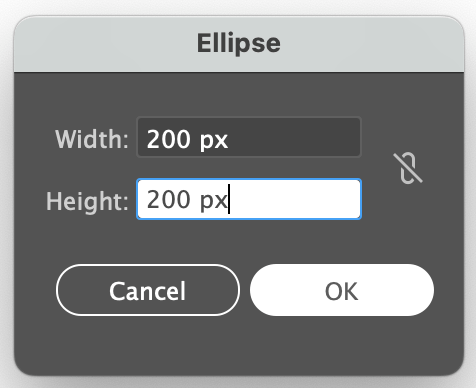
Step 2: Click on the artboard, and you’ll see a setting dialog window where you can manually input the size (Width and Height) of the shape. The measurement unit varies based on your document unit. For example, mine is in pixels (px).
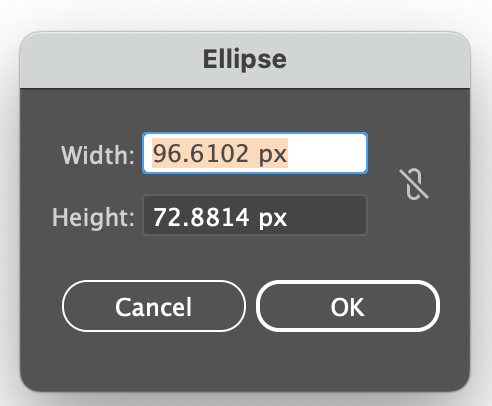
Input the same Width and Height value, click OK, and you’ll create a perfect circle.
That’s it. Now you can fill the circle with color, or if you want to have a circle outline, simply change the Fill color to none, and choose a Stroke color.
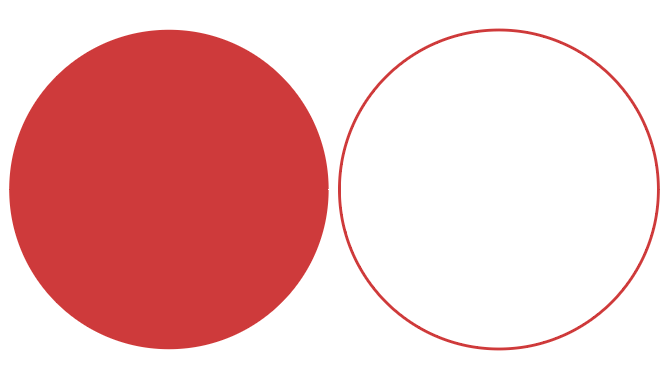
You can also create a dotted circle and it’s basically the same as creating a dotted line.
How to Create a Perfect Dotted Circle in Adobe Illustrator
You can use either method above to create a circle, and then follow the steps below to change the stroke outline to a dotted outline.
Step 1: Remove the Fill color of the circle and choose a stroke color.
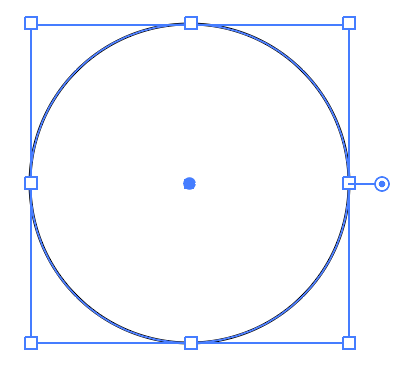
Step 2: Select the circle, go to the Properties panel click on Stroke to change the Stroke style.
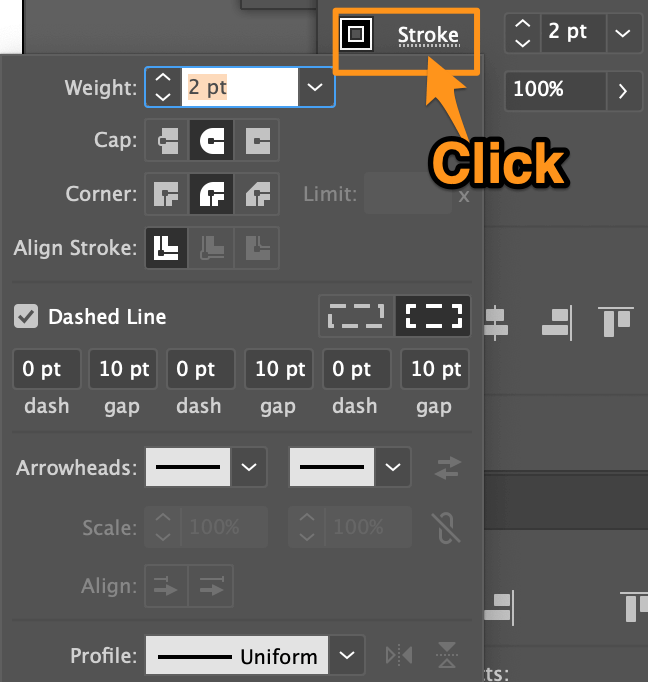
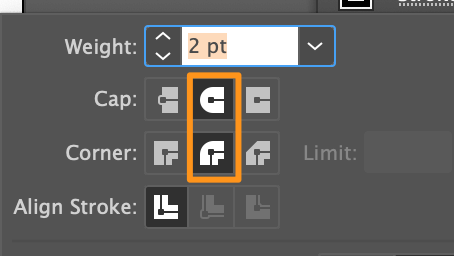
Step 3: Change both Cap and Corner to Round Cap and Round Join (the option in the middle).
Step 4: Check the Dashed Line box, change all the Dashed values to 0, and choose the same Gap value for all gaps. The value determines the space between each dot.
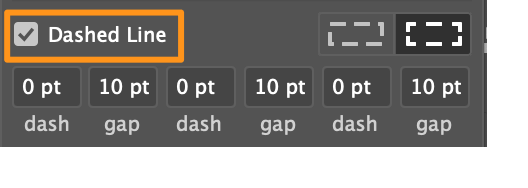
Once you finish this step, you should see a perfect dotted circle. If you want to change the dot colors, simply change the stroke color, and if you want to make the dots bigger, change the stroke weight.

Bonus Tip
Now, what if you want to make an imperfect but perfect hand-drawn circle?
You’ll be playing around with the stroke as well. Here’s the trick.
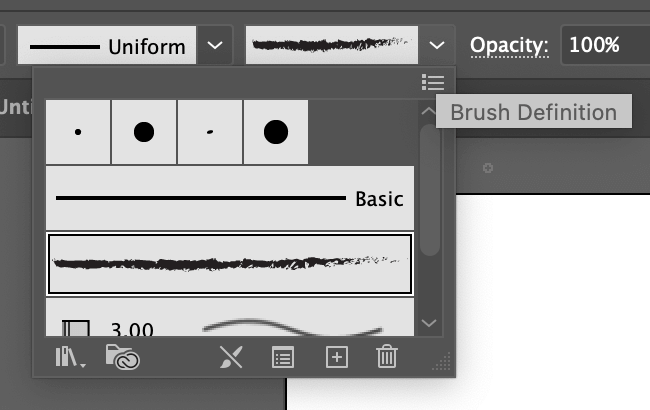
You can open the Brushes panel and choose a brush stroke! Simply select the circle with a stroke color/outline, open the Brushes panel from Window > Brushes, and choose a brush style.

Since you didn’t use the paintbrush to draw, you might not see the panel on the right-head size. However, you can choose the Brushstroke from the top toolbar 😉
Wrapping Up
Drawing a perfect circle in Adobe Illustrator is so easy, and there’s a lot you can do with it, such as making dotted circles and playing with the strokes to make stylish circles.
There’s only one thing you should keep in mind when you use Method 1 to create the circle – don’t let go of the Shift key until you let go out the mouse 🙂
