
You can use the Blend Tool or Blending Options to make a lot of things easier and faster. For example, creating 3D text effects, making a color palette, or blending shapes together are some of the cool things that the Blend Tool can do in just a minute.
There are two ways to find and use the Blend Tool in Adobe Illustrator, from the toolbar or overhead menu. They function the same way, and both effects can be adjusted by changing the blending options.
So it doesn’t matter which method you use, the key to making magic happen is by adjusting Blend Options and a couple of effects that I’ll guide you through.
In this tutorial, I’m going to show you how to use the Blend Tool and what are some cool things that you can do with it.
Note: the screenshots are taken from Adobe Illustrator CC Mac version. Windows and other versions can look different. If you’re using keyboard shortcuts, Windows users change the Command key to Ctrl.
Method 1: Blend Tool (keyboard shortcut W)
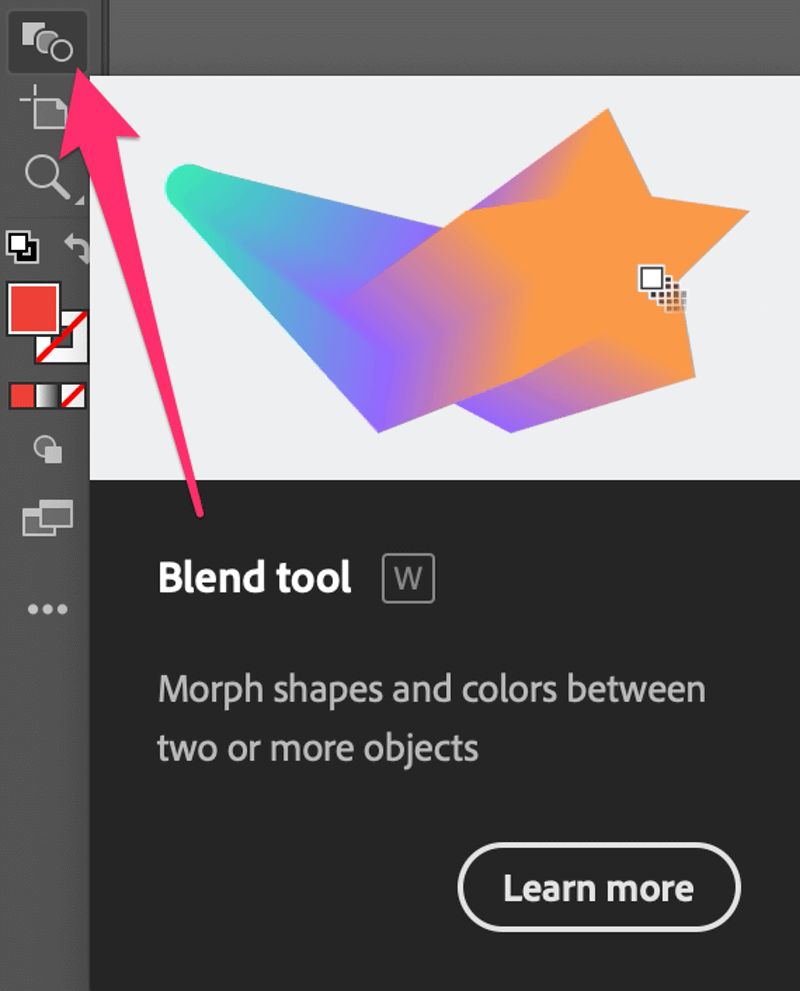
The Blend Tool should be already on your default toolbar. This is what the Blend Tool looks like, or you can quickly activate it by hitting the W key on your keyboard.
For example, let’s use the Blend tool to blend these three circles together.

Step 1: Select the objects you want to blend, in this case, select all three circles.
Step 2: Choose the Blend Tool from the toolbar, and click on each of the circles. You’ll see a nice blend between the two colors you click.
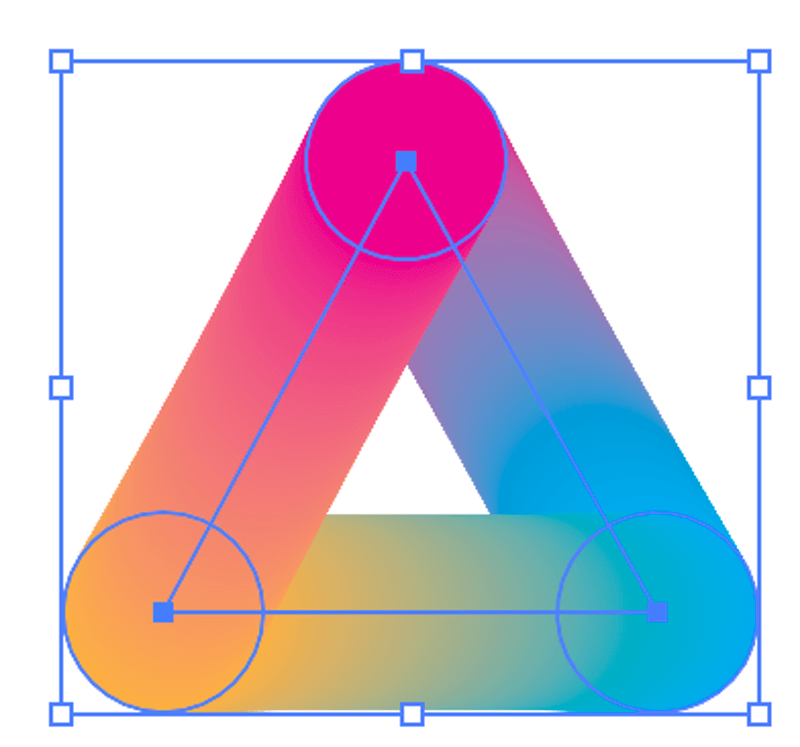
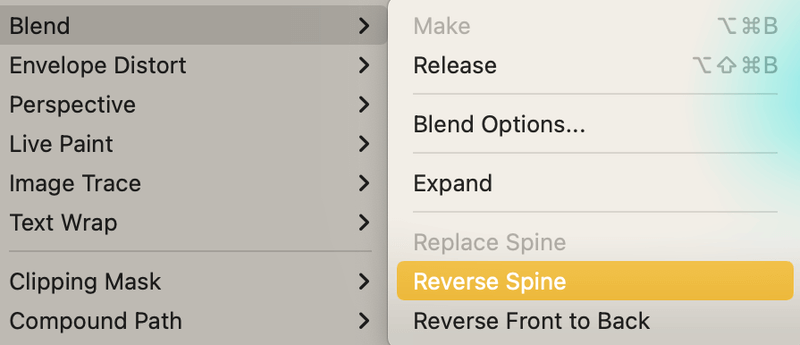
If you want to change the blend color direction, you can go to the overhead menu Object > Blend > Reverse Spine or Reverse Front to Back.

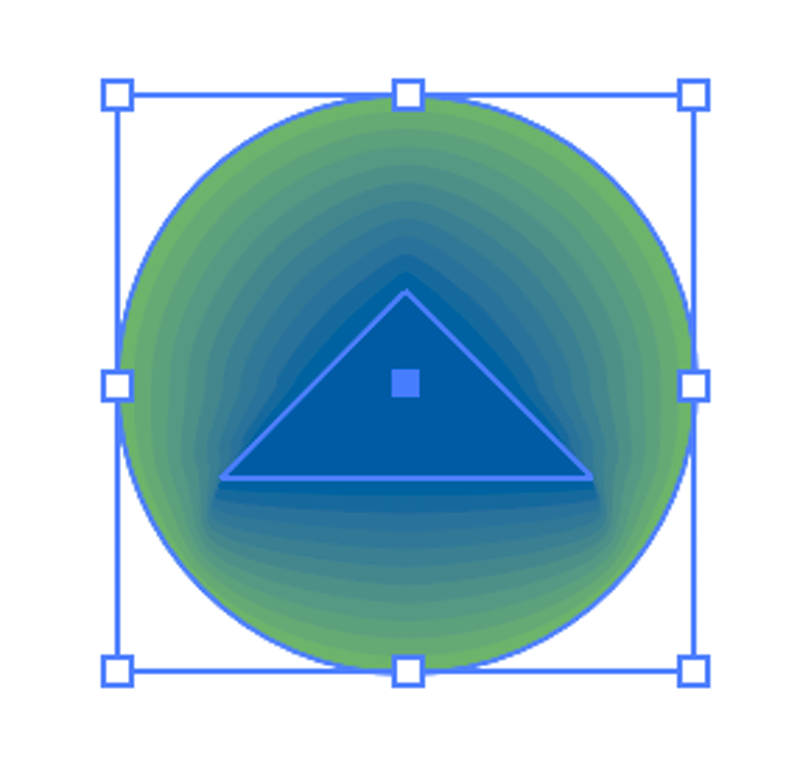
You can also blend a shape within another shape using the same method. For example, If you want to blend the triangle within the circle, select both and use the Blend tool to click on both.
Tip: You can make gradient-style icons using this method and it’s much easier than creating a gradient color from scratch. You can also use it to fill a path that you created.
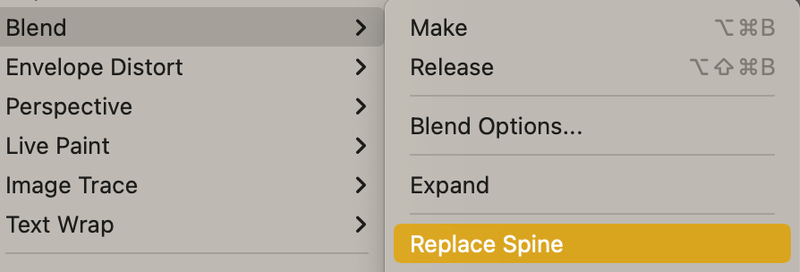
All you have to do is choose both the path and the blended shape, and choose Object > Blend > Replace Spine.
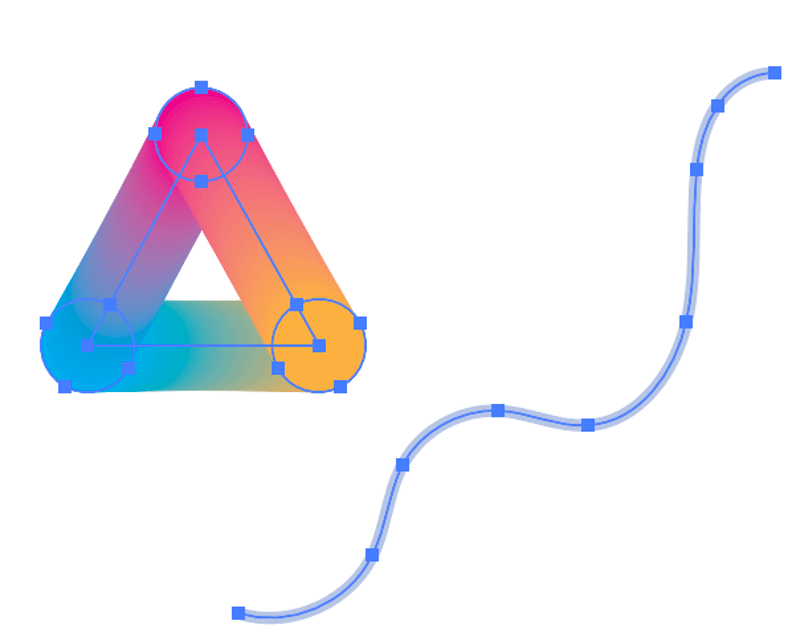
The original path stroke will be replaced with the blend you created.

So the Blend tool from the toolbar is good for making gradient effects. Now let’s see what Method 2 has to offer.
Methos 2: Object > Blend > Make
It almost works exactly like method 1, except that you don’t have to click on the shapes. Simply select the objects, and go to Object > Blend > Make, or use the keyboard shortcut Command + Option + B (Ctrl + Alt + B for Windows users).
For example, let’s make a cool blended text effect.
Step 1: Add text to your Illustrator document and make a copy of the text.
Step 2: Select both texts and hit Command + O to create a text outline.

Step 3: Choose two different colors for the text, resize one of the outlined text, and send the smaller text to the back.

Step 4: Select both texts and go to Object > Blend > Make. You should see something like this.

As you can see the fading effect doesn’t look convincing, so we’ll adjust the blending options.
Step 5: Go to Object > Blend > Blend Options. If your Spacing isn’t set to Specified Steps already, change it to that. Increase the steps, because the higher the number, the better it blends.

Click OK once you’re happy with the result.
You can also use the Specified Steps option to create a color palette. Create two shapes, choose two base colors and use either of the methods above to blend them.

If it comes out like this, that means the Spacing option is either Specified Distance or Smooth Color, so change it to Specified Steps.

In this case, the number of steps should be the number of the color you want on your palette minus two. For example, if you want five colors on your palette, put 3, because the other two colors are the two shapes you use to blend.

Conclusion
Honestly, there isn’t a huge difference between either method you use, because the key is the Blend Options. If you want to make a nice gradient blend, choose Smooth Color as Spacing, and if you want to make a color palette or fading effect, change the Spacing to Specified Steps.
Mohsen Biyari
Thank you, It was very useful for me
June Escalada
You’re welcome Mohsen!
Anik Das
Thank You so much
Noah
Do you know just how to blend two colors?
June Escalada
Hi Noah,
How would you like to blend the two colors?
michael
Hi i would like to know how to blend a few images from left to right to create a logo. is that possible? for exemple 3-4 images about Lord of the rings and creating some kind of banner that you can see all the images one by one but they fluidly blend together.
June Escalada
Hi Michael, do you use Photoshop? It’s going to be much easier to do that in Photoshop.
KK
Hi please how do I join two paths to create a clean path. For example a line joins another but overlaps, i want to get rid of that overlap to have a clean shape finish
June Escalada
Hi, you can use the Join command. Select the two lines, and use the keyboard shortcut Command + J.
Here’s a tutorial with a couple of examples: https://illustratorhow.com/join-lines/
Hope it helps!