
Comic Strip is all about storytelling and arranging your storyboard! So the first thing you need to do is to Create a Comic Book Template in Illustrator. Then you can add your artwork to individual storyboards.
I like to use Adobe Illustrator to make comic strips because it’s easy to make a template and add my design to it.
In this article, I will show you how to create a 4-panel comic book layout to create comic art in Adobe Illustrator.
Let’s get started.
Key Takeaways
- Having an underlying template will keep you on a standard comic page whether you are printing or just publishing digitally.
- Adding splashes of creativity through your comic will help create visual interest and keep the reader going
- The rectangle tool is wonderful to get some starting boxes going as you develop your comic
How to Create a Comic Stripe Template in Adobe Illustrator
A template helps you create an organized structure to build from creatively. We are going to build our own 4-panel template to build comic strips and pages on.
Note: The screenshots from this tutorial are taken from Adobe Illustrator CC Windows version.
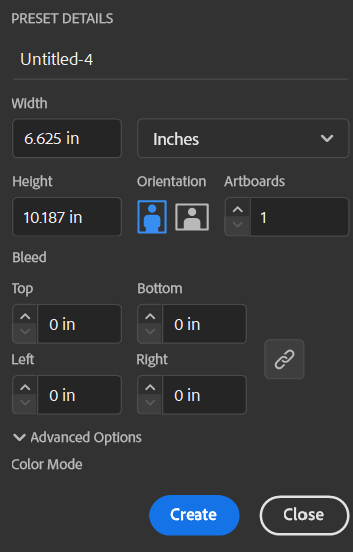
Step 1: In Adobe Illustrator, we are going to create a new document. The standard American comic page size is 6.625” by 10.187”.
If you’re not familiar with inches, you can change the measurement units accordingly.
If you plan to print your comics, you will want to add a bleed of 0.125” on each side. We are going to make this template for digital comics, so we will continue with the regular page size.
Step 2: We will be making a 4-panel template which is 4×4. So choose the Rectangle Tool, click on the artboard, and make a box 1.47” wide by 2.3” tall.
It will need to be 0.25” from the edge of the artboard. As is traditional with drawing comics, often a cyan blue is used for the linework so that is what I’m using. No fill, and a cyan blue outline 1pt.
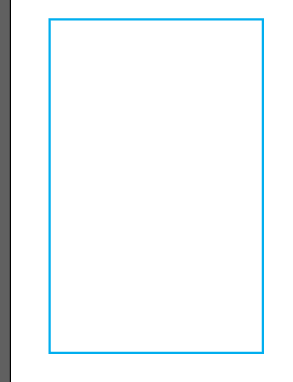
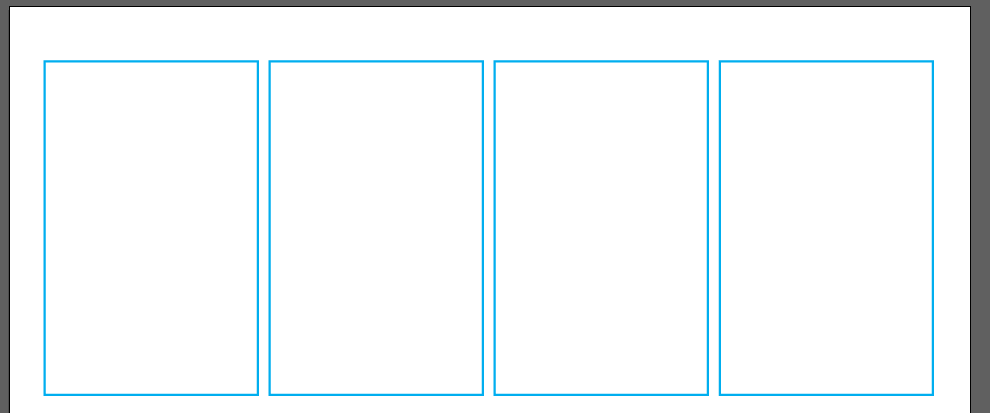
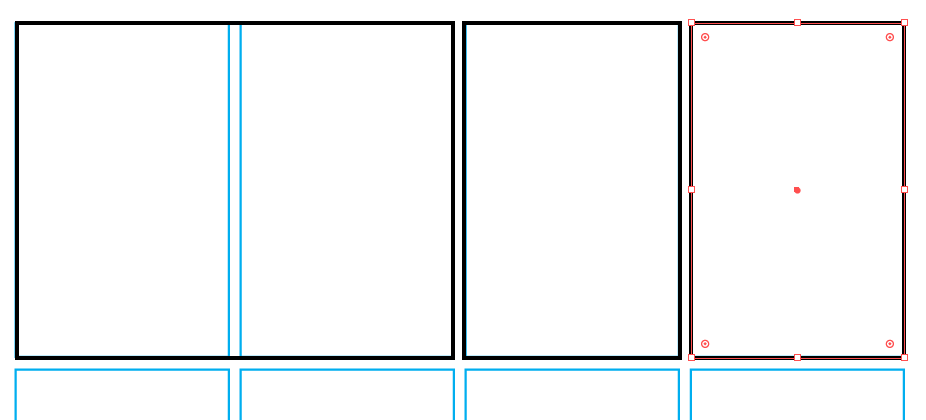
Step 3: Add the boxes on the right and left of the page and then fill in. If you hold Shift + Alt/Option and click and drag the box, you can create a duplicate.
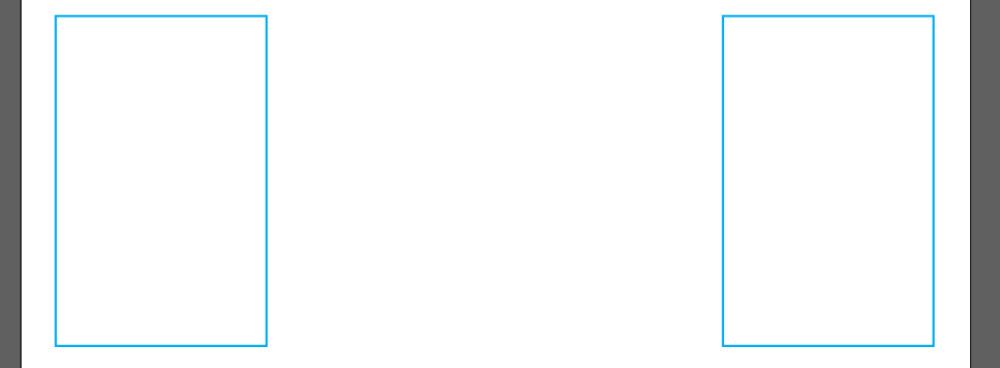
Step 4: Duplicate two more rectangles and they don’t have to be evenly spaced, we will fix that in the next step.
Step 5: Drag and select all four rectangles. Then to space them evenly, you will click the Horizontal Distribute Center button.
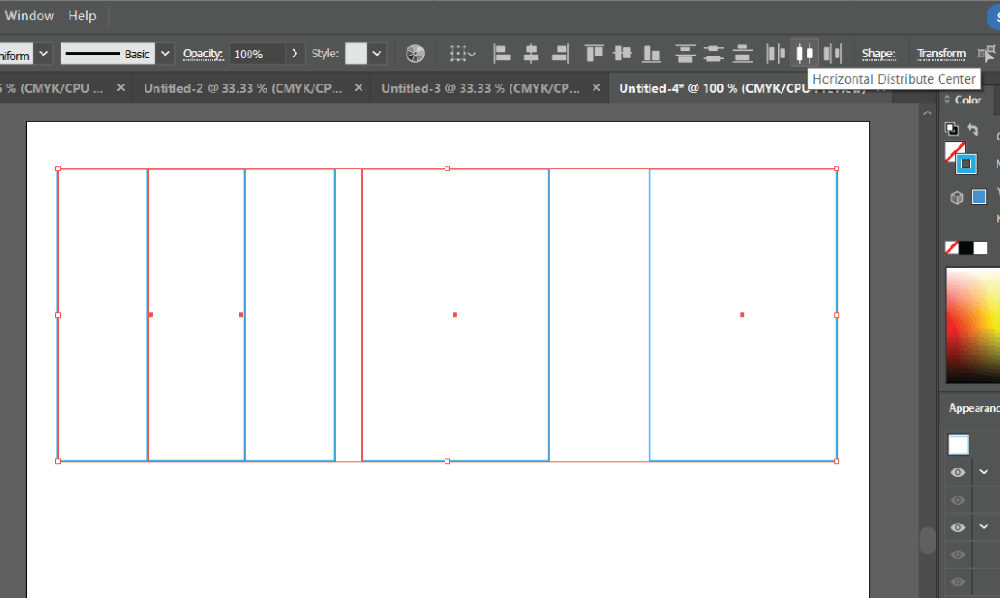
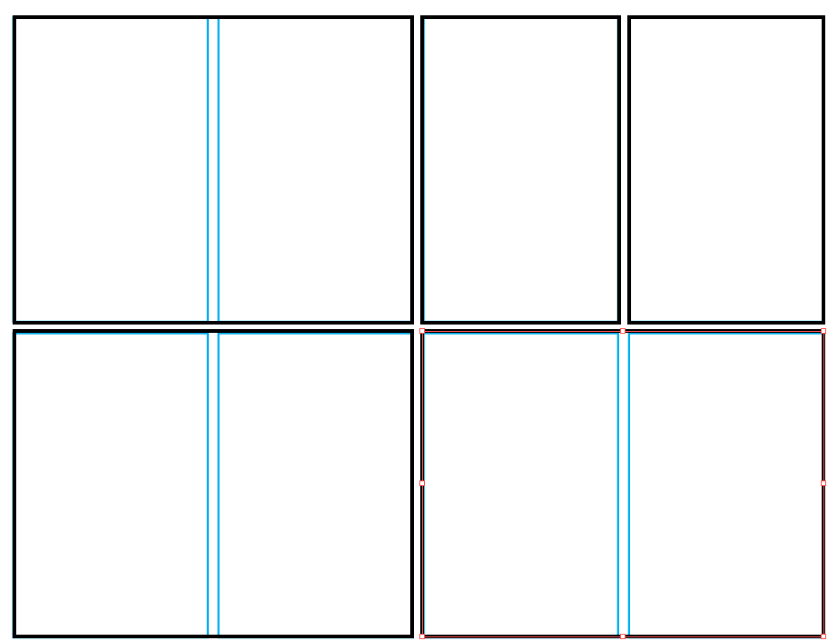
Step 6: Now the boxes are distributed evenly. Go ahead and group the boxes to make them easier to work with the next steps. Do that by making sure all four are selected and using the keyboard shortcut Ctrl/Command + G.
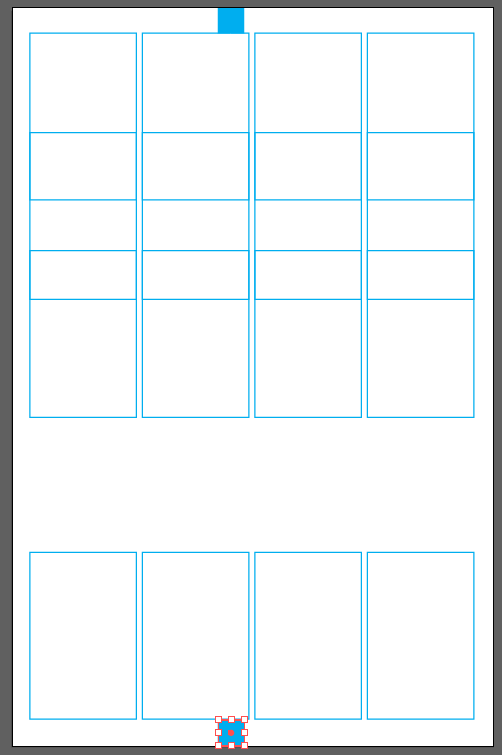
We are going to duplicate these the same way we did earlier so we have four rows of boxes.
Step 7: Now we want to set the spacing for the top and bottom rows. We want that space to be 0.36”. I often use a box to make the correct spacing.
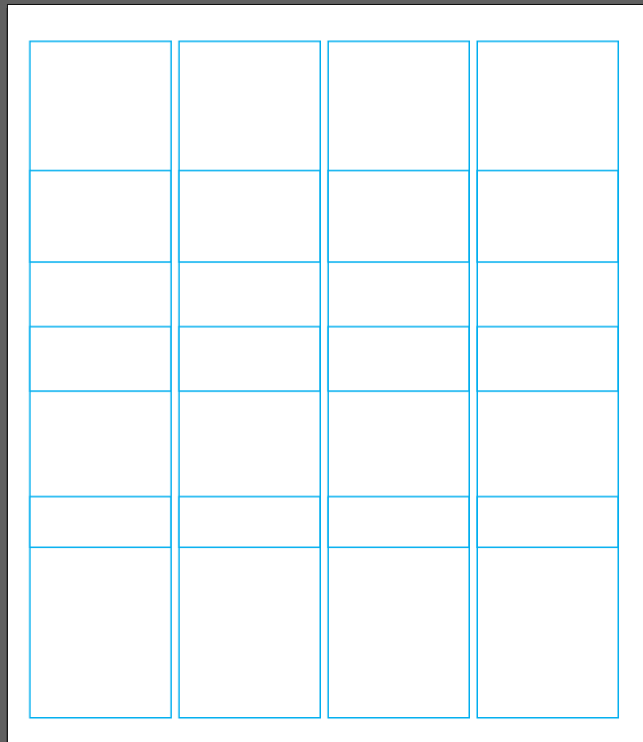
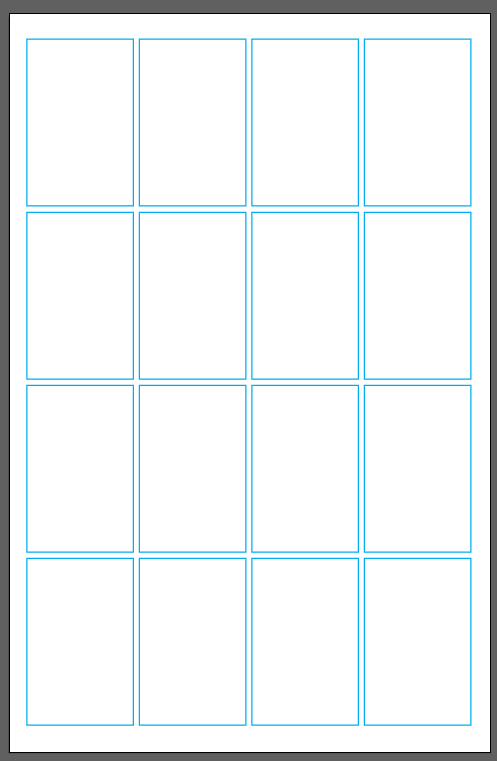
Step 8: Now that we have our spacing, we want to select the four groups of rectangles and click the Vertical Distribute Center button.
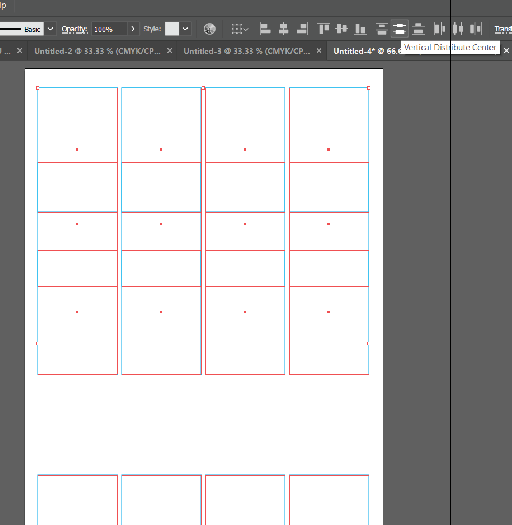
Now we have our 4-panel template.
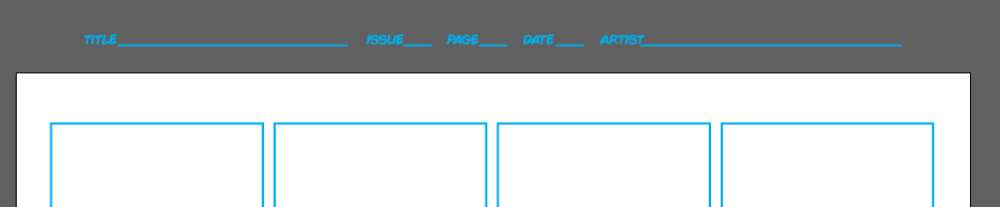
You can also add a place to write details such as title, issue, page, date, and artist. Organization is key to building a collection or book. Your template is ready to be put to use!
How to Make a Comic Strip or Book in Adobe Illustrator
Now that you have your template ready, you can go ahead and add artwork to your comic strip!
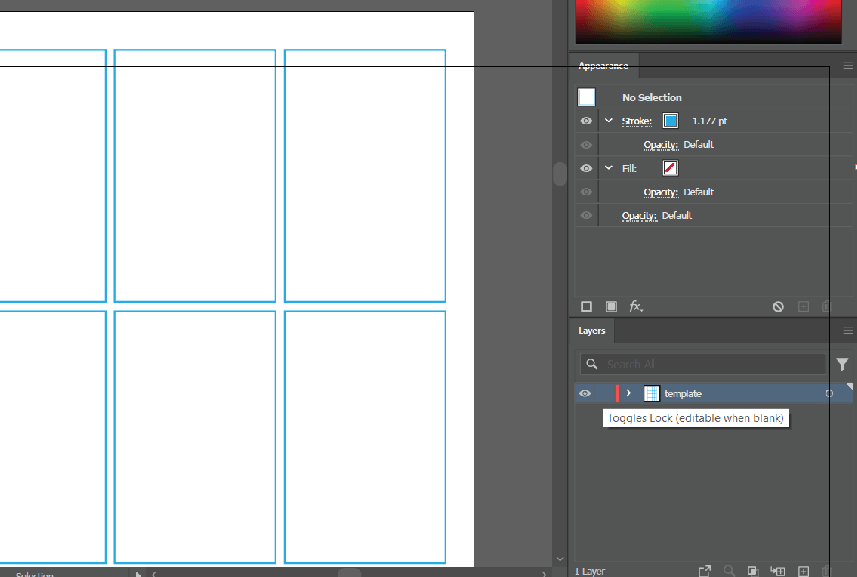
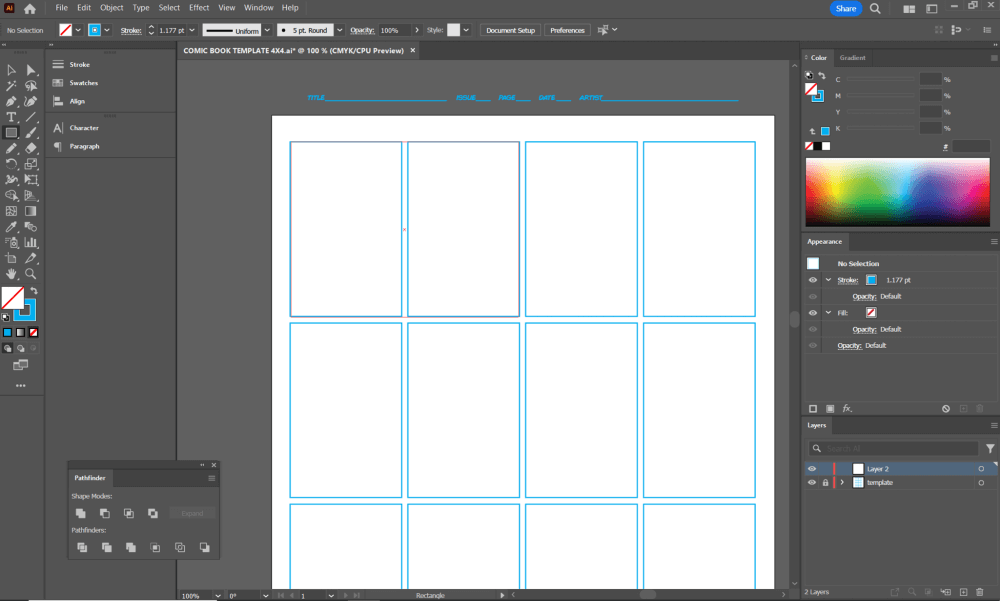
Step 1: We are going to start with the 4-panel template that we just created. That should all be in its own layer and locked.
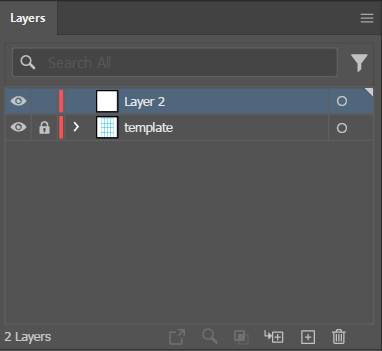
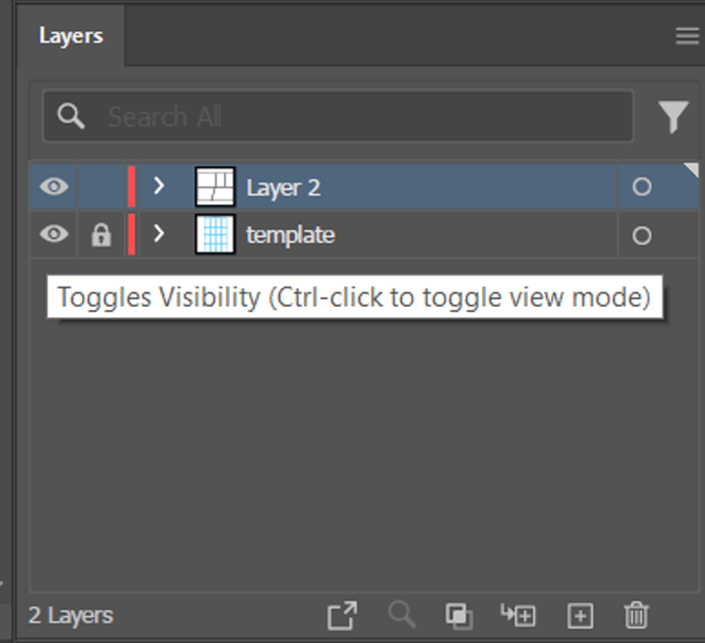
Step 2: Create a new layer in the Layers panel by clicking the Create New Layer button.
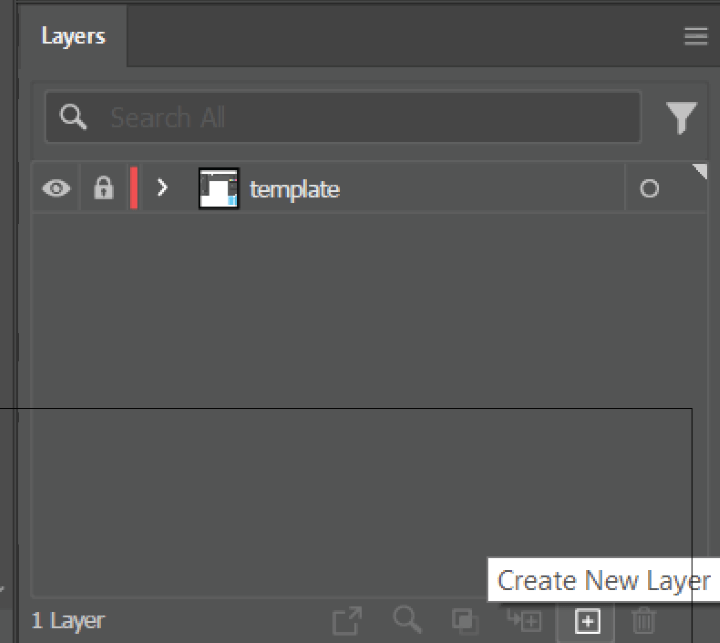
Make sure you click on the new layer. Now we are ready to start laying out our comic.
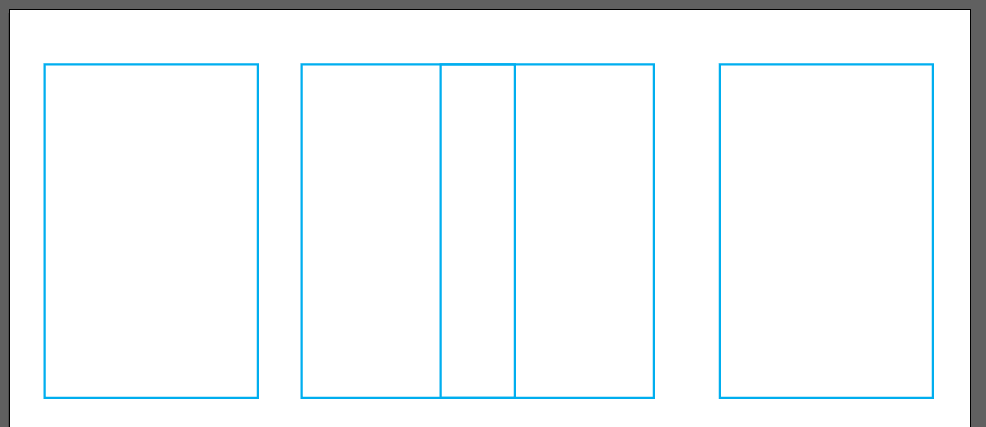
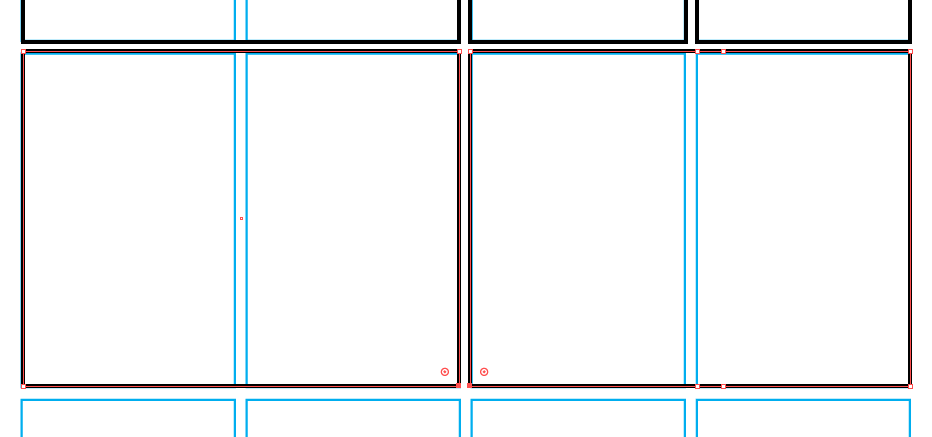
We will use the Rectangle Tool (keyboard shortcut M) to draw our comic boxes. I am starting with a 2-panel box on the top row.
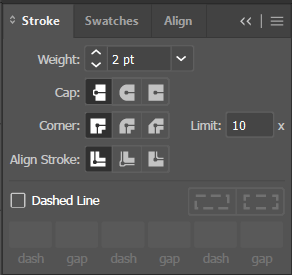
Step 3: Click on the stroke box because we need to change the color of the box to black.


I also want to make the stroke 2 pts to make it stand out a little better.
Keep going and fill in with more boxes.
The story and rhythm will determine how your boxes need to be set up.
I am going to move forward with a half-page comic. Let’s add some more dynamic lines to our boxes.
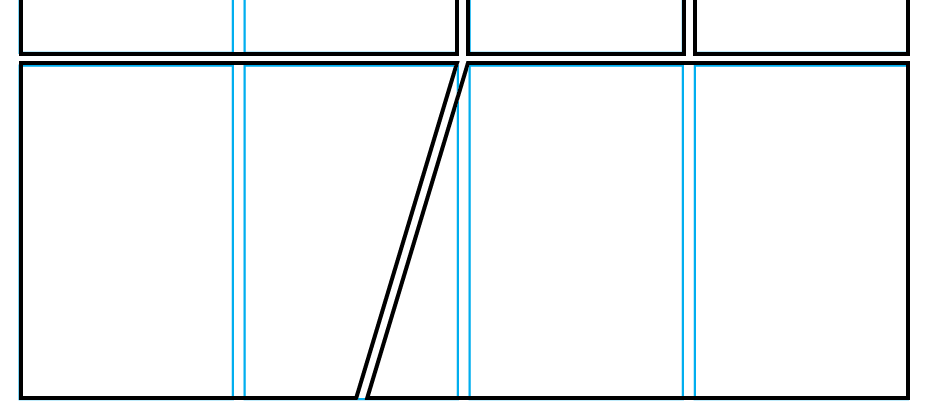
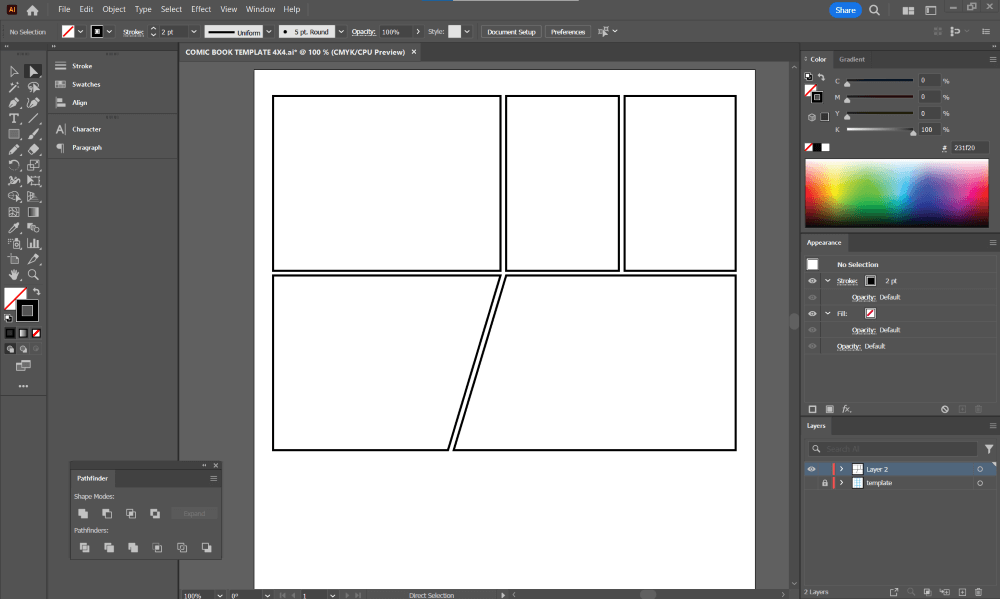
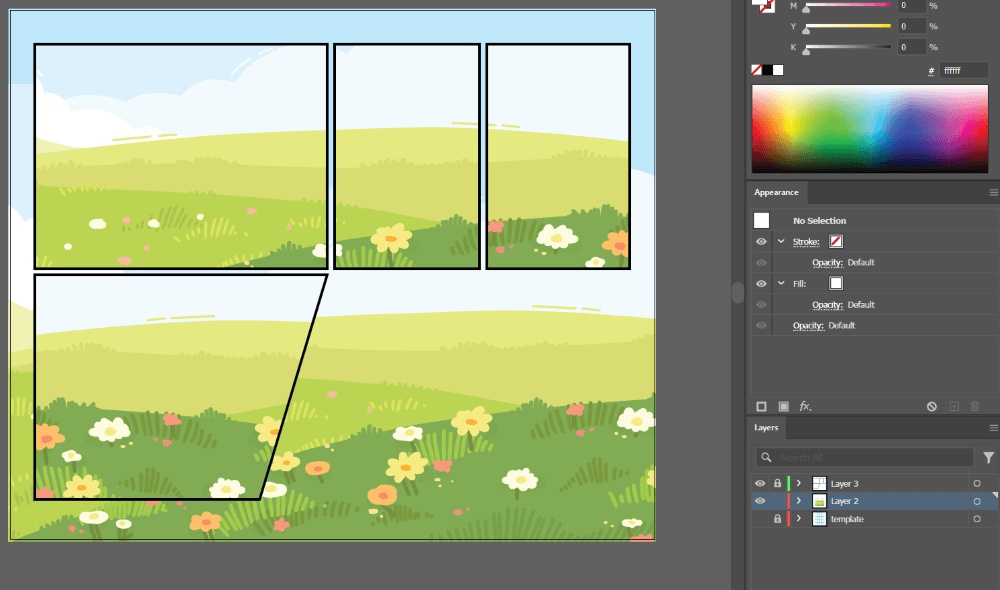
Step 4: Get the Direction Selection tool (keyboard shortcut A) and click and drag to select the bottom two middle anchor points.
I am going to make the boxes slant to the right. Since only those two anchor points are selected, just use your arrow keys to move them to the left.
Step 5: Hold Shift as you click the arrow buttons to move them quickly.
Step 6: We are done using the template and can hide that layer now so we can focus on our boxes for our comic. Click the eye button next to the template layer to hide the layer.
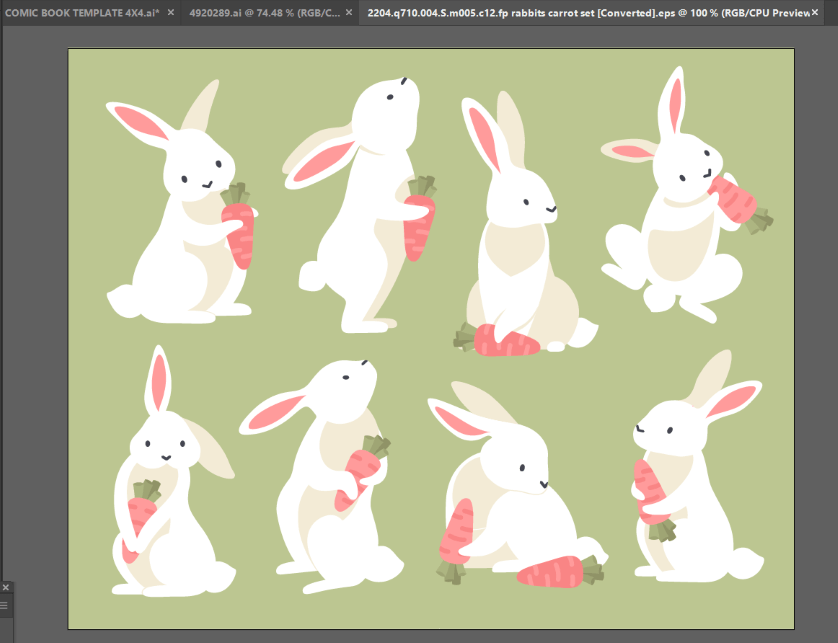
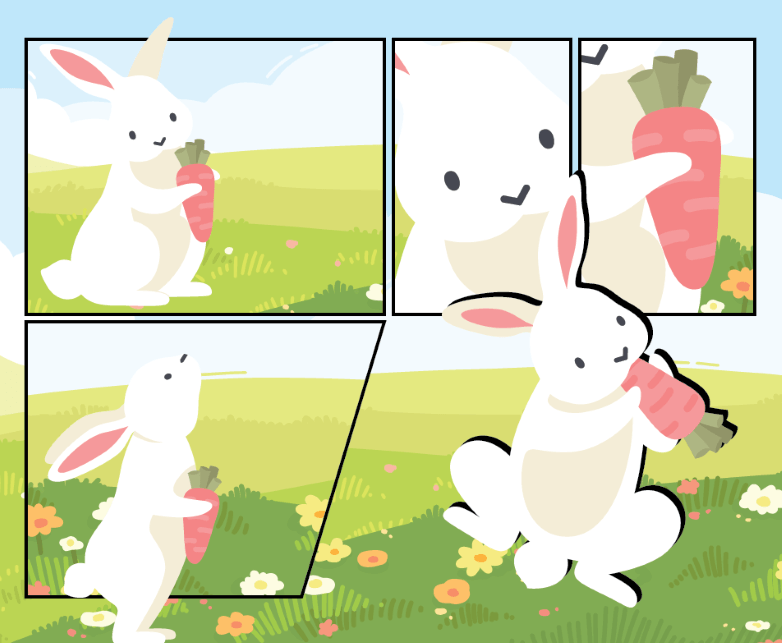
Step 7: We are ready to fill in with artwork! There are many ways to create the drawing part of the comic, and it all depends on your artistic preferences. Maybe you want to hand draw them and scan them in to recreate them digitally. Maybe you like to use an iPad and draw digitally there. There is no wrong way. I am using some vector artwork from FreePik, links are below.
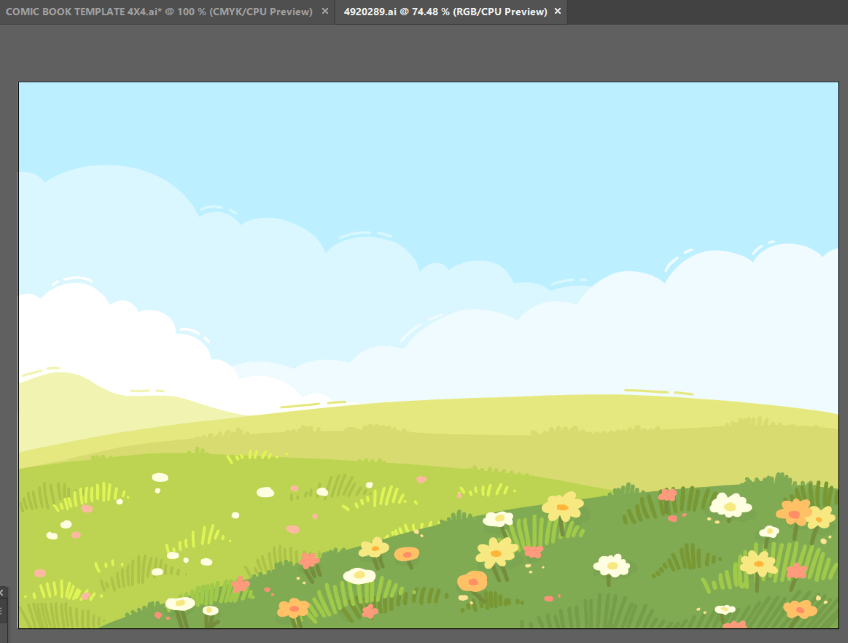
I am going to select all of my backgrounds and paste them into the template file. For simplicity Then I’d group them all together. I am going to use a copy of my rectangles to create clipping masks for my artwork.
Here I have filled in my backgrounds and I have chosen a full bleed for my last panel.
When you are drawing your own comic, it will help to come up with the story first and will dictate what you draw your characters doing.
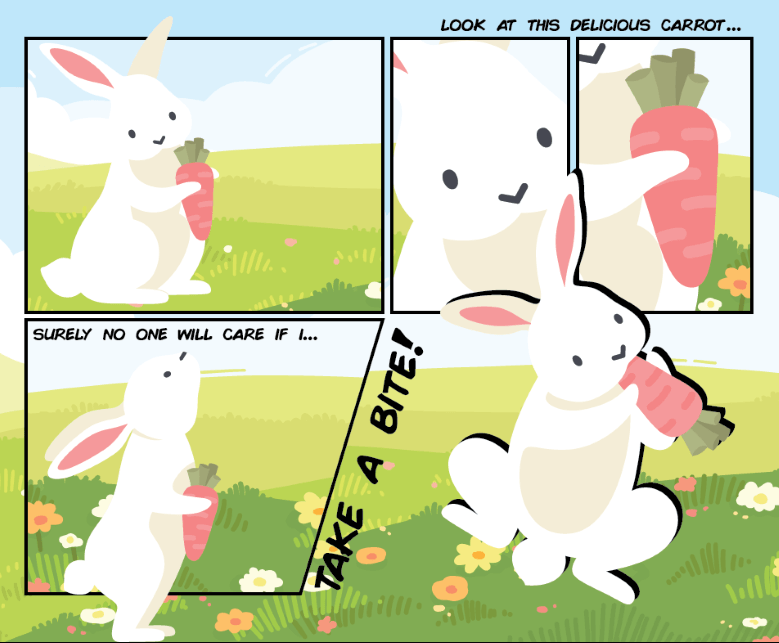
Step 8: Add text to your comic strip. You can find a handwritten font, or whatever you choose. It will also be up to you if you want to use speech bubbles for emphasis.
Enjoy your creativity and put together a fun story!
Final Thoughts
Creating a comic strip or book can be lots of fun. Now that you have a template you can try out different box sizes, slants, and other unique layouts.
Have you ever created a comic strip in Illustrator? What did you learn from the experience and what wisdom would you pass on to others? Let me know in the comments below.