
Although there is a Perspective Distort tool, it’s not the only way to change the perspective of something. For example, if you want to change the perspective of an image, Free Distort works better than Perspective Distort.
I worked with products for many years, so I had to do a lot of product mockups. I got used to creating graphics in Adobe Illustrator and then doing the mockup in Photoshop because Photoshop’s used to be more convenient for manipulating perspectives and transformation. But things changed! Now I found a way to use Illustrator’s perspective tools.
In this tutorial, I will show you how to use the Transform tools to change the perspective of something in Adobe Illustrator.
Before jumping into the tutorial, I’m going to you where the tools are.
Note: All screenshots from this tutorial are taken from Adobe Illustrator CC Mac version. Windows or other versions can look different.
Where is the Perspective Distort Tool in Adobe Illustrator
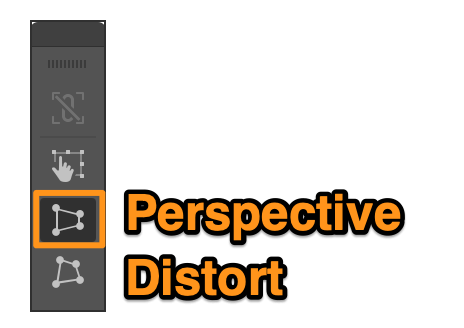
The Perspective Distort tool is part of the Free Transform tool, so if you choose the Free Transform tool on your toolbar, you can choose how you want to transform/distort the object and the third option on the pop-up toolbar is Perspective Distort.
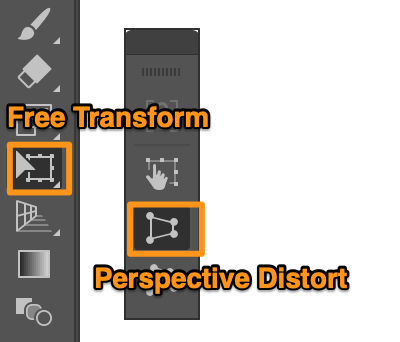
The tricky thing is, if you don’t have an object selected, you won’t see the Perspective Distort option. So you must have an object selected and choose the Free Transform tool from the toolbar, or use the keyboard shortcut E to activate the tool.
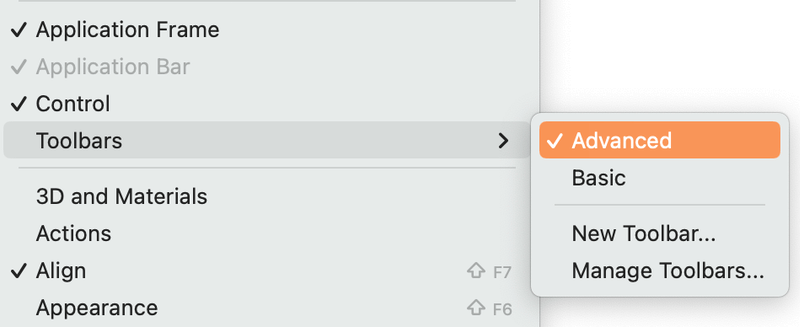
Can’t find the Free Transform Tool on your toolbar? That’s because you’re using the basic toolbar. You can quickly switch to the Advanced toolbar from the overhead menu Window > Toolbars > Advanced, and you’ll find the Free Transform tool on your toolbar.
Once you find the tool, you can easily change or distort the perspective of an image or text.
How to Change the Perspective of a Vector Image
As I mentioned above, you can’t distort perspective without selecting an object. So no matter whether you want to change the perspective on an image or shape, the first step is to make a selection.
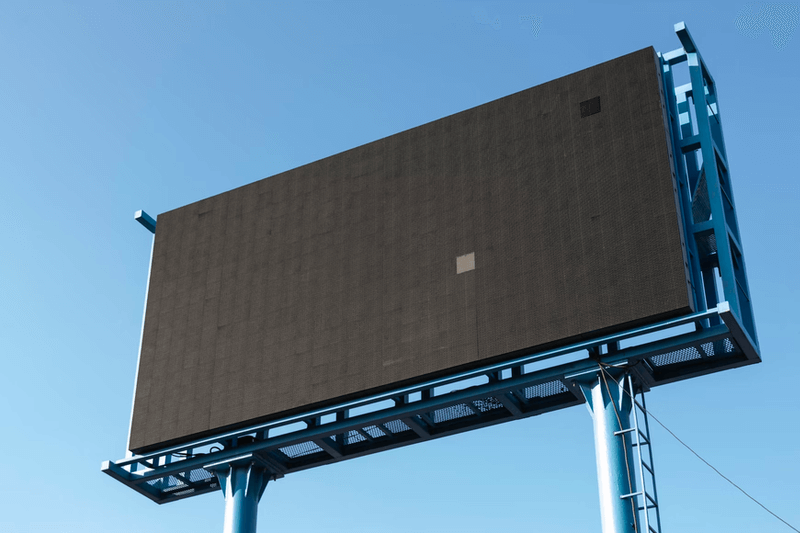
For example, let’s say we want to put an image on this billboard. Obviously, you need to change the perspective of the image in order to fit in this billboard.
Follow the steps below to see how it works.
Step 1: Select the image (or shape if you have a shape instead of an image). Make sure you group the objects so that you can distort the perspective of everything at once.
For example, Here’s the image that I’m going to put on the billboard, and I’ve grouped the rectangle and outlined text.

Note: the image should be a vector image, meaning, you should be able to edit the anchor points because the tools won’t work on raster images.
Step 2: Choose the Free Transform tool from the toolbar or activate the tool using the E key. Once the Free Transform tool is active, you’ll see a few transform/distort options: Constrain, Free Transform, Perspective Distort, and Free Distort.
You can use both Perspective Distort and Free Distort to change the perspective. For example, I prefer to use Free Distort to fit an image on another, and when I don’t have a “guide” to follow, I use Perspective Distort.
For this example, I’ll choose Free Distort.

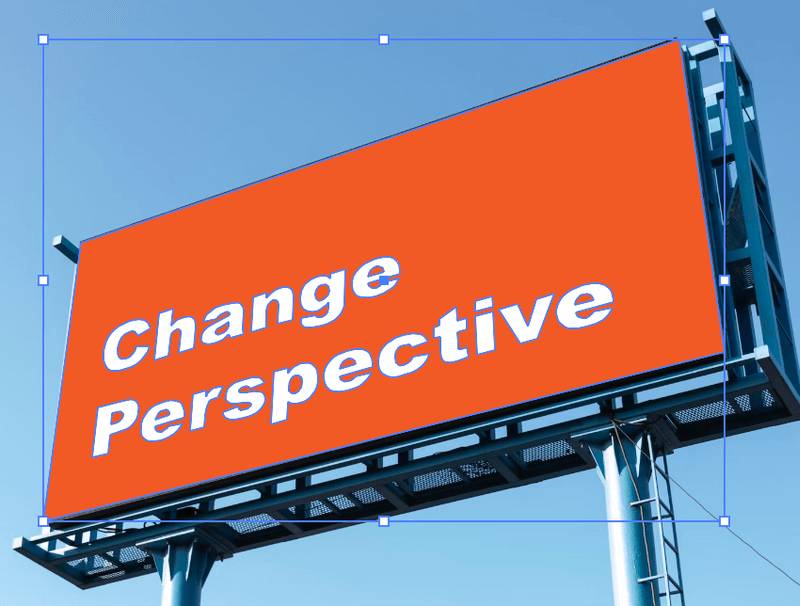
Step 3: Click on the corner handle and drag to change the perspective of the image or shape. The Free Distort tool allows you to click and drag the individual corners to change the perspective. So I simply click and drag the corners of my image to the corners of the billboard.
Tip: If you’re not sure whether the images are fitting, you can also lower the opacity as you use the Free Distort tool to position the image, and then bring back the opacity once you’re done.
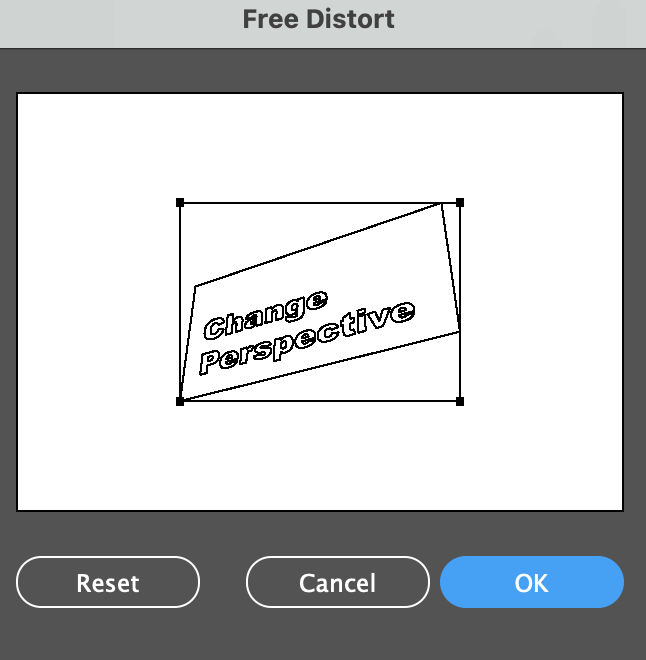
Alternatively, you can also go to the overhead menu Effect > Distort & Transform > Free Distort, where you preview the perspective as you adjust.
When you use Perspective Distort, click on one of the corners, drag up and down to change the perspective of the vertical axis, or drag left and right to change the perspective of the horizontal axis. I’ll show you how it works in the example below.
How to Distort Perspective of Text
You can use the Perspective Distort tool to change the text angle/perspective, however, you’ll need to convert the text into an object first. Here are the steps.
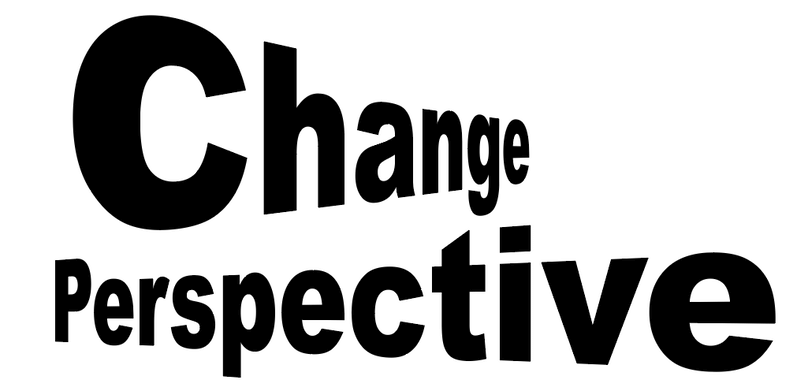
Step 1: Add text to your artboard, select it, or select the existing live text.

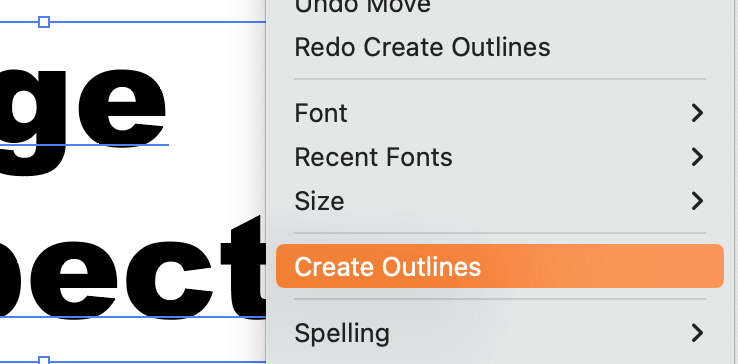
Step 2: Use the keyboard shortcut Command + Shift + O or right-click and choose Create Outlines to outline the text.
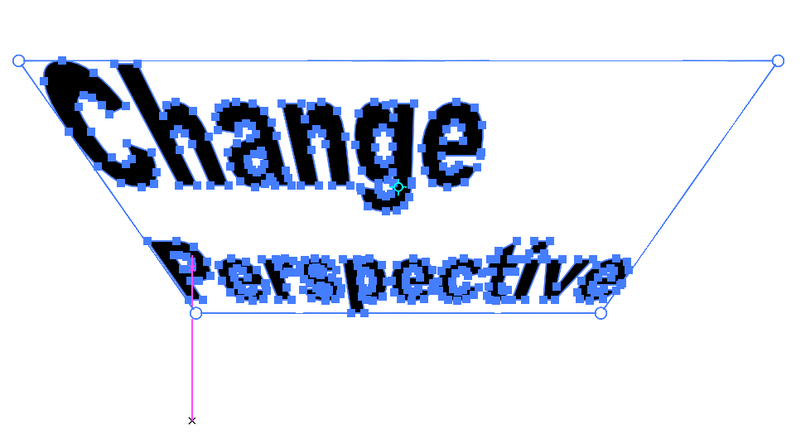
Step 3: Select the text and choose the Perspective Distort tool.
Step 4: Click on one of the corners and drag to change the perspective. If you drag it up and down, it will change the perspective of the vertical axis.
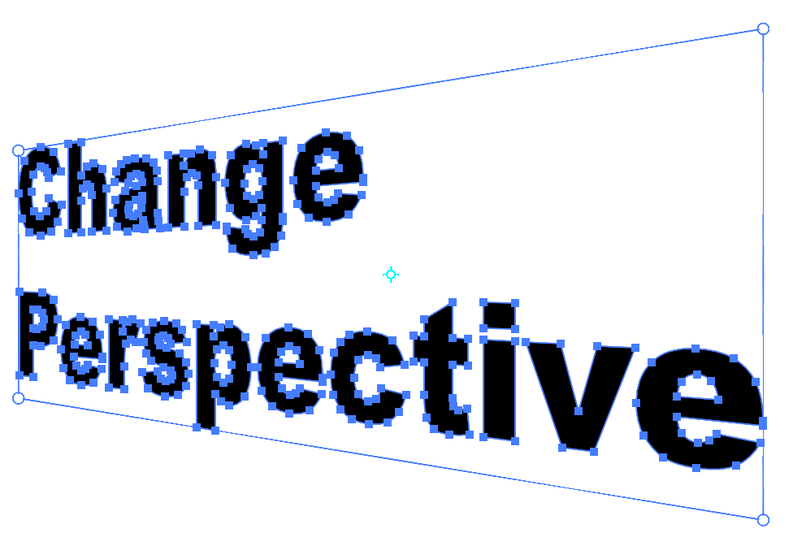
When you drag it left and right, it changes the perspective of the horizontal axis.
You can also change play with different perspectives of the text. All you need to do is ungroup the text and then group back the ones that you want them to be in the same perspective.
Final Thoughts
Although there’s a Perspective Distort tool in Adobe Illustrator, it might not work best for every situation. Sometimes the Free Distort might work better as it allows you to move the corners individually.
Keep in mind that the transform and distort tools only work on vector images/objects, so if you have a raster image, you should vectorize the image first.
Kym D.
Hello! Your website is phenomenal! Can we get the images you use to share with kids? I am going to type these up to use in my high school class.
June Escalada
Hey Kym, you can use the image but I’d appreciate if you give credit to the image of course 😉