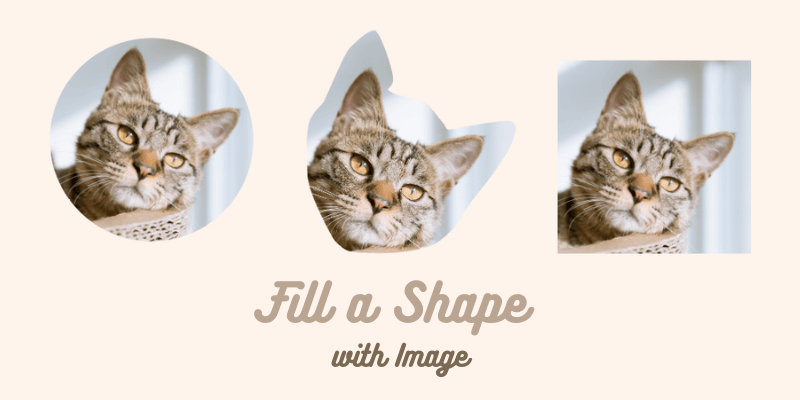
When creating an informative design, images are essential. There are many ways to design image layouts but most of the time we need to reshape the image to follow the flow. You can’t just throw in a full image, because it’s not going to look good and it takes too much space.
Whenever I design brochures, catalogs, or any designs with images, I figure that cutting the images to fit in shape creates the best results because it gives an artistic touch to the artwork.
Filling a shape with an image is basically cutting out part of an image by making a clipping mask. Depending on whether the image is vector or raster, the steps are slightly different.
In this tutorial, I’m going show to you the detailed steps to fill a shape with either a vector or raster image.
Note: the screenshots from this tutorial are taken from Adobe Illustrator CC Mac version. Windows or other versions can look different.
Fill a Shape with Raster Image
The images that you open or place into Adobe Illustrator are raster images.
Step 1: Open or place your image in Adobe Illustrator.
Go to the overhead menu and select File > Open or File > Place.
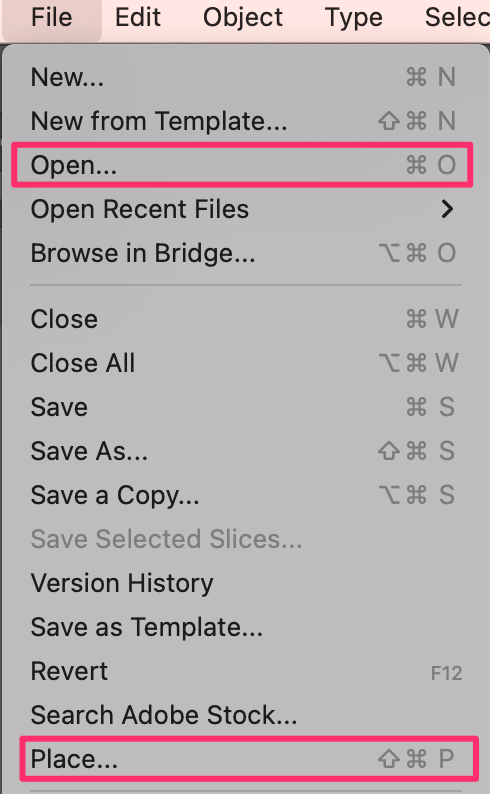
The difference between place and open is that when you choose Place, the image will be added to the current document, and when you choose Open, Illustrator will create a new document for the image.
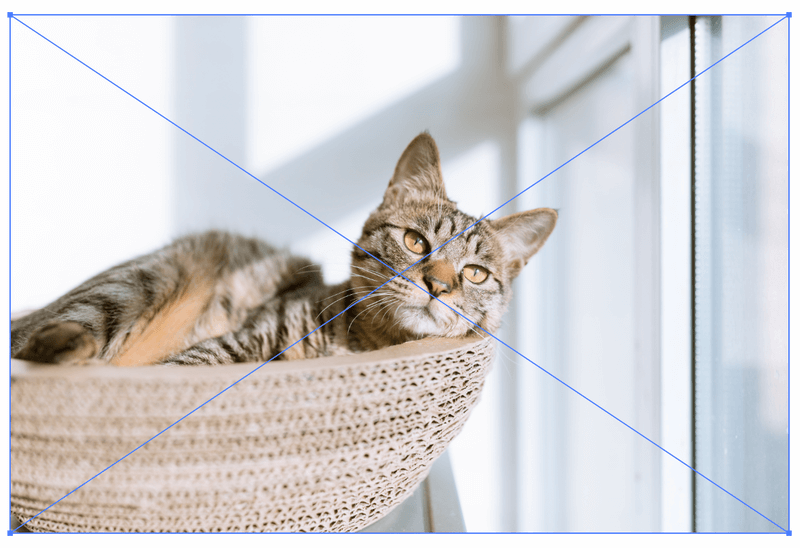
If you want to use the image as part of an artwork, choose Place and embed the image. When you place your image, you’ll see two lines crossing the image.
Click Embed under Properties panel > Quick Actions.
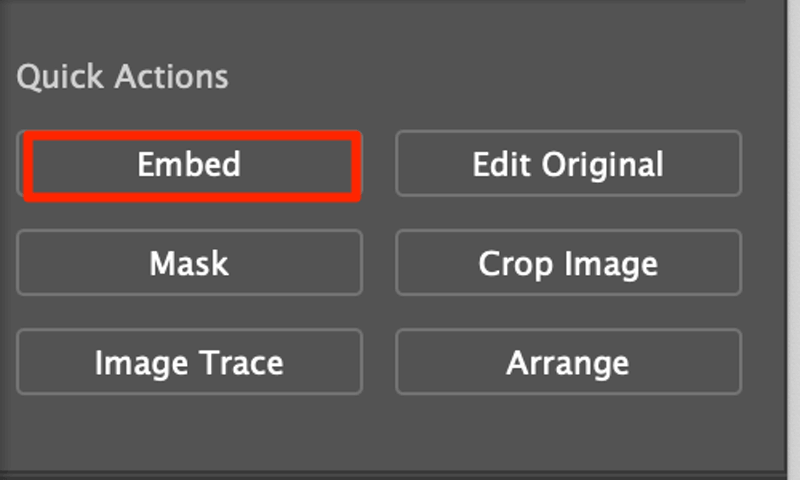
Now the lines will be gone which means your image is embedded.

Step 2: Create a new shape.
Create a shape. You can use the shape tools, Pathfinder tool, shape builder tool, or pen tool to create shapes.
Note: the shape cannot be an open path, so if you use the pen tool to draw, remember to connect the first and last anchor points.
For example, if you want to fill a heart shape with the image, create a heart shape.

Step 3: Make a clipping mask.
When you make a clipping mask, you can only see the under-part object within the clipping path area. Move the shape to the top of the part of the image that you want to show in the shape.
If the shape is not on top of the image, right-click and select Arrange > Bring to Front. You can’t make a clipping mask if the shape is not in front.

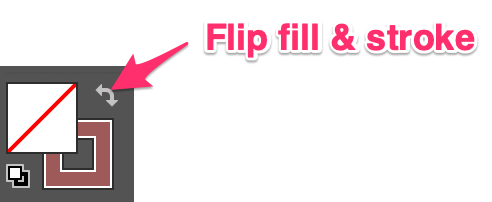
Tip: You can flip the fill and stroke color to see better the image area.
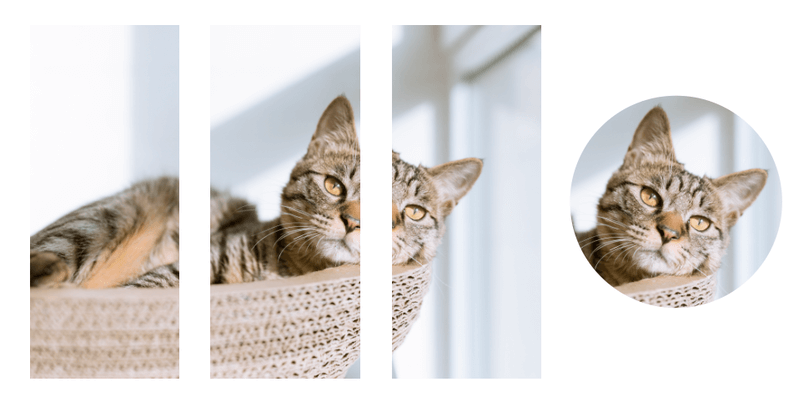
For example, I want to fill the shape with the cat’s face, so I’ll move the heart on top of the face area.

Select both the shape and image, right-click, and choose Make Clipping Mask. The keyboard shortcut for making a clipping mask is Command/Ctrl + 7.

Now your shape is filled with the image area underneath the shape and the rest of the image will be cut.

Tip: If you want to fill more than one shape with the same image, make several copies of the image before making a clipping mask.
Fill a Shape with a Vector Image
Vector images are the images you create on Adobe Illustrator or any editable graphic that you can edit the paths and anchor points.
Step 1: Group the objects on the vector image.
When you fill a shape with vector images, you need to group the objects together before making a clipping mask.
For example, I created this dotted pattern made with individual circles (objects).
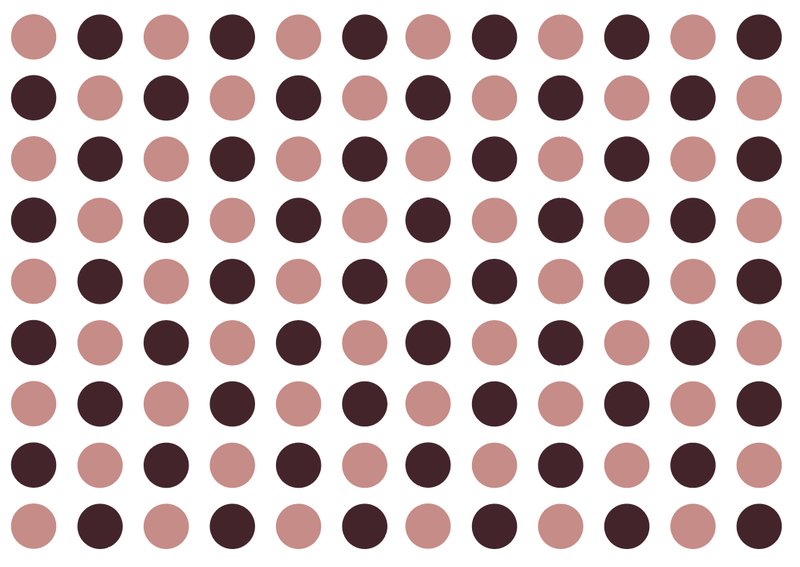
Select all and hit Command/Ctrl + G to group them all together into one object.
Step 2: Create a shape.
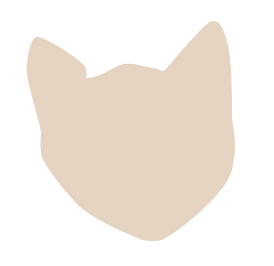
Create a shape that you want to fill. I used the pen tool to draw a cat’s face.
Step 3: Make a clipping mask.
Move the shape on top of the vector image. You can resize it accordingly.
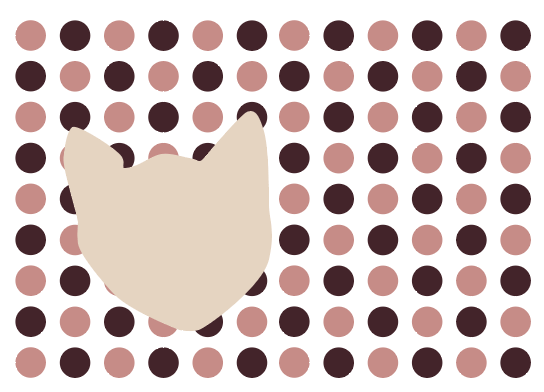
Select both the shape and vector image, and use the keyboard shortcut Command/Ctrl + 7 to make a clipping mask.

Conclusion
Whether you’re filling a vector or raster image, you need to create a shape and make a clipping mask. Remember to have the shape on top of your image when you make a clipping mask and if you want to fill a shape with a vector image, don’t forget to group the objects first.
Joey Leffel
Great instruction! Thanks for this 🙂
Neal
Great Tip thanks I am always forgetting this one.
June Escalada
You’re welcome, Neal!