Vectorizing text basically means converting text to a vector shape. Depending on how you created the text, there are different ways to vectorize text in Adobe Illustrator.
In this tutorial, you’ll learn how to vectorize text in Adobe Illustrator in three ways. Some of you probably already know how to outline font, but keep reading anyway because there are some extra steps you can do to finalize the outlines.
Note: All screenshots from this tutorial are taken from Adobe Illustrator CC Mac version. Windows or other versions can look different.
3 Ways to Convert Text into Vector Shape
The most common way is to convert text into outlines, but there are other ways, for example, you can use the Shape Builder Tool to turn paths into text vectors, or even trace handwriting from paper using the Pen Tool.
Method 1: Convert Text to Outlines
Before converting the text to an outline, I highly recommend duplicating the text because once you create an outline, you won’t be able to change the character style or font.
Now follow the steps below to vectorize text.
Step 1: Select the text you want to vectorize.
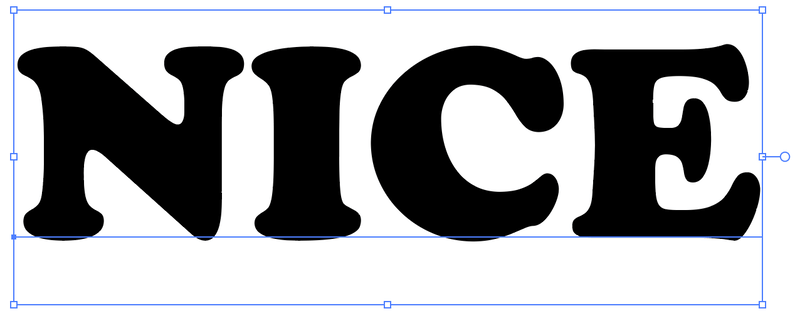
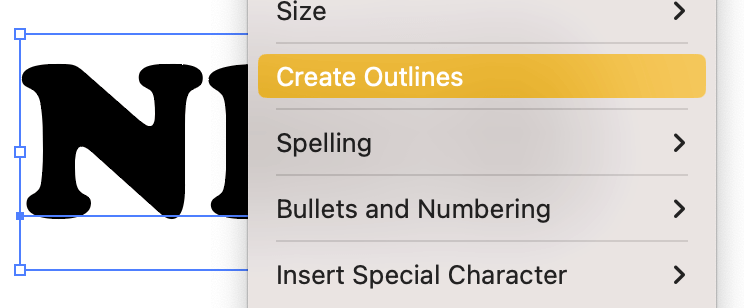
Step 2: Use the keyboard shortcut Shift + Command + O (or Shift + Ctrl + O for Windows users) to outline the font/text. If you’re not comfortable with using shortcuts, you can also right-click on the selected text and choose Create Outlines.
When you create outlines, the live text becomes a shape. You’ll see anchor points if you select them with the Direct Selection Tool. That means you can edit the text as you would edit a shape.

Method 2: Vectorize Text Created by Brushes
If you use brushes to create text in Adobe Illustrator, they are already “vectorized”, but they are strokes, not shapes, so you’ll need to convert them to shapes. Follow the steps below to see how it works.
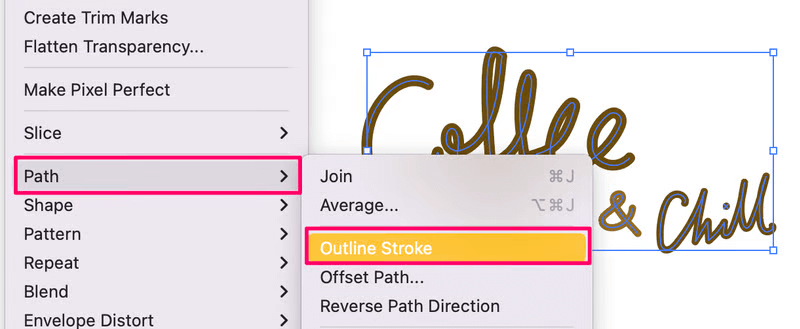
Step 1: Select the strokes (text) you created using the brushes and go to the overhead menu Object > Path > Outline Stroke.
And you’ll see that the path became outlines but there are overlapping shapes in between the strokes.
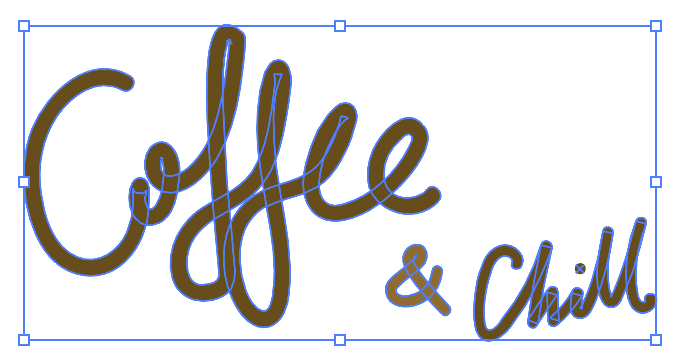
Now it’s time to use the Shape Builder Tool to combine shapes.
Step 3: Select the outlines and choose the Shape Builder Tool from the toolbar or activate it using the keyboard shortcut Shift + M.
Simply draw through the highlighted shapes until all overlapping areas are gone. In the end, the text should look like this, without overlapping outlines.
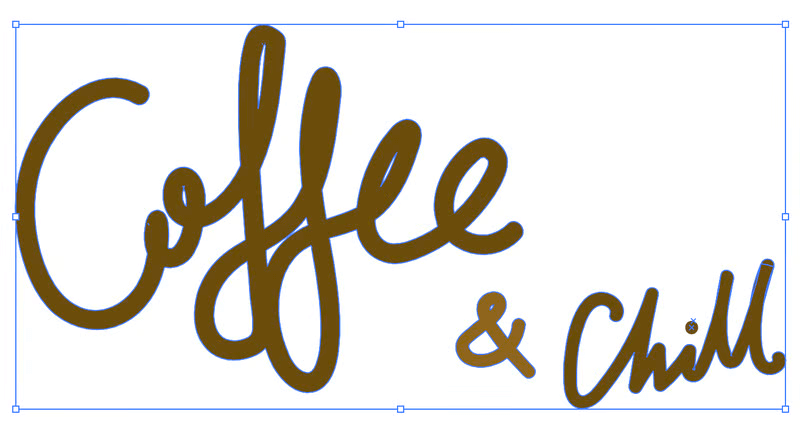
Now yes, you’ve successfully created the text vector.
Method 3: Vectorize Handwritten Text
Now if you want to vectorize handwritten text, that’s another story because it’s more complicated and it takes a lot of time. Follow these steps to vectorize your handwritten text in Adobe Illustrator.
Step 1: Scan your handwriting and open it in Adobe Illustrator. If you don’t have a scanner, you can take a picture too. As long as you have the handwriting outlines very clearly, it will work because the idea is to trace the handwriting using the Pen Tool.
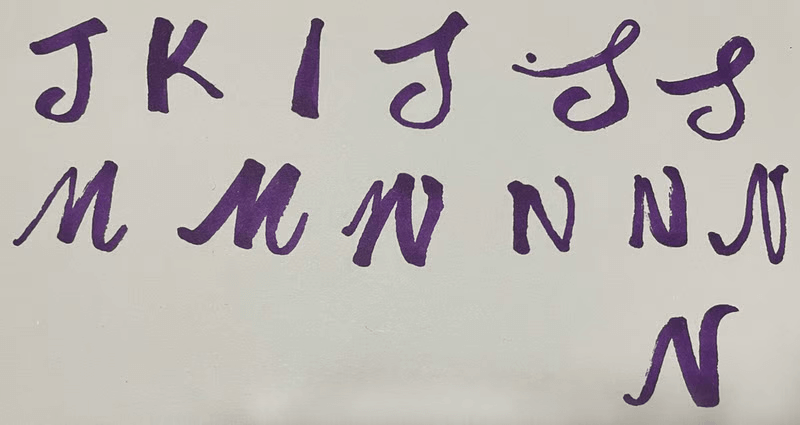
Step 2: Choose the Pen Tool from the toolbar or activate it using the keyboard shortcut P. Start tracing the letters you need one at a time.
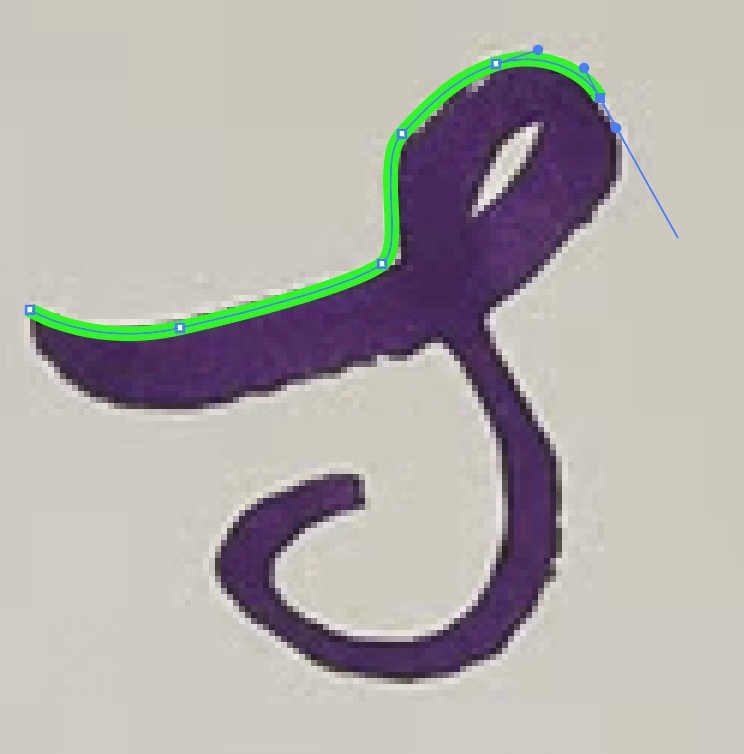
If you’re not familiar with the Pen Tool, feel free to look at my Pen Tool tutorial where I talked about the steps and tracing tips.
Step 3: Once you finish tracing the letters, you should get a closed path, and you’ve already vectorized the text. You can finalize the text using the Shape Builder Tool to combine the overlapping areas and add a fill color.

The cool thing about this method is that you can vectorize your handwritten text and make your own custom font, but you need to use one of the font design tools to create fonts.
Wrapping Up
Depending on what you have in hand, choose the method according. For example, if you have typed text, use Method 1, if you created text using brushes, use Method 2, and if you want to vectorize text from handwriting, Method 3 is the go-to.

