What to do with a no-fill shape? Can’t just let it sit awkwardly on your design. Adding color would be a good idea, but if that doesn’t sound too exciting to you, you can make a few clipping masks or add patterns to the objects.
You probably already know how to color an object, but besides filling an object with color, you can also fill it with a pattern or an image. One important to remember is that the object you’re going to fill must be a closed path.
In this tutorial, you’ll learn how to fill a shape and text with color, image, or pattern in Adobe Illustrator.
Note: all screenshots are taken from Adobe Illustrator CC Mac version. Windows or other versions can look different.
How to Fill a Shape with Color in Adobe Illustrator
There are many ways to fill color in Adobe Illustrator. You can change the color directly from the toolbar if you have a color hex code or the Properties panel which leads you to the Swatches panel. If you have sample colors, you can also use the eyedropper tool.
For example, let’s fill the triangle using the Eyedropper Tool to get a sample color from this image in 2 steps.
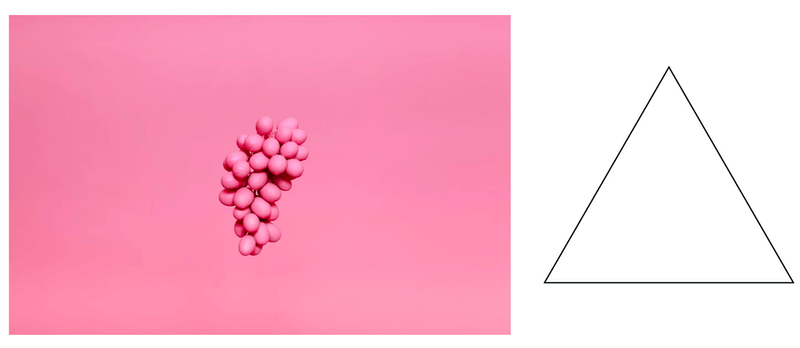
Step 1: Place the image with the sample color you like in Adobe Illustrator.
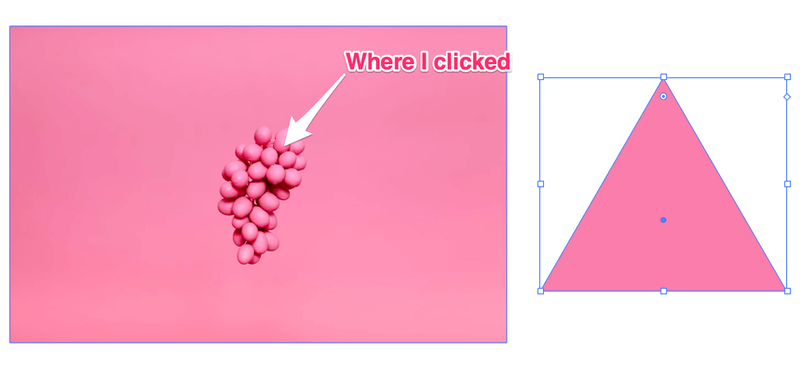
Step 2: Select the triangle and choose the Eyedropper Tool (keyboard shortcut I) from the toolbar.
Click on the color area on the image that you want to sample, and the triangle will change to that color.
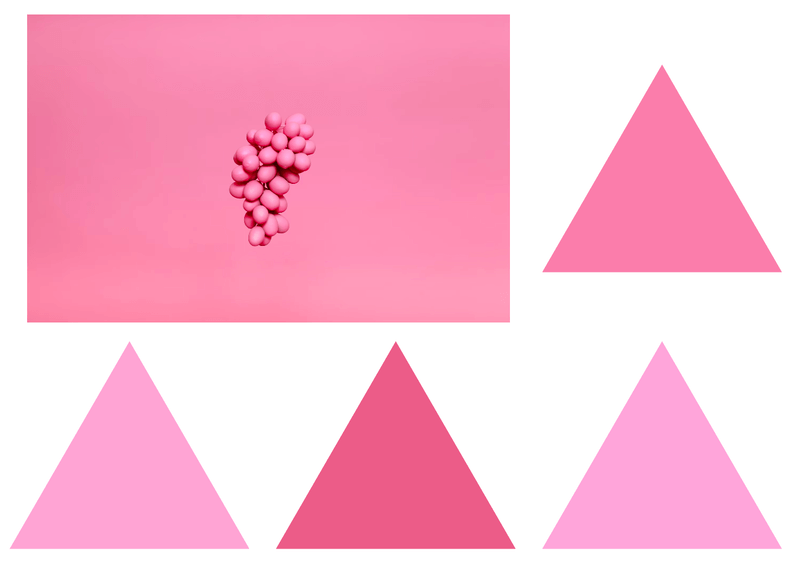
Tip: You can duplicate the object and try a few different sample colors to see which one you like the most.
How to Fill a Shape with Pattern in Adobe Illustrator
Some of you might wonder where is the pattern panel, well, there isn’t one, but you can find the patterns you previously saved on the Swatches panel.
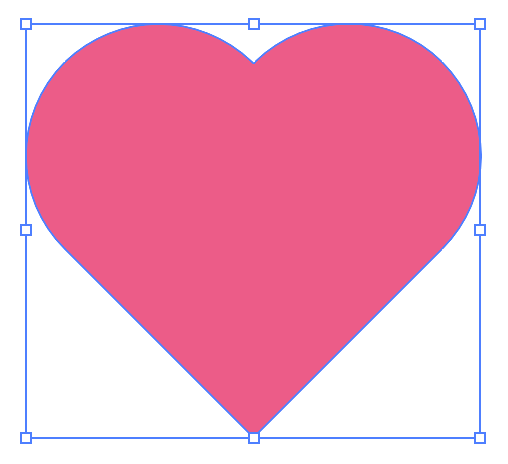
Step 1: Select the object you want to fill. For example, let’s fill this heart with a pattern.
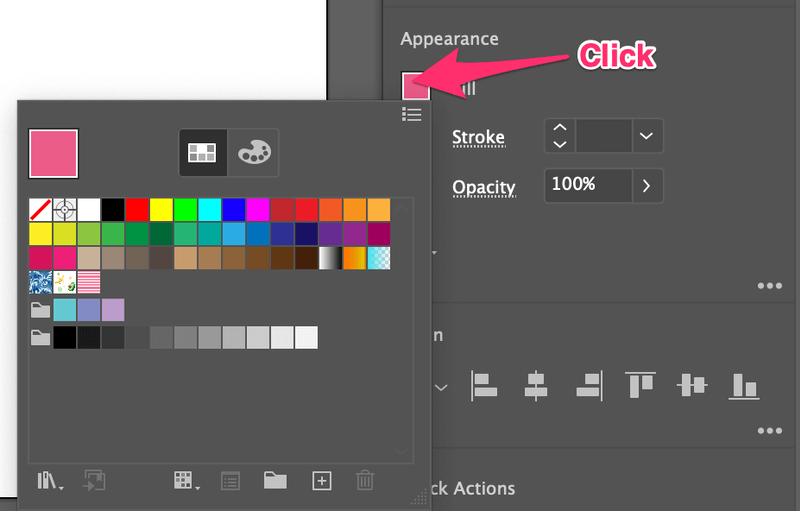
When an object is selected, its appearance attributions will show on the Properties > Appearance panel.

Step 2: Click the color box next to Fill and it will open the Swatches panel.
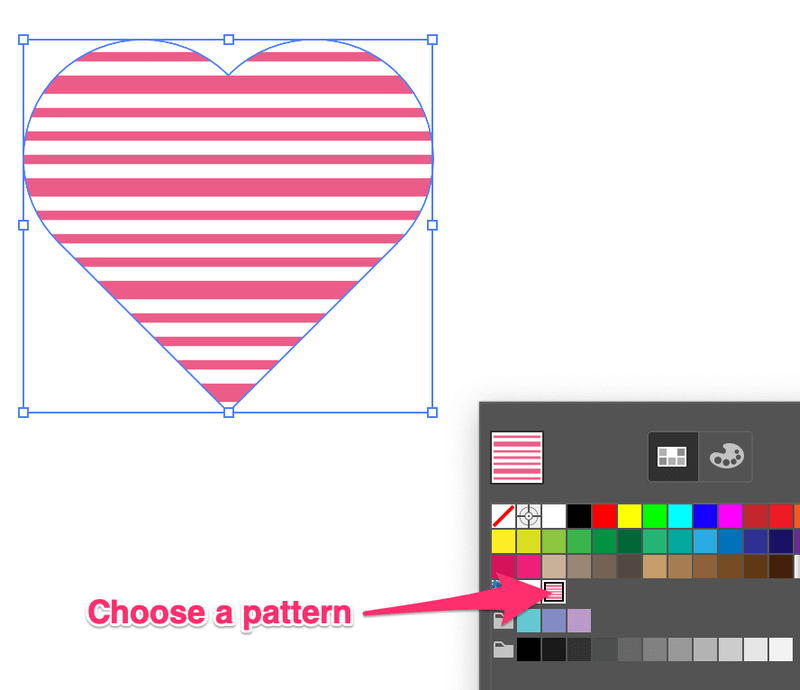
Step 3: Choose the pattern and the shape will be filled with the pattern.
Tip: if you don’t have a pattern but would like to create a new one, you might be interested in this quick tutorial for making a pattern in Adobe Illustrator.
How to Fill a Shape with Image in Adobe Illustrator
If you want to fill an object with an image, the only way to do it is by creating a clipping mask and the object must be placed above the image.
Let’s see an example of filling a moon with a glitter image.
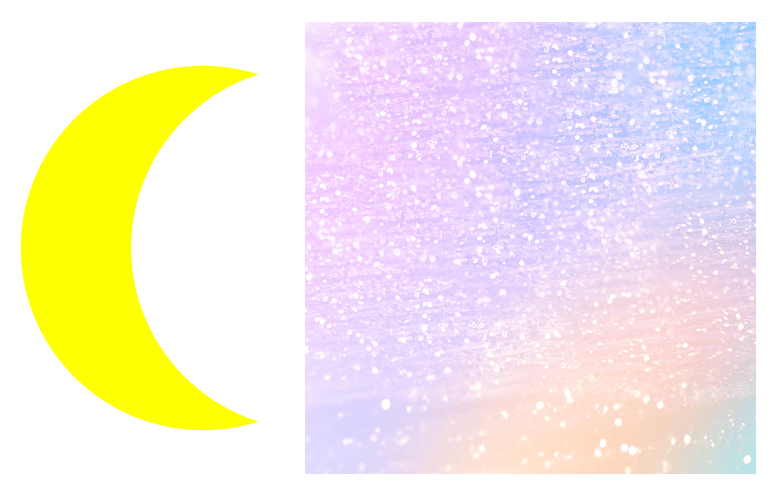
Step 1: Place and embed the image in Adobe Illustrator.
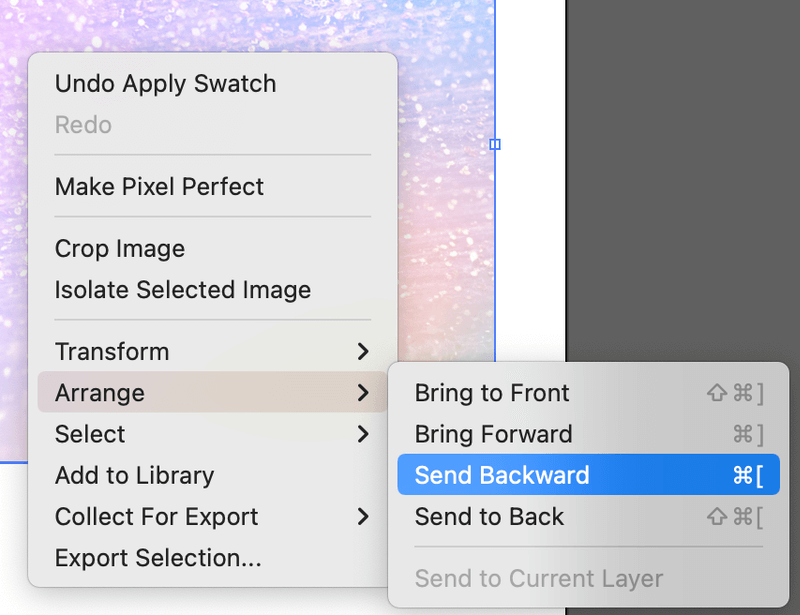
If you previously created a shape or the object you want to fill was already there before you add the image to Illustrator, select the image, right-click and choose Arrange > Send Backward.
Step 2: Move the object on top of the image area that you want to fill.
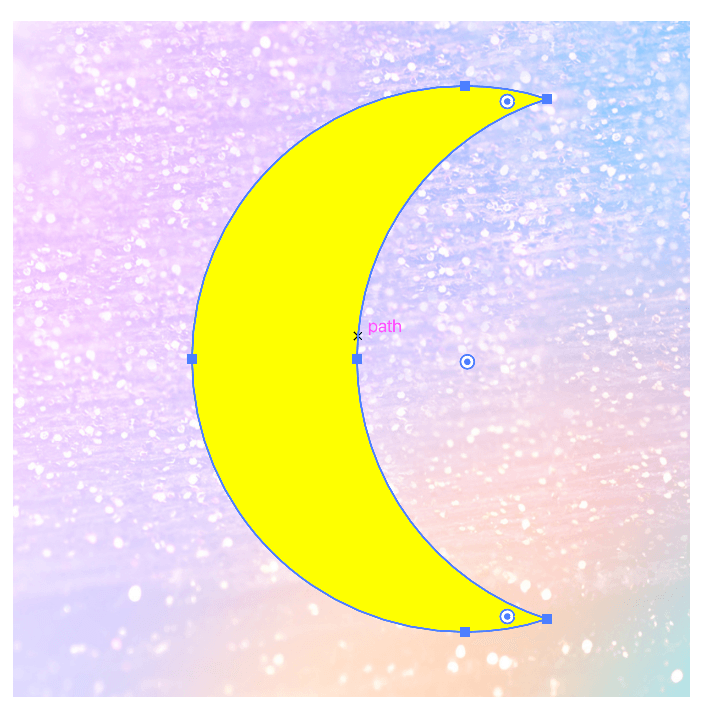
Step 3: Select both the image and the object/shape. Right-click and choose Make Clipping Mask.

There you go!

The object is filled with the image area below the object. If you’re not happy with the selected area, you can double-click on the object to move the image below.
You can use exactly the same methods above to fill the text with color, pattern, or image but with an extra step – outline the text! Once you outline the text, you can edit it as an object/shape.
Conclusion
Filling an object with color is pretty simple and you can do it in various ways. If you want to use a pattern, remember the right place to find the patterns is the Swatches panel.
The only method that can be a bit complicated is filling an object with an image. You must make sure that your object is on top of the image.