
Bubbles are easy and fun to make in Adobe Illustrator. You can make a bubble by creating a couple of circles, and playing with the strokes. Looking to create something more advanced? How about a 3D bubble?
In this tutorial, I’m going to show you how to make different styles of bubbles in Adobe Illustrator.
There are so many types of bubbles you can make – transparent bubbles, cartoon bubbles, soap/realistic bubbles, etc. I can’t cover all in one tutorial, so let me show you the very basics and some tips on what you can do to customize your vector bubbles in Adobe Illustrator.
Note: The screenshots from this tutorial are taken from Adobe Illustrator CC Mac version. Windows or other versions can look different.
How to Make Vector Bubbles in Adobe Illustrator
Let’s take a look at how to create a bubble shape/outline. You can use this type of bubble for cartoons or illustrations.
Step 1: Choose the Ellipse Tool from the toolbar, hold the Shift key, and click and drag on the artboard to make a perfect circle. Use the keyboard shortcut Shift + X to change the Fill and Stroke color.
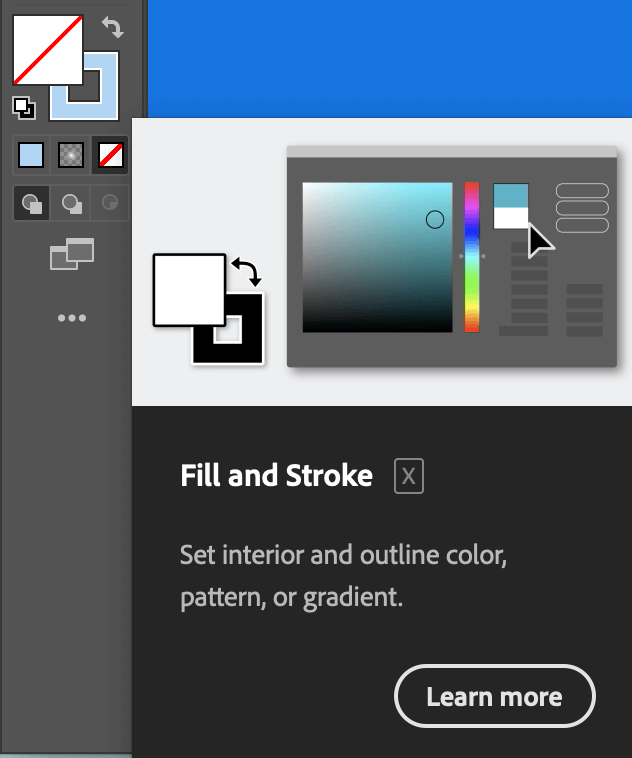
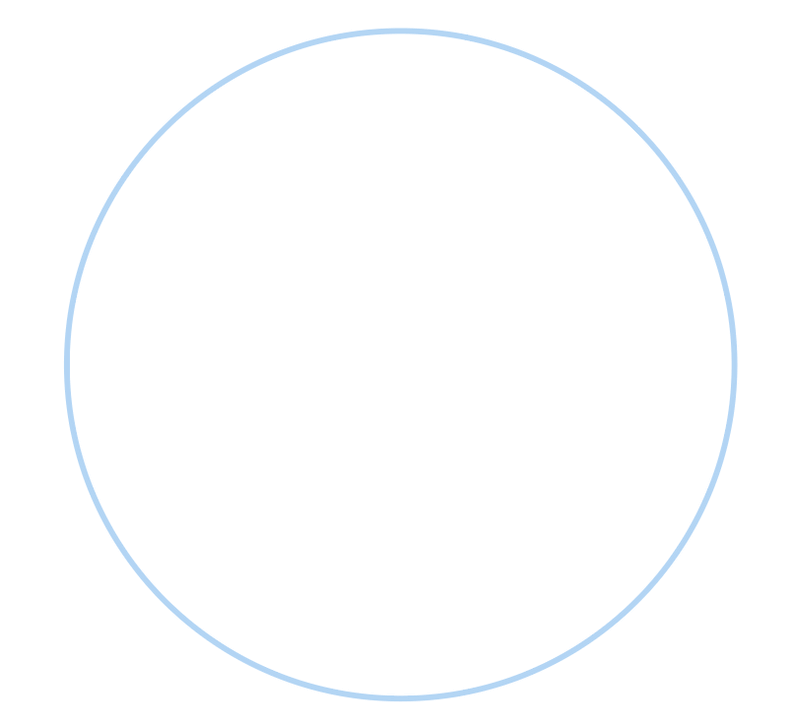
If your object has a fill color, change it to none. You should have a circle only with a stroke color like this:
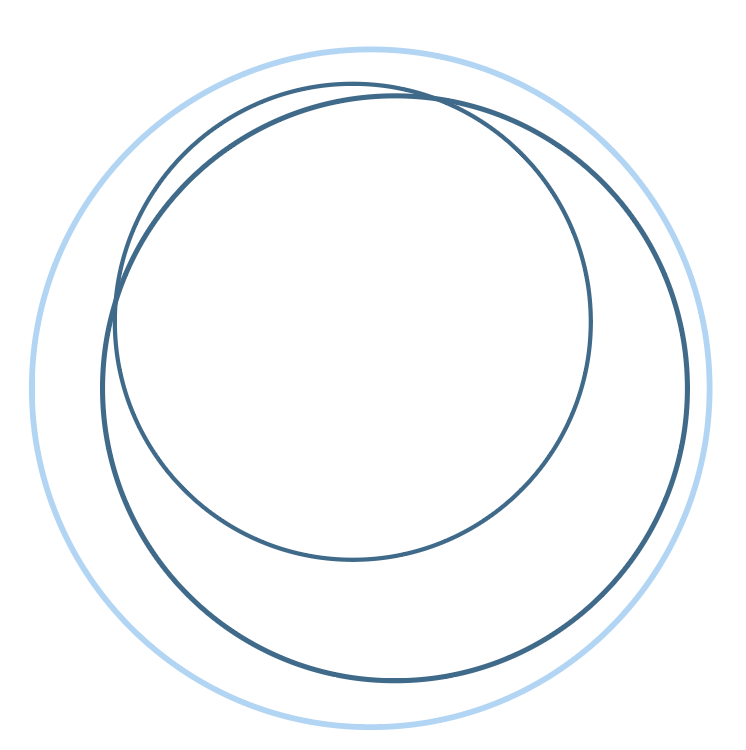
Step 2: Use the Ellipse Tool to create two more circles or simply duplicate the one you just created twice.
Move the two new circles to an overlapping position like this, and slightly increase the circle in front. (I changed the circles to a different color so that you can see which ones I’m talking about. )
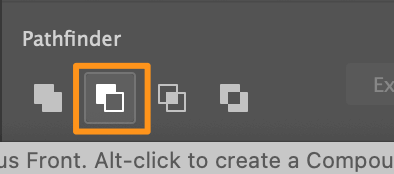
Step 3: Select the overlapping circles (two darker lines), go to the Properties > Pathfinder panel, and click Minus Front.
If you’re not familiar with the Pathfinder Tool and want to learn more, feel free to check out my How to Use the Pathfinder Tool in Adobe Illustrator tutorial.
You’ll see a result like this.
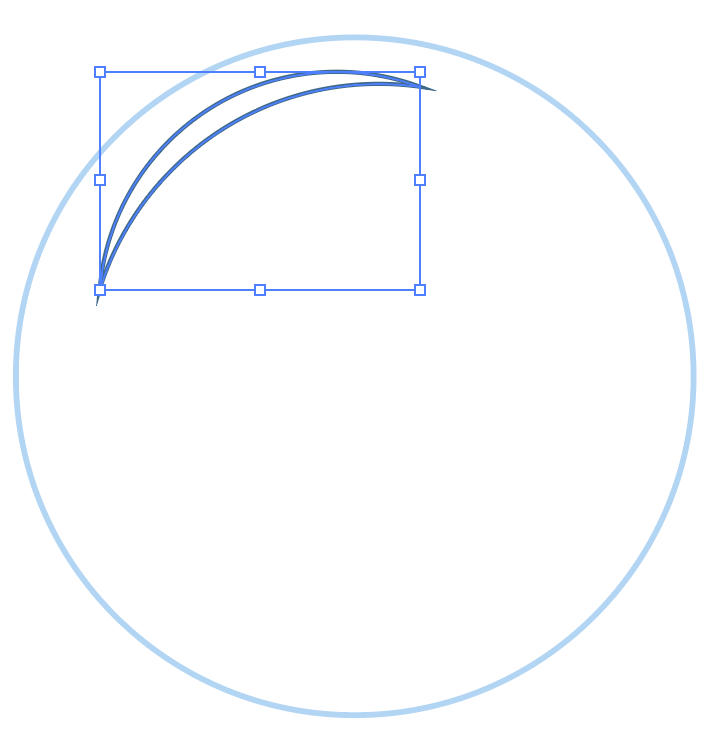
Feel free to add other details if you want, if not, this is already a simple vector bubble shape. You do need to style it a bit though.
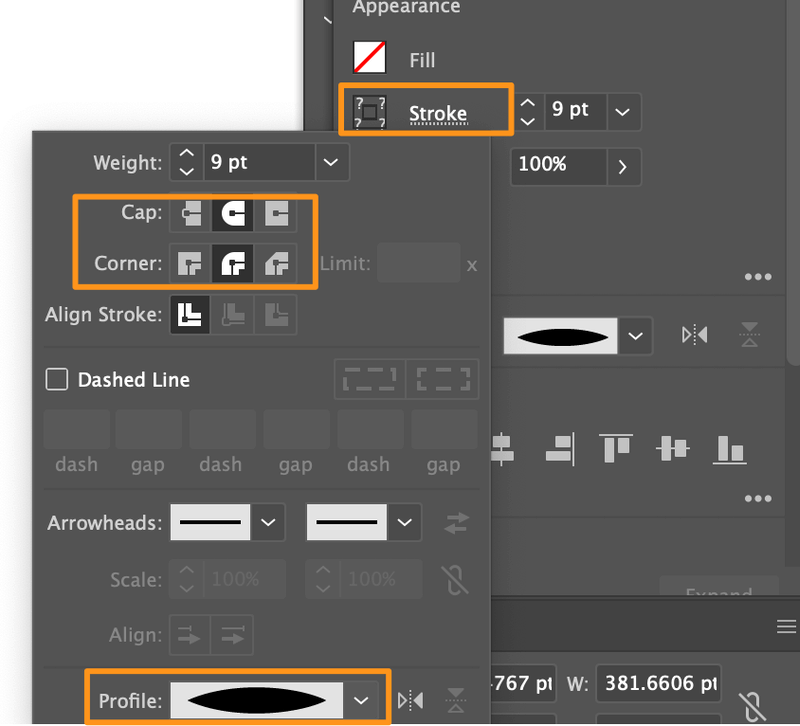
Step 4: Select both shapes, go to the Properties > Appearance panel Change the stroke weight and profile. I also changed the corner to rounded corners, but it’s up to you how you like the path.
This is how they look right now.

You can add a background color, add an outer glow to make them look more “alive”. How about this?
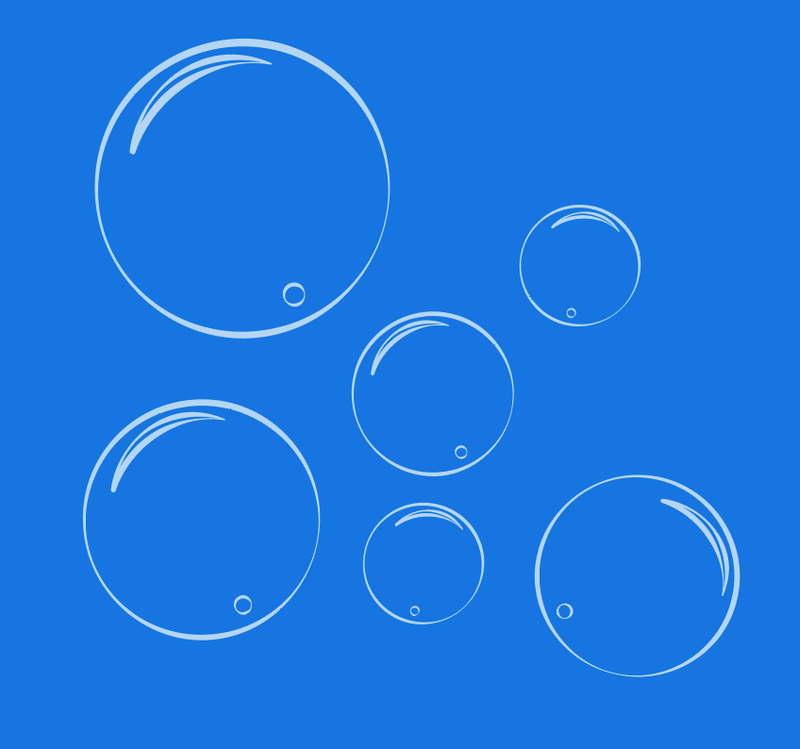
This type of bubble is good to use for your comic-style drawing or illustration.
If you want to make a more realistic transparent bubble, you can fill the bubble with a transparent gradient by following the steps below.
How to Make a Realistic Transparent Bubble in Illustrator
Step 1: Use the Ellipse Tool to make a circle.
Step 2: Open the Gradient panel from Window > Gradient. Or select the Gradient Tool from the toolbar.
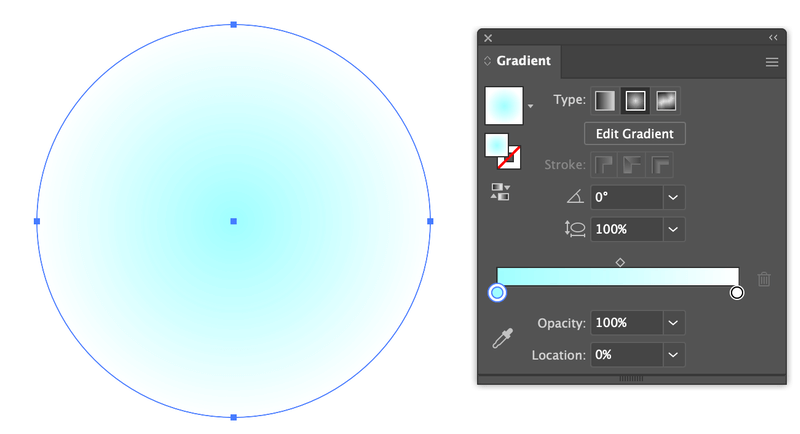
Step 3: Select the circle, go to the Gradient panel and choose Radial Gradient.
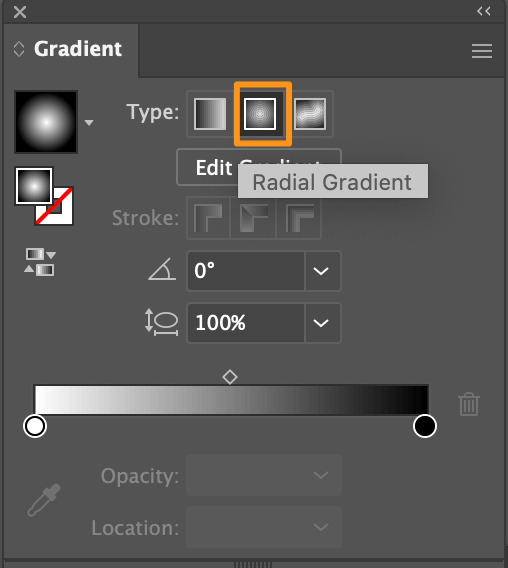
Click on the first (white) gradient slider, and change the color to light blue. Choose the second (black) gradient slider, and change the color to white.
Feel free to add background color so that you can see the adjustment better.
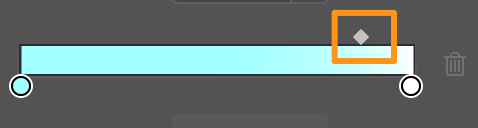
Step 4: Click on the gradient slider on top and move it toward the white color.
Change the blue color opacity to about 10%, which is almost transparent, and change the white color opacity to about 50%.
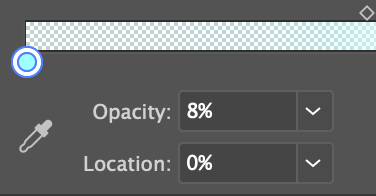
Your shape will be filled with a transparent gradient.
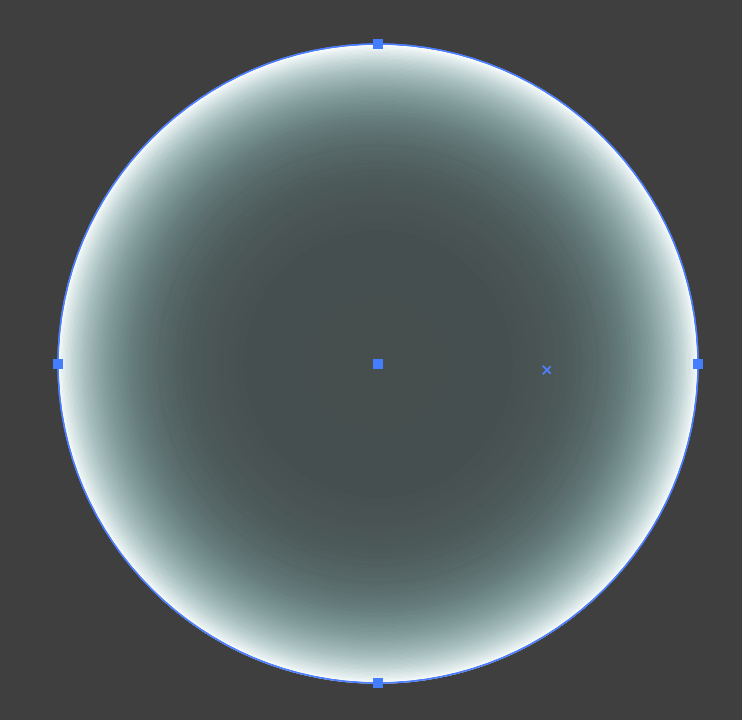
Try it on an image and see how it looks!

Another way to make realistic bubbles is by making them in 3D. It’s a bit more complicated but you’ll get it by following the steps below.
How to Make 3D Bubbles in Adobe Illustrator
There are two easy ways to make 3D bubbles in Illustrator. You’re probably thinking about the 3D Tool, right? Definitely, it’s one of the methods. Alternatively, you can also use the Mesh tool.
Personally, I think the Mesh tool creates a better effect, but I’ll include both methods so you can choose the one that works best for you.
Method 1: Mesh Tool
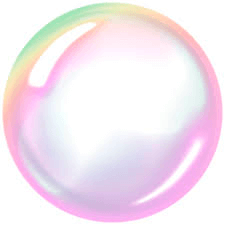
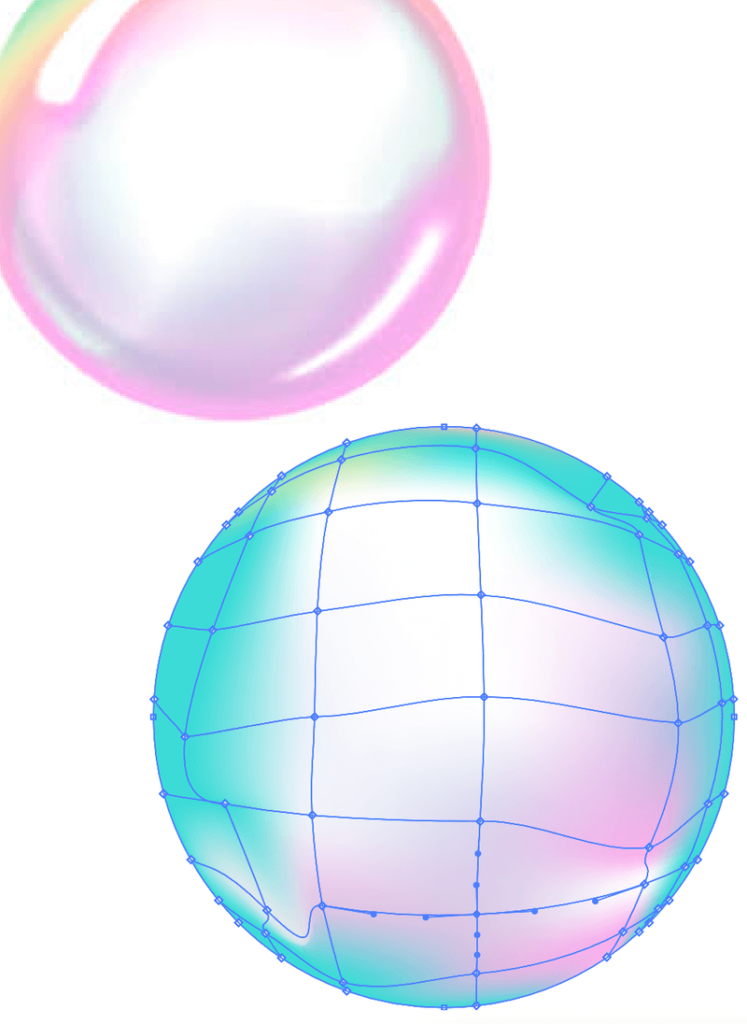
If you want to create a 3D bubble using the Mesh tool, you’ll need to find an image with reference colors. For example, I’m using this image. The result is not going to be the same, but you’ll need to create a gradient mesh.
Step 1: Choose the Ellipse Tool from the toolbar, hold the Shift key, and click and drag on the artboard to make a perfect circle.
Step 2: Choose the Mesh tool (keyboard shortcut U) from the toolbar.
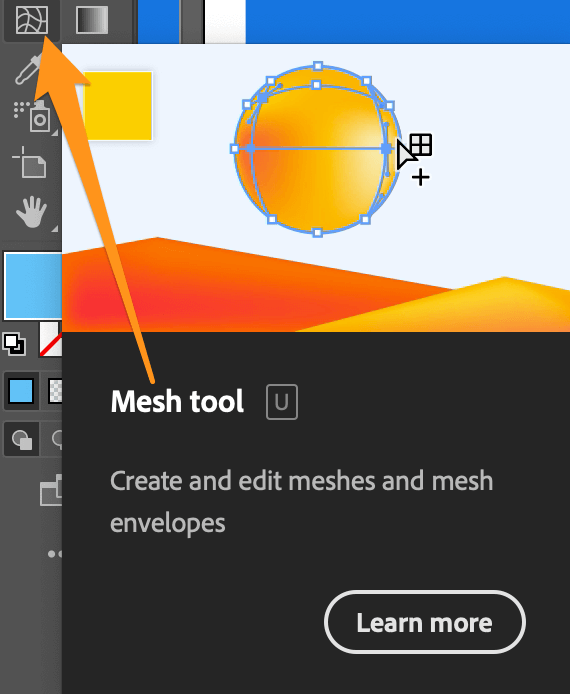
If you can’t find the Mesh Tool on your toolbar that’s because you’re using the basic toolbar. You can quickly change it to the advanced toolbar from Window > Toolbars > Advanced.
Click on the circle to create the mesh. The area you click is where you’ll be able to create gradient colors. For example, following the reference image, I created a mesh like this:
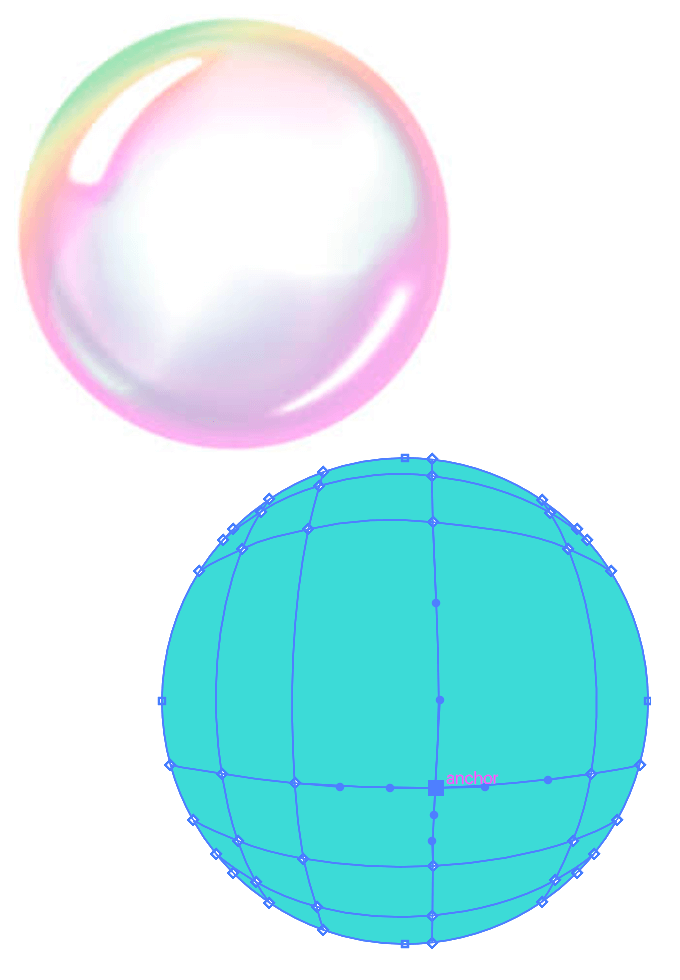
The anchor points are where you can add colors.
Step 3: Click on one of the anchor points and choose the Eyedropper tool (keyboard shortcut I) from the toolbar. Use the Eyedropper tool to sample color by clicking on the color from the reference image.
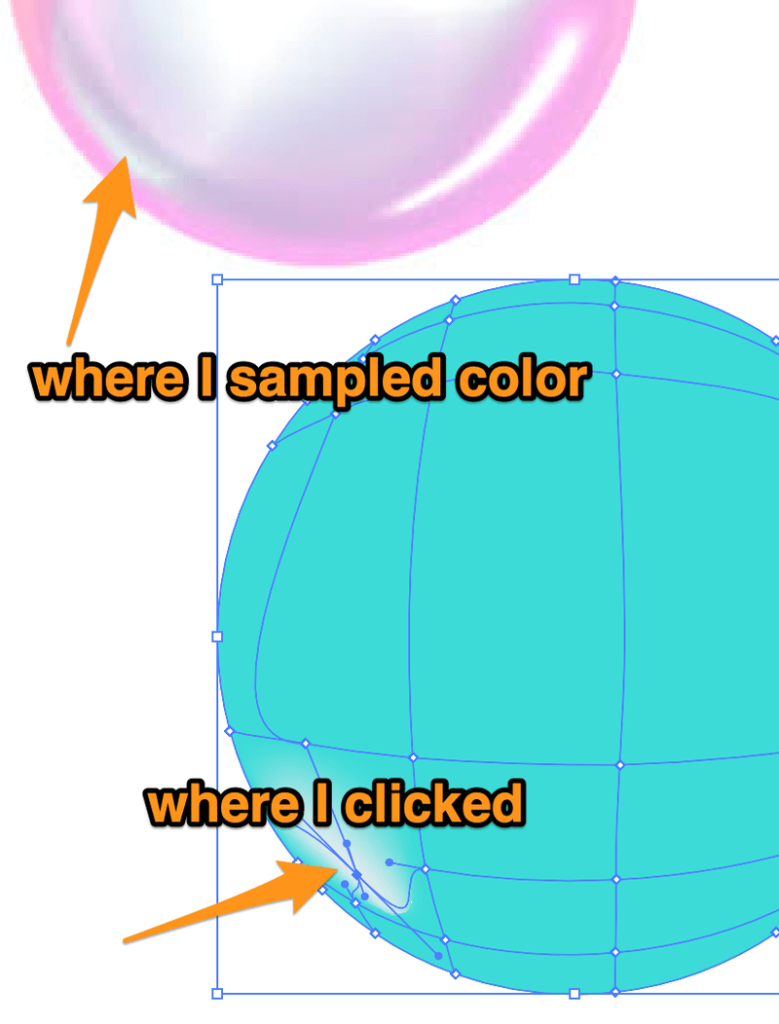
Tip: You can move around the anchor points or handles to adjust the color area, as you can see I moved my mesh.
Got the idea? Now keep sampling color until you get an ideal result. You can always add more anchor points by clicking on the shape.
Tip: I highly recommend using the keyboard shortcuts U and I to switch between the Mesh tool and Eyedropper tool because it allows you to work much faster. If you want to color the edges, you can use the Direct Selection tool, click and drag to select multiple anchor points, and color them at the same time.
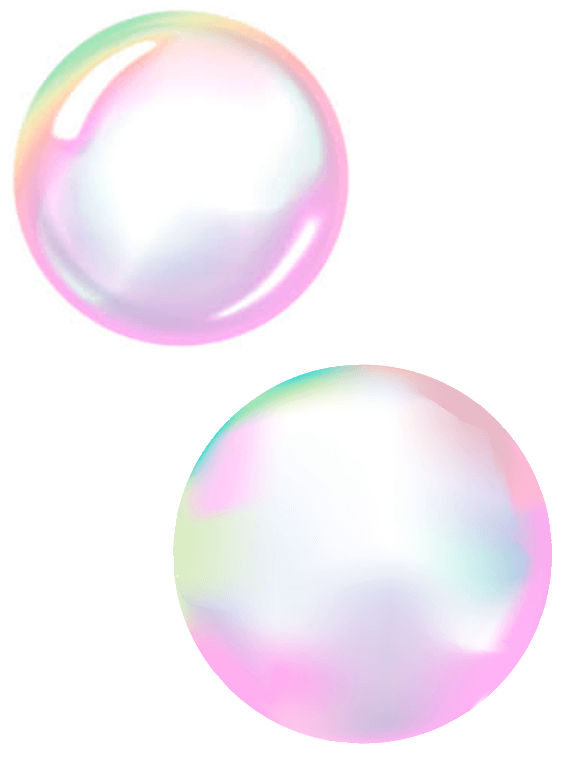
See it’s not the quickest way to make a bubble but you get a fancy bubble.
Using the 3D features in Illustrator to make bubbles is much easier.
Method 2: 3D and Material
Since Adobe Illustrator simplified its 3D features, it’s really easy to use them because you can simply apply a 3D effect to objects in a couple of clicks.
In this case, select the circle, and go to the overhead menu Effect > 3D and Material > Inflate.

Your circle should look like this.
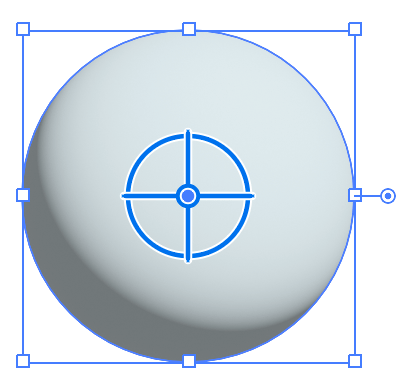
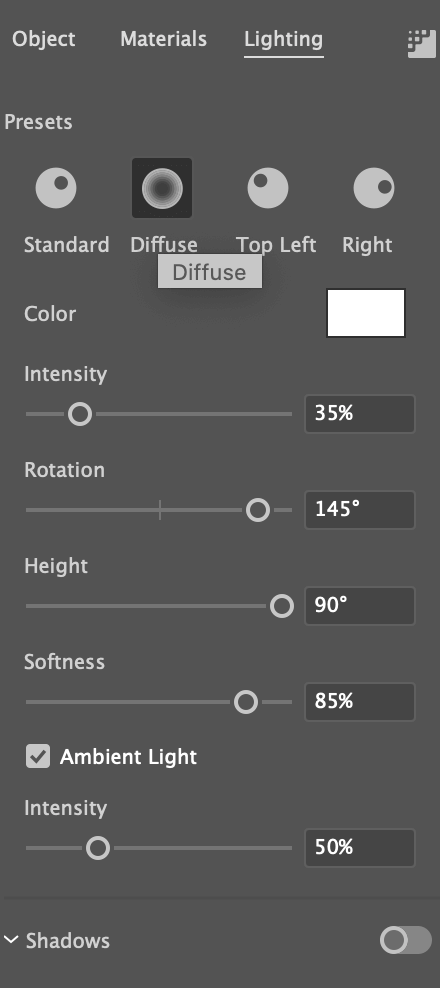
I know it’s not an ideal bubble, and that’s why I prefer the Mesh tool method. But you can adjust the lighting and opacity, or use other tools to give it a touch-up.
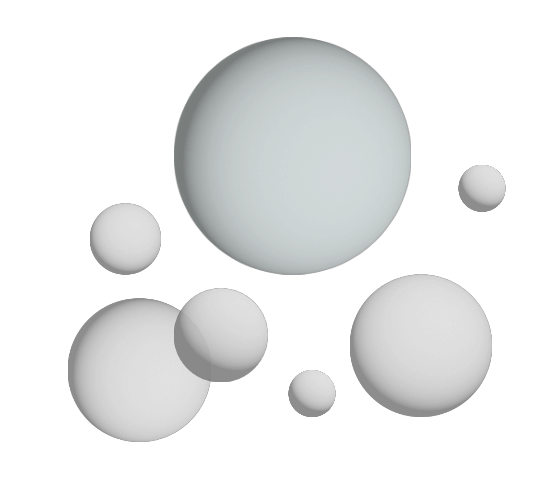
And if you add a couple more bubbles and change the lighting of each one, the effect isn’t that bad. What do you think?
Wrapping Up
Depending on the type of bubbles you need for your design, you can use different ways to create bubbles in Adobe Illustrator. Making the bubble shape is quick and easy, all you need to do is create a couple of circles, manipulate the shapes, and play with the strokes.
Making 3D bubbles can be trickier. I’d say the best effect is made with the Mesh tool, but it also takes longer. So, it’s up to you 😉