In Adobe Illustrator, you can vectorize your handwritten font, or use vector drawing tools to design a font from scratch. You will need to use font design software to turn your design into actual fonts.
Typography or font design is one of the most important elements of graphic design. Adobe Illustrator already has a collection of preset fonts, but they seem to be “too standard” and not eye-catching enough sometimes.
Don’t get me wrong. I do use the preset fonts in 90% of my work, especially for informational content like body text. However, I always look for a more unique font for headlines or big titles to catch attention.
Of course, my first choice would be downloading fonts, but sometimes I just can’t find exactly what I want. Whenever I can’t find the font I like for a project, I customize the original font or design my own font.
In this tutorial, I’m going to show you two ways to make fonts in Adobe Illustrator.
Note: all screenshots from this tutorial are taken from Adobe Illustrator CC Mac version. Windows or other versions can look different.
Method 1: Modify an Existing Font
This method is the easiest way to make a new font but you need to check the copyright of the original font you’re modifying. If you’re using Adobe Fonts, they are basically all free for personal and commercial use with your Creative Cloud subscription.
When you create a font by editing an existing font, you must outline the text first. Another important thing to keep in mind is that choosing a font that’s similar to what you want to create will save you time and get you a better result.
For example, if you want to create a thicker font, choose a thicker font to modify, and if you want to create a serif font, choose a serif font.
I’ll choose a thick San serif font to show you an example with steps.
Step 1: Add text to Adobe Illustrator, including letters A to Z (both upper and lower cases), numbers, punctuation, and symbols.
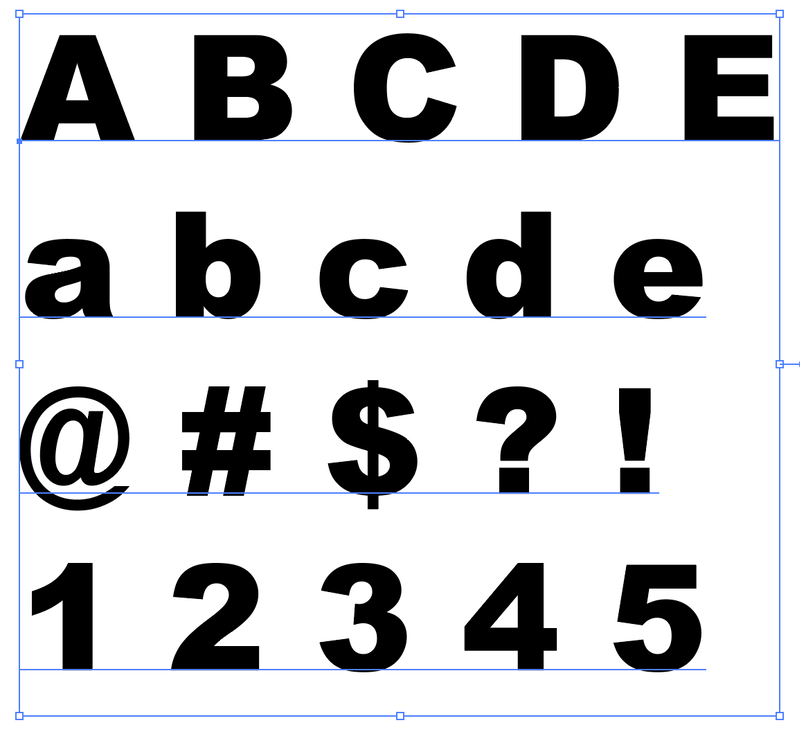
Note: This is just to show you an example, so I’m not listing out all letters, numbers, or punctuation. If you want to make it a usable font for the future, you should include all.
If you only need to have a custom font for a logo project, then you can only type out the letters of the logo.
Step 2: Select all text and choose a font that is close to what you want to create from the Character panel.
Step 3: Select all text and use the keyboard shortcut Command + Shift + O (or Ctrl + Shift + O for Windows users) to create a text outline.
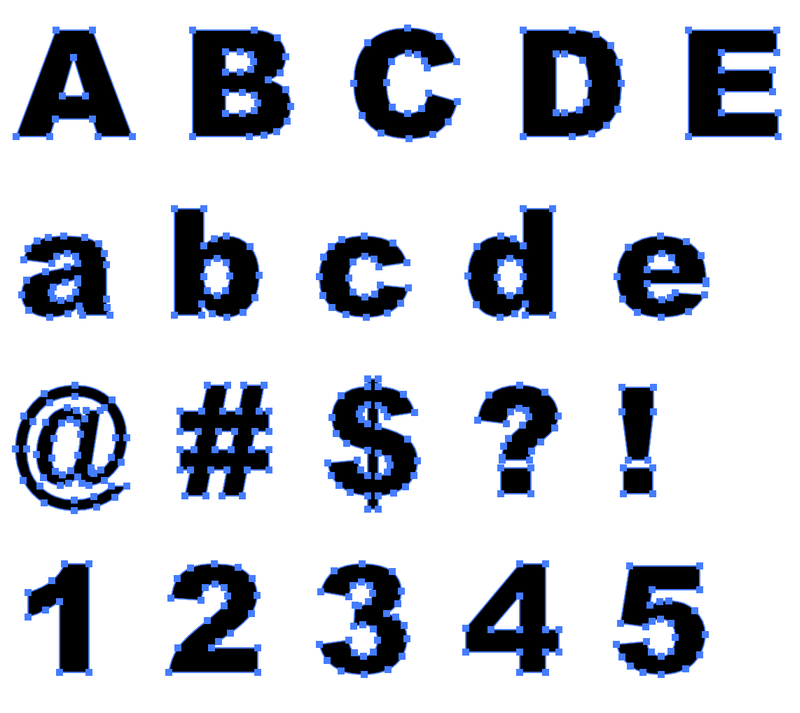
Once the text is outlined, ungroup it so that you can edit the letters individually.
Step 4: Use the Direct Selection Tool (keyboard shortcut A) to edit the letter. For example, you can round the corners.

Or cut out certain parts using the Eraser Tool or the Direct Selection Tool itself. Lots of possibilities here. Your call.

Repeat the same process for all the letters, numbers, and punctuations. Try to keep the format consistent. I highly recommend using the guides when you format the fonts.
Step 5: Choose your favorite font creator and make the vector lettering into font formats like TTF or OTF.
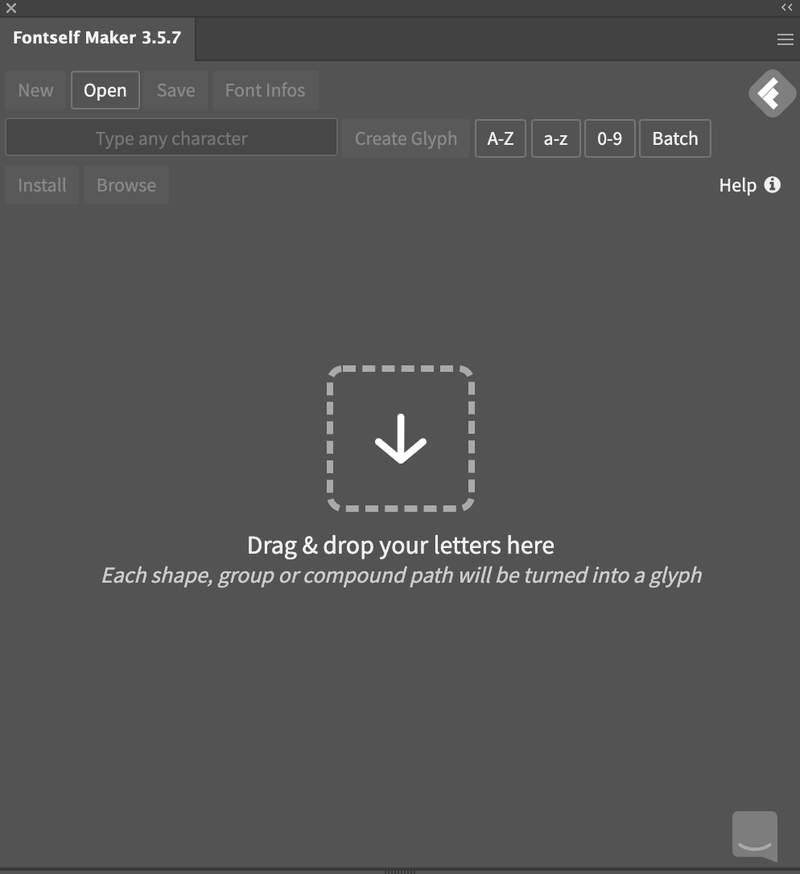
If you need a recommendation for a font creator, I think that Fontself is a good choice as it’s super easy to use and it’s an Adobe Illustrator extension. So once you install Fontself, you can open it in Adobe Illustrator’s Window > Extension menu.
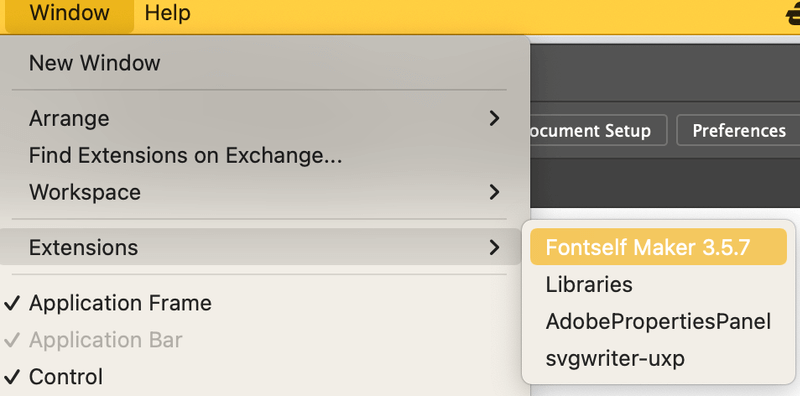
It’ll open up the Fontself extension panel. All you need to do is drag the font you made into the panel and categorize it by upper case, lower case, etc.
For example, I’m going to drag an upper-case letter, a lower-case letter, a number, and a symbol.

Fontself normally would identify the category, and you can also choose to automatically adjust the kerning and spacing.
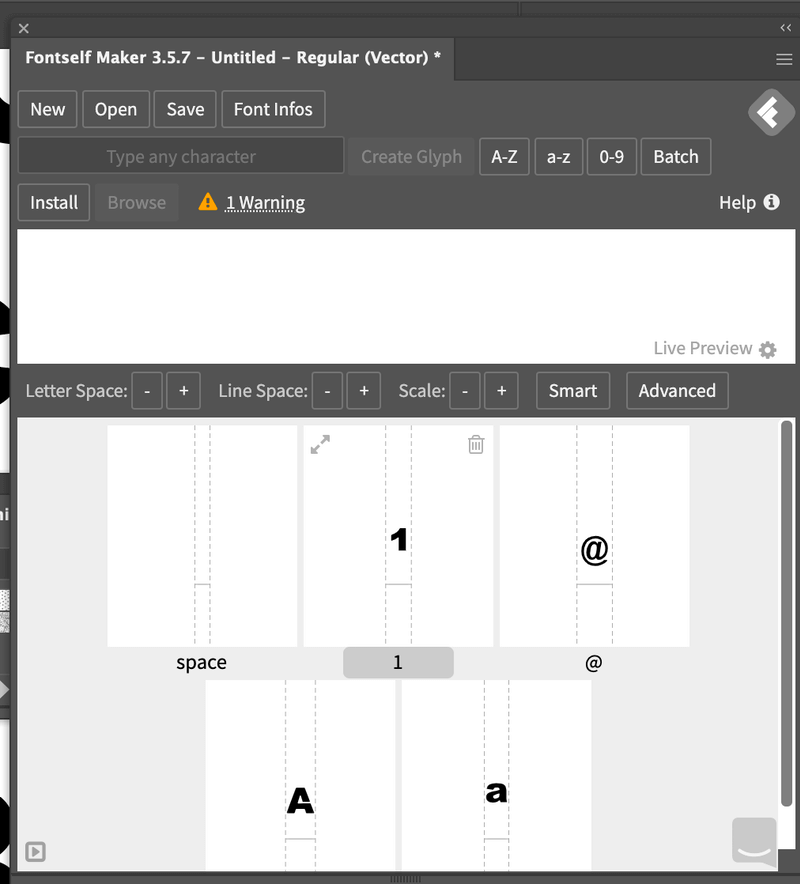
Once you’re done, click Save. As simple as that.
Method 2: Create a Font From Scratch
This is the method I use to create handwriting/script fonts. I think it’s the best way to create original fonts with your personal touch. However, the process can take some time because you need to sketch, vectorize and refine the letters. Here are the steps.
Step 1: Sketch out your ideas on paper or use a graphic tablet to sketch in Adobe Illustrator. The latter option will save you the time from vectorizing (Step 2), but I do recommend sketching on paper especially if you’re creating a handwriting style font.
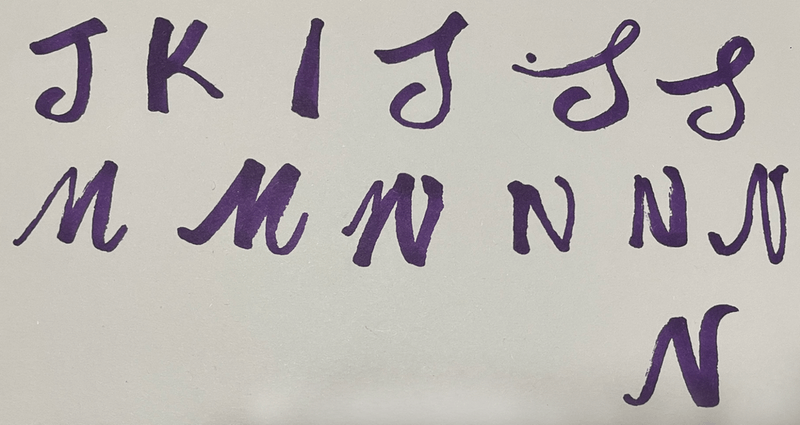
This is just a random sketch to show you the example.
Step 2: Vectorize your sketch using Image Trace or Pen Tool. If you have enough time, use the pen tool because you can get more accurate lines and edges of the font.
Take the letter “S” as an example. Here are the vectorized results of the pen tool and image trace.
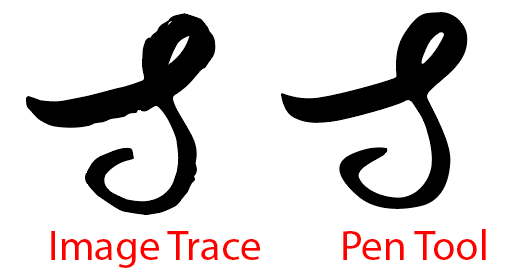
Choose either method to vectorize all the letters, numbers, and symbols. You might have to use other tools to touch up the path.
Step 3: Use guides to organize the font. This step is to keep the letters organized. For example, the top of the letter shouldn’t go past the top guideline, and the bottom shouldn’t go past the bottom guideline.
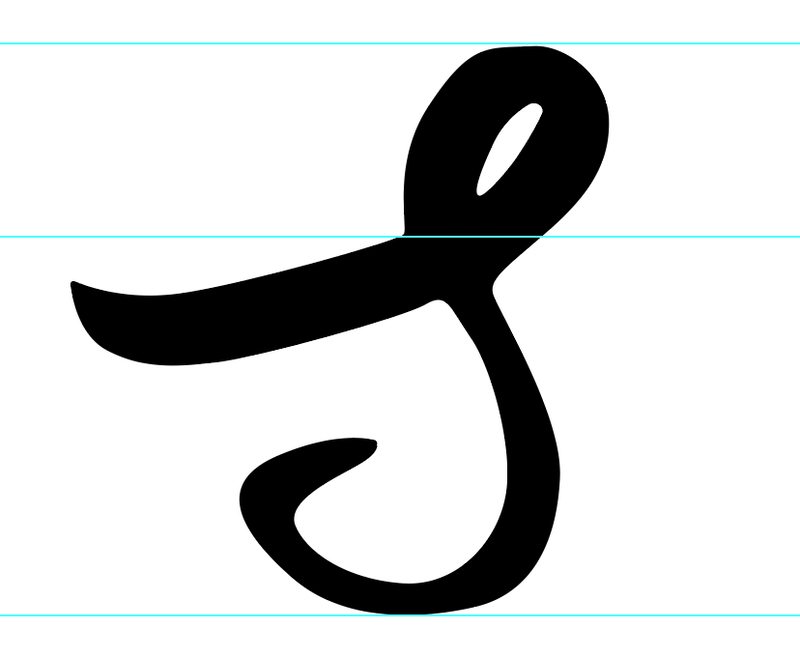
So when you use the font, it won’t have situations like this:

Step 4: Once you’ve organized the font, use a font creator to convert vector fonts to font format. Follow Step 5 from Method 1 above.
Step 4 is optional if you only want to use the font for a one-time project.
FAQs
Here are more questions related to making a font in Adobe Illustrator.
How to create a font in Illustrator for free?
There are some free font makers that you can use to convert your design into downloadable fonts, such as Font Forge, but it’s not as convenient as some Illustrator plugins.
How to manipulate font in Adobe Illustrator?
There’s a lot you can do with font/text in Illustrator. For example, you can change the color, use the Direct Selection Tool to edit the shape, change the character style, or even fill the text with an image background.
How to make a handwriting font in Illustrator?
The best way to create a handwriting font is definitely by handwriting the font with your own hand instead of modifying someone else’s font. You can follow Method 2 above to create your own handwriting font.
How do I save a font as a PNG?
You can save a font as PNG in two steps. Select the font, go to File > Export As, and choose PNG as the format. If you want to have a transparent background, change the background color to Transparent.
Wrapping Up
Adobe Illustrator is the perfect choice for making vector fonts because there are so many vector editing tools available for manipulating the font style. If you want to create a font for future use, or for download, you’ll need to use a font creator to format the font.
Manori Priyanga Hendawitharana
Dear June,
I am a learner about graphic design.. This is the best learning flatform to learn illustrator. I get lots of things from your web site.. Like to learn more from your site.. This is grate ❤.. Add more things to the site. Best wishes for your future. 🥰
Thanks a lot,
Manori from Sri Lanka❤
June Escalada
Hey Manori,
Thanks for your kind words! Hope you learn more from IllustratorHow 😉
liz
the command for selecting text is wrong its crt (cmd)+shift+O