
Although the Slice Tool is a cutting tool mainly used for web design. If you’re thinking about cutting out shapes or creating a sliced text effect, the Slice Tool isn’t what you’re looking for. I mean, technically you can, but there are better tools.
Why? Because the Slice Tool doesn’t allow you to create freehand cuts and doesn’t edit anchor points. Actually, it only makes rectangular sections on a page.
The Slice tool is used for separating parts of the elements on a web page and you can save the slices as individual images. For example, if you’ve put together everything on an artboard, but want to save the logo and icons separately, this is when the Slice Tool comes in handy.
In this tutorial, you’ll learn how to separate objects on a page using the Slice Tool and how to save/export individual slices in Adobe Illustrator.
How to Use the Slice Tool (2 Ways)
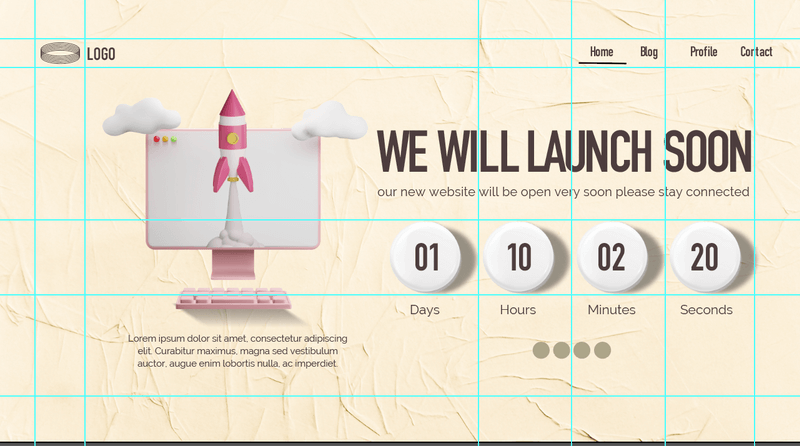
Since the tool is mainly used for web pages, I’m going to show you an example of how to slice parts of a web page.
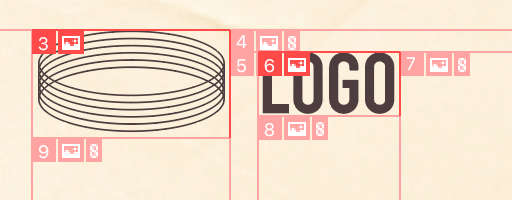
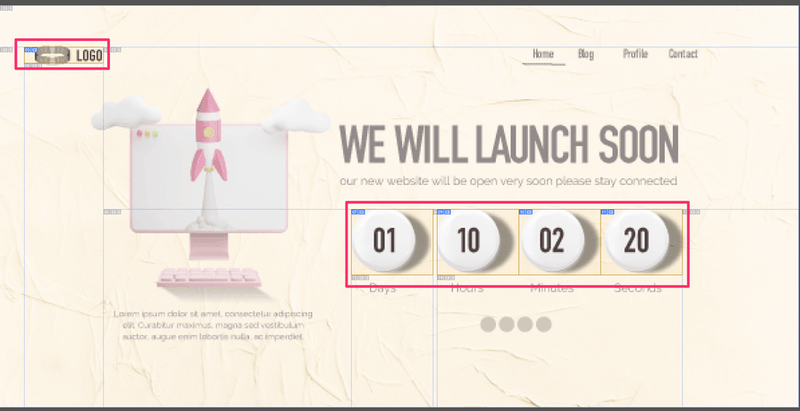
Let’s say we want to slice and save the logo/company name, and the timing icons separately. You can use the same method on your own design.

There are actually two ways to do it. You can select the object, and go to the overhead menu Object > Slice, or use the Slice Tool to make the selection directly.
Note: all screenshots from this tutorial are taken from Adobe Illustrator CC Mac version. Windows or other versions can look different.
Method 1: Object > Slice
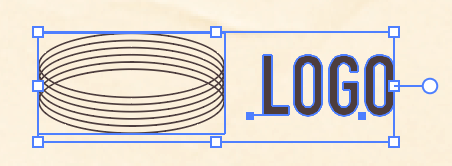
Step 1: Use the Selection Tool (keyboard shortcut V) to select the object you want to slice. For example, let’s select the logo.
Step 2: Go to the overhead menu Object > Slice > Make or Object > Slice > Create from Selection.
If you choose Make, it slices the two elements that you selected (logo icon and logo text) into two boards.
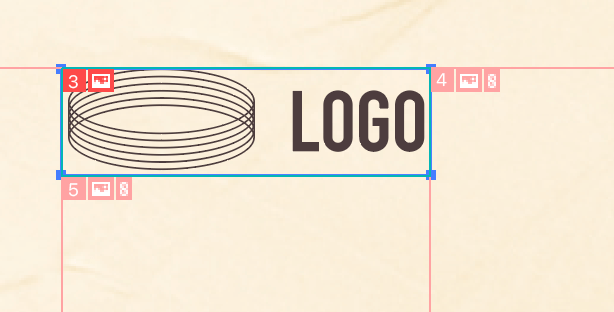
If you choose Create from Selection, it slices the whole selection.
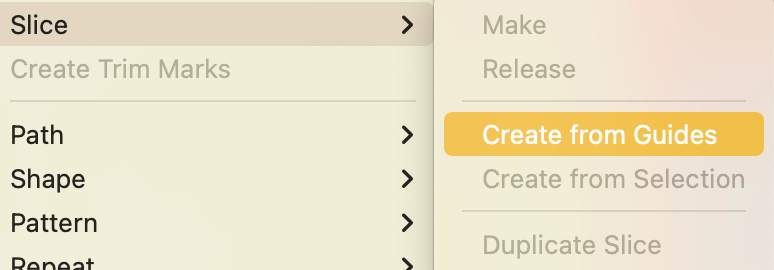
You can also use the Ruler (keyboard shortcut Command + R, or Ctrl + R for Windows) to create guidelines and create slices from guides.
After adding the guides, go to Object > Slice > Create from Guides.
You can also make a freehand slice selection, meaning, you can decide the spacing around the objects using the Slice Tool.
Method 2: Slice Tool
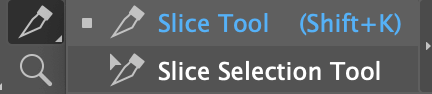
Step 1: Select the Slice Tool (Shift + K) from the toolbar.
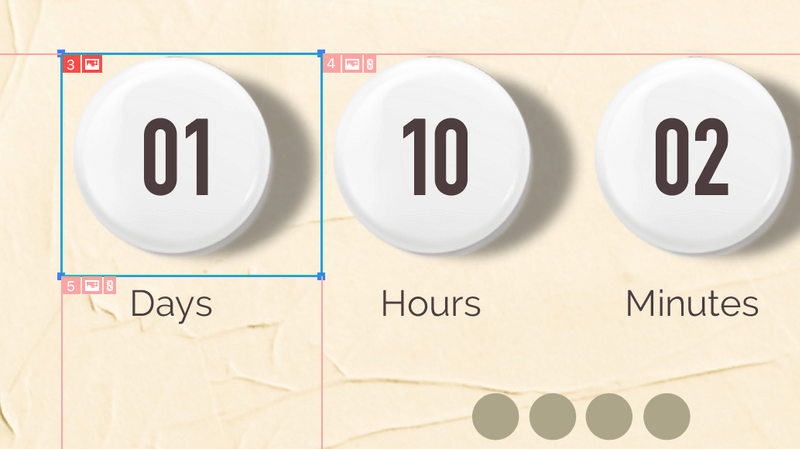
Step 2: Click and drag to make a selection. For example, you can select the timing icon. Basically, create a rectangle to select the circle with shadow and text using the Slice Tool.
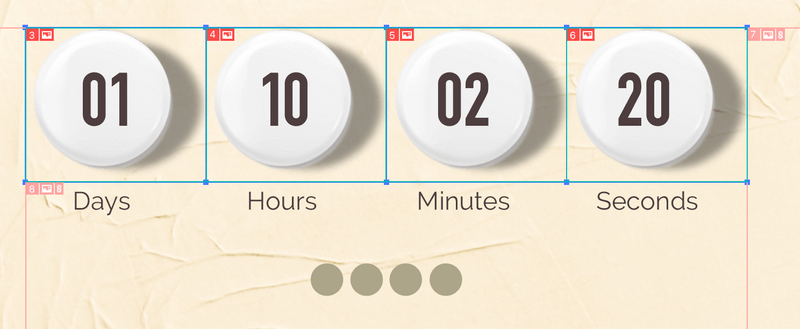
You can also duplicate the selection by holding down the Option key (or Alt key on Windows) and dragging the slice selection to the next object you want to slice.
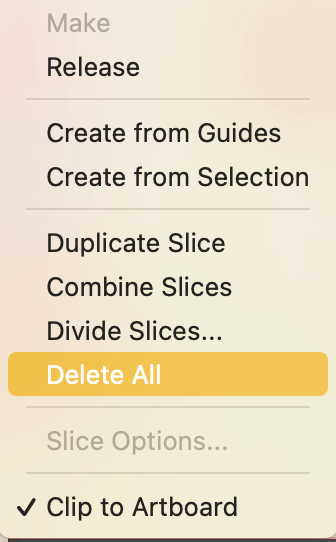
If you made a mistake and want to deselect a selected slice area, simply select that part with the Slice Selection Tool and hit the Delete key. If you want to deselect all, go to Object > Slice > Delete All.
Once you have the slices selected, they are ready for export.
How to Export Slices in Adobe Illustrator
The Slice Tool prepares your design for the web, so when you save or export the slices, you’ll choose the Save for Web (Legacy)… option. Here are the detailed steps.
Step 1: Go to the overhead menu File > Export > Save for Web (Legacy)…
This window will pop up.
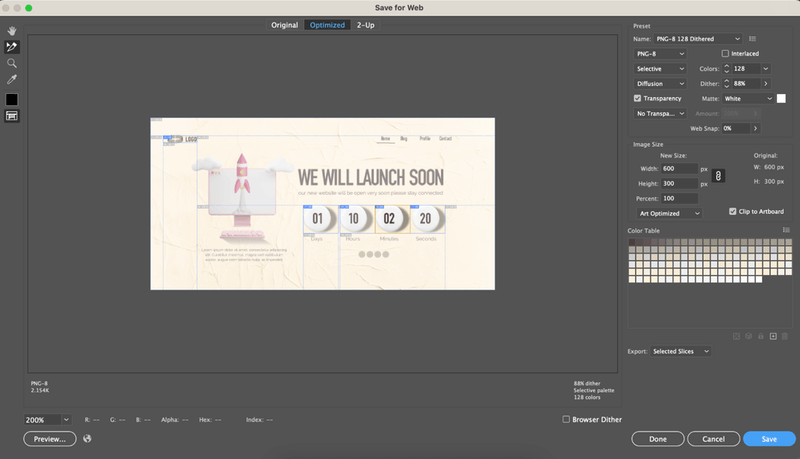
It looks a lot more complicated than you think. There are only two settings you need to change.
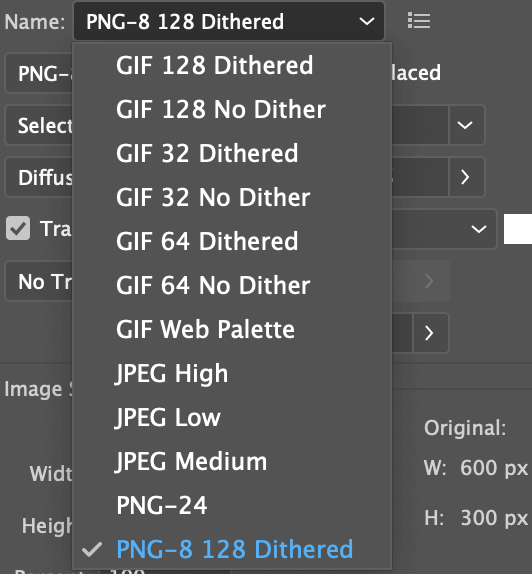
Step 2: Choose the format and slices that you want to export.
- Export. Do you want to export all slices or selected slices?

If you only want to export only the selected slices, you’ll need to click to choose the slices from the main panel. Hold the Shift key to select multiple slices. The selection will show slightly highlighted. For example, I selected the timing icons and the logo.
Step 3: Click the Save button, choose where you want to save the file and you should see them in an image folder in your selected location.

FAQs
Here are more questions related to cutting objects in Adobe Illustrator.
How do you cut out a shape in Illustrator?
There are many ways to cut a shape in Illustrator. The Pathfinder tools are great for cutting and creating new shapes. The Pen Tool is ideal for cutting out part of an image, the Scissors works well cutting paths, and the Knife or Eraser Tool cuts vector shapes.
How do I cut text in Illustrator?
I would say using the Knife tool is the easiest way to cut text because all you need to do is draw through the text area you want to cut (with the Knife selected).
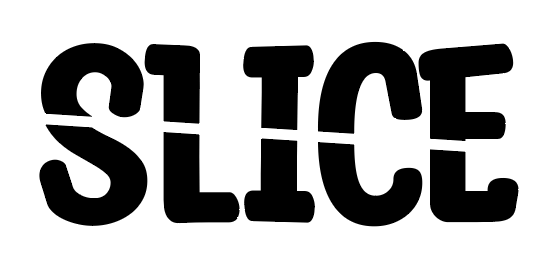
If you want to create a sliced text effect, the Pathfinder Tool (Divide) works great as well. No matter which tool you use, you must create a text outline first.
How do I cut a shape out of a picture?
The best way to cut a shape out of a picture is by creating a clipping mask. You’ll need to use the pen tool to trace around the shape by creating anchor points, and then simply use the keyboard shortcut Command + 7 (Ctrl + 7 on Windows) to create a clipping mask.
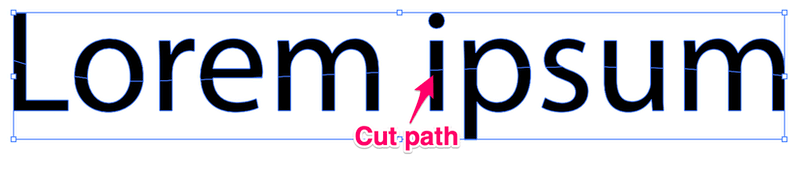
How do I create a sliced text?
You can use the line tool to draw a straight line across the text and use the Pathfinder (Divide) Tool to divide the text. Once it’s divided, ungroup the text (in this case, the shape), select the top part, and move them as you wish.
Final Words
Don’t let the name confuse you. It sounds like a tool you’d use for slicing objects and text, but it’s not. The Slice Tool isn’t a cutting tool for editing vectors. It’s for separating the elements on a page for saving.