Type inside a circle sounds a little broad, what exactly are you looking for? Literally, add text inside a circle, type on a path of an inner circle, or do you mean to distort the text inside a circle?

In this article, I’m going to show you three ways to type inside a circle using the Type Tool and Envelope Distort.
Note: all screenshots from this tutorial are taken from Adobe Illustrator CC Mac version. Windows or other versions can look different.
Method 1: Add Text Inside a Circle
In this method, all you have to do is create a circle and add text inside the circle. What makes a huge difference is where you click when you add text. I’ll explain the details in the steps below.
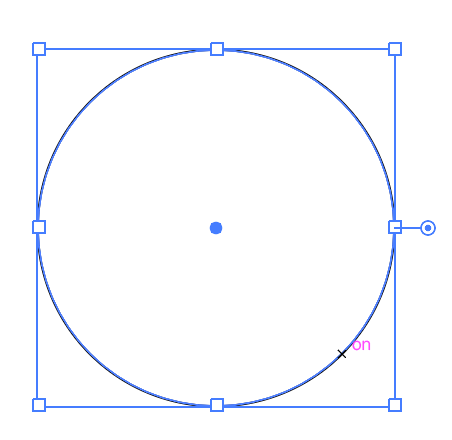
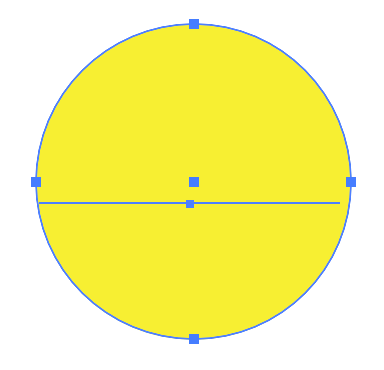
Step 1: Choose the Ellipse Tool (keyboard shortcut L) from the toolbar, hold down the Shift key, and click and drag on the artboard to make a perfect circle.
Step 2: Choose the Type Tool (keyboard shortcut T) from the toolbar.

When your mouse hovers over the path of the circle, you should see the path highlighted with your layer color (the color of selection), in my case, it’s blue.

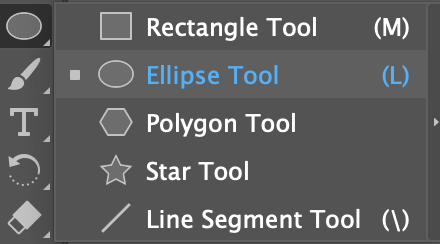
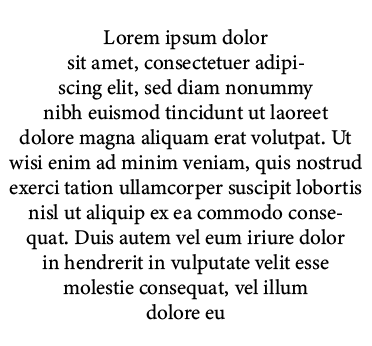
Step 3: Click on the circle path, and you’ll see the circle filled with lorem ipsum text.
You can edit text on the Character and Paragraph panels.
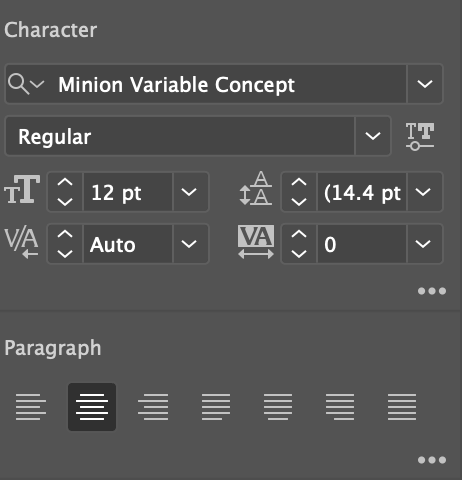
For example, I changed the font and chose Align Center to center the text.
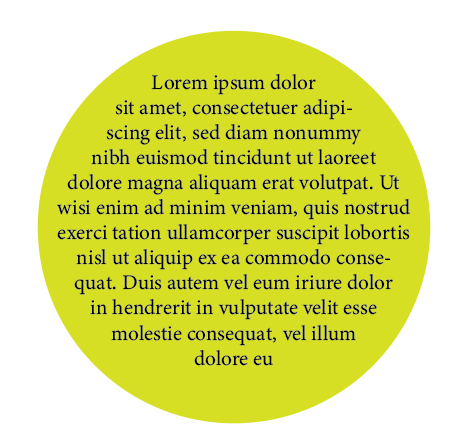
As you can see the circle disappears when the text is added. You can create another circle and send it back as the text background.
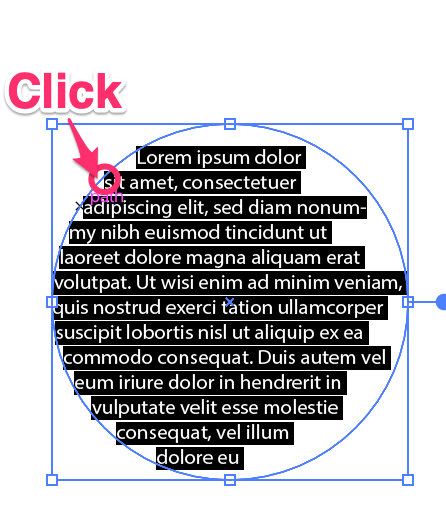
Note: you must click along the path to fill the circle with text. If you click inside the circle, you’ll add text to the area you click.
Method 2: Type On A Path
You can make text follow any path you like in Adobe Illustrator and you can use this technique to type within a circle as well.
Step 1: Use the Ellipse Tool to create a circle.
Tip: When you type on the circle later, the circle path will disappear, so if you want to show the circle, duplicate and place it in the same position.
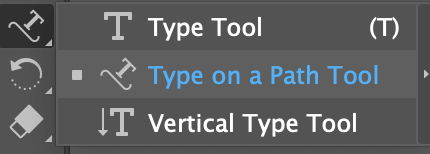
Step 2: Select the Type on a Path Tool from the same menu as the Type Tool.
Same as the method above, if you hover over the circle path, the path should be highlighted.
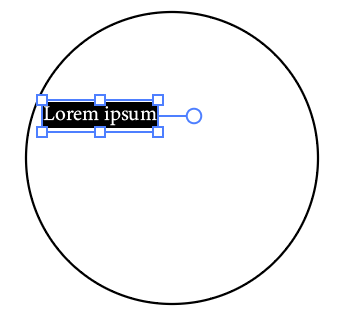
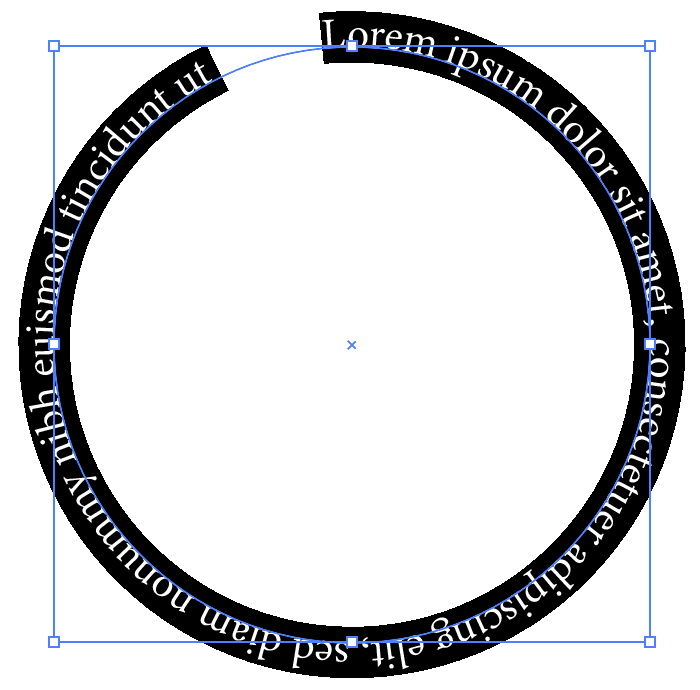
Step 3: Click on the circle path and you’ll see that text follows along the circle.
Step 4: Choose the Selection Tool (keyboard shortcut V) and you can see a couple of handles. Click on the single handle and drag it in the direction of the circle center to make the text inside the circle.
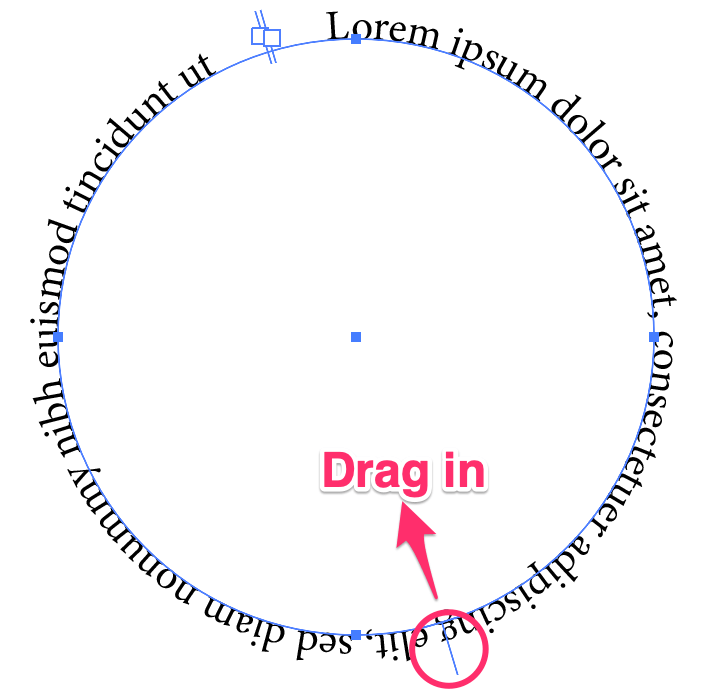
Now the text should be inside the circle. You can use the same handle to adjust the text position.
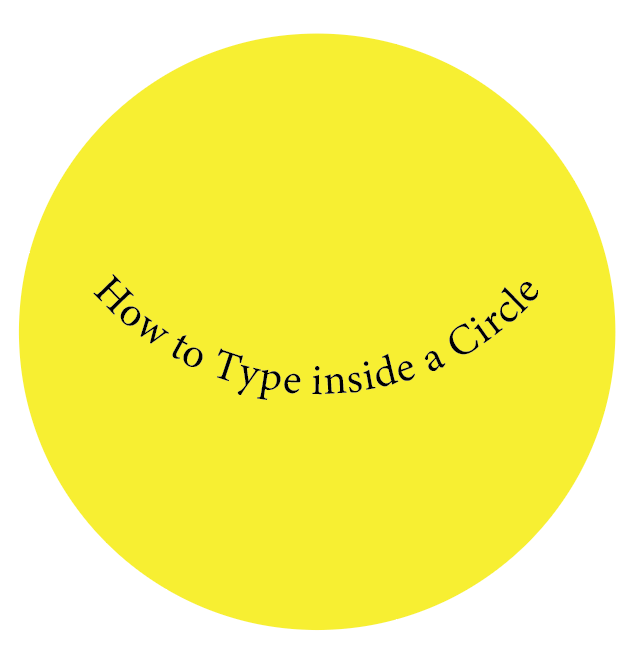
Let’s change the text to see how it would normally look when you add specific text to it.

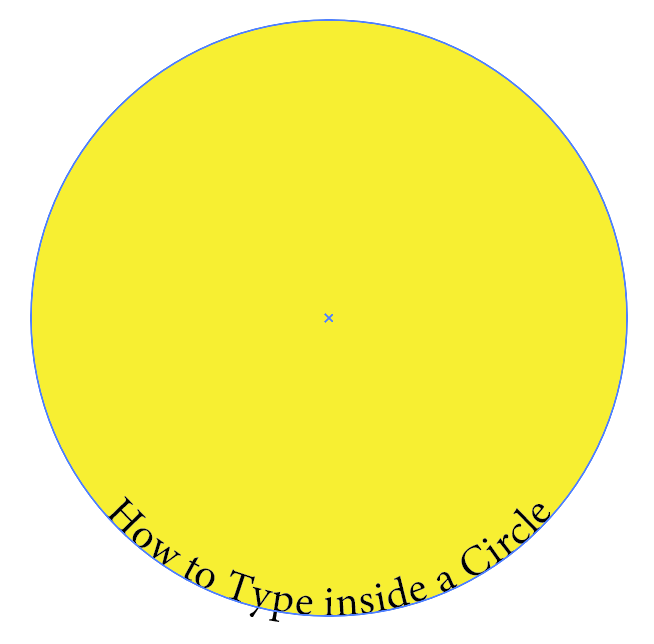
You can play around and see what else you can do, like adding a background color or moving around the text.
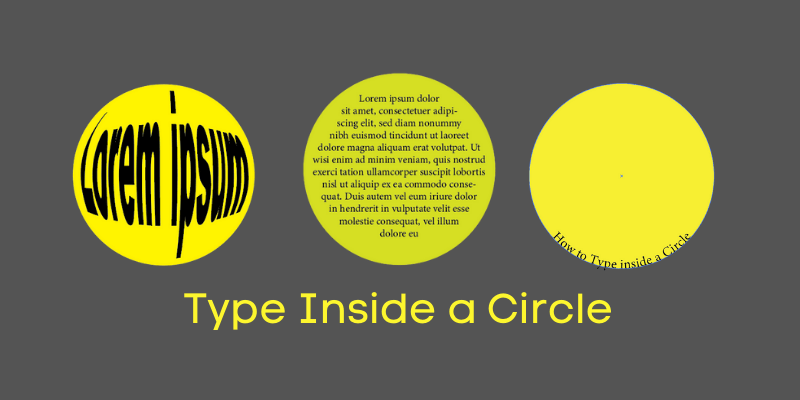
Method 3: Envelope Distort
You can use envelope distort to create awesome text effects including text inside a circle. Follow the steps below and see how this magic works!
Step 1: Use the Type Tool to add text. I recommend using a thicker font for better results.

Step 2: Create a circle on top of the text.
Step 3: Select both the circle and text.
Go to the overhead menu and choose Object > Envelope Distort > Make with Top Object.

You can add a solid circle behind the text.

Wrapping Up
Type inside a circle is commonly used in logo design and typography posters. You can use the methods above to add text inside a circle in Adobe Illustrator and you can get different text effects. Remember if you use the Envelope Distort, the circle must be on top of the text.