
Depending on the splatter effects you want to create, there are different ways to make paint splatters in Adobe Illustrator. You can make a splatter brush and save it for future use, use an ink brush, or use the symbol tools to make paint splatters in Illustrator.
Honestly, making a splatter brush takes a bit of effort, that’s why I usually use the easiest solution – the existing tools (I’ll show you the tricks)! For example, when I want to make a watercolor splash, I’d use the ink brushes or the watercolor brushes I made.
In this tutorial, I’ll show you two easy ways to make different paint splatter effects in Adobe Illustrator and how to create a splatter brush in case you need it.
2 Easy Ways to Create a Splatter Brush Effect in Illustrator
If you want to make a vector paint splatter, the easiest way is to use the symbol tools because all you need to do is create a circle, make it a symbol, and edit it using the symbol tools. For watercolor effects, you can use the ink brushes in Illustrator by adjusting the size, color, and opacity.
I’ll explain both methods in detail below 🙂
Note: All screenshots from this tutorial are taken from Adobe Illustrator CC Mac version. Windows or other versions can look different.
Method 1: Using Brushes
If you can find a decorative brush to make the paint splatter effect you need, that’d be great because all you need to do is choose a brush from the Brushes panel. Here are the steps:
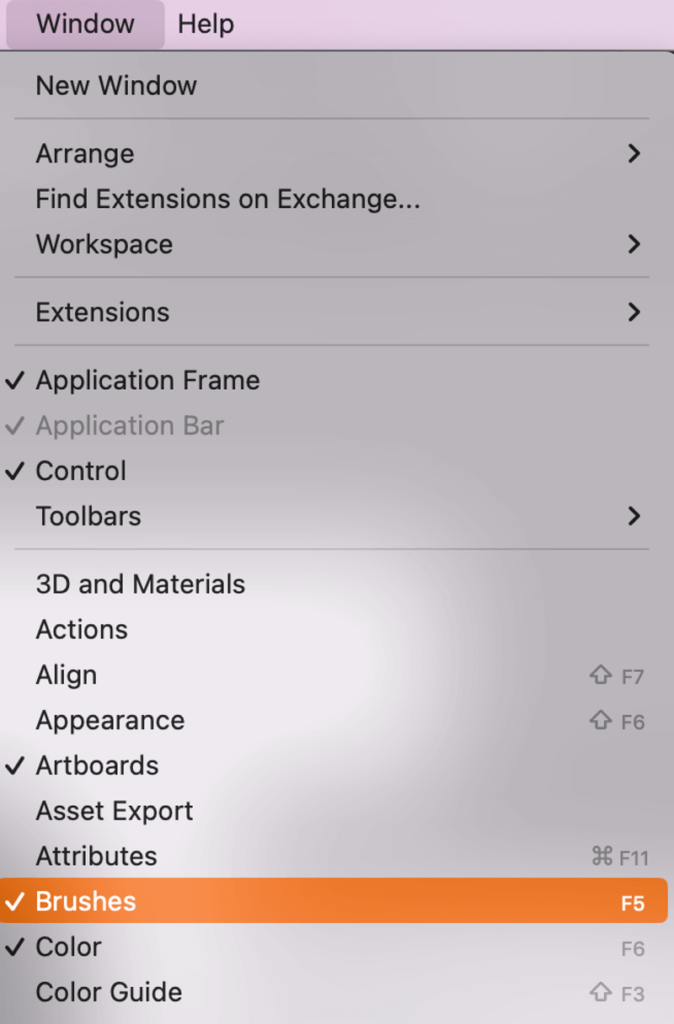
Step 1: Open the Brushes panel from the overhead menu Window > Brushes.
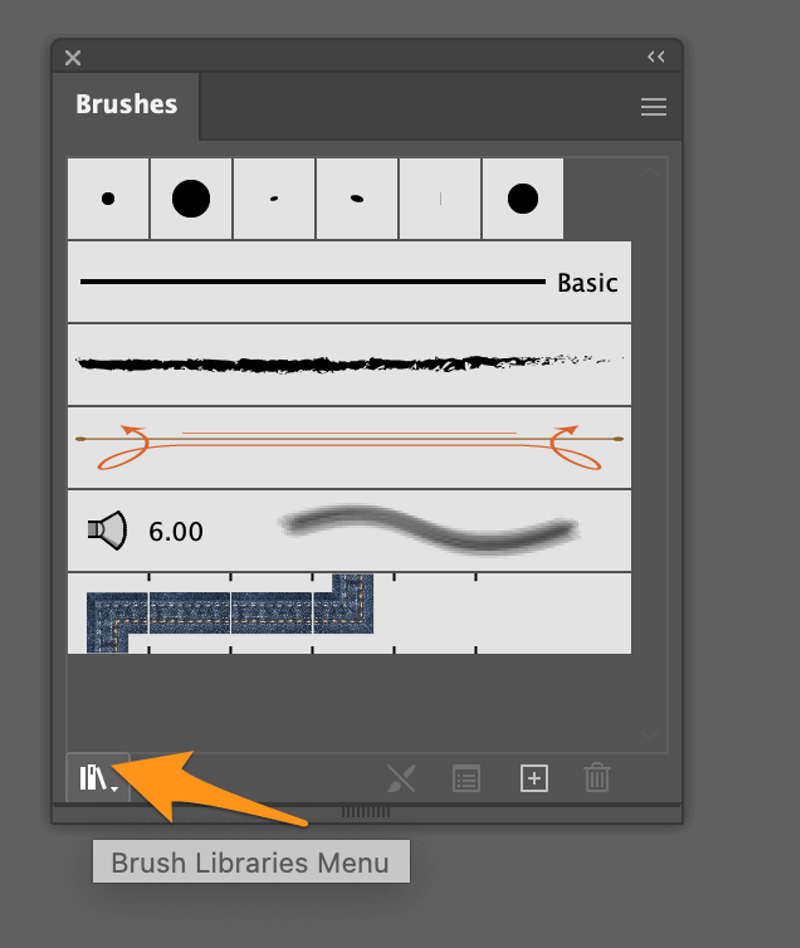
Step 2: Click on the Brush Libraries Menu on the Brushes panel.
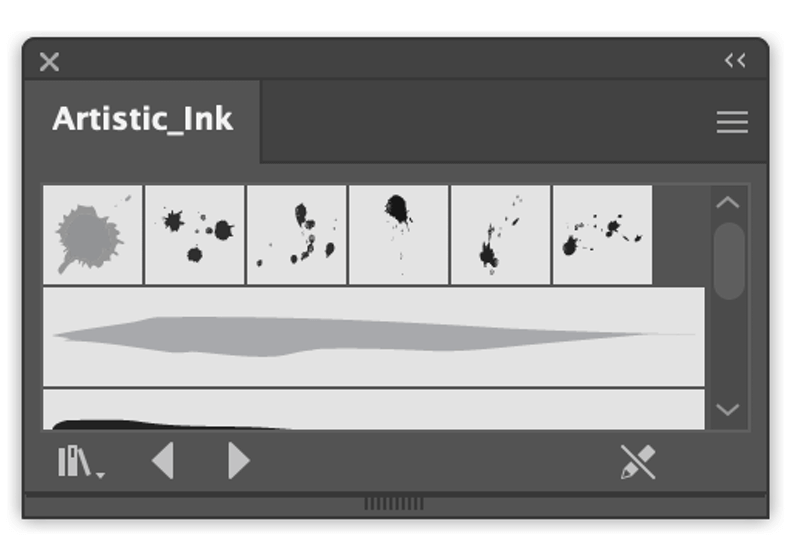
Choose Artistic > Artistic Ink.
This will open the ink brushes panel and from here you can find brushes to create some basic splatters.
Step 3: Choose the Paintbrush (keyboard shortcut B) from the toolbar, select a brush from the Artistic_Ink panel, and start painting on your artboard. For example, I used a combination of artistic ink brushes and changed the brush size and colors to make this paint splatter effect.
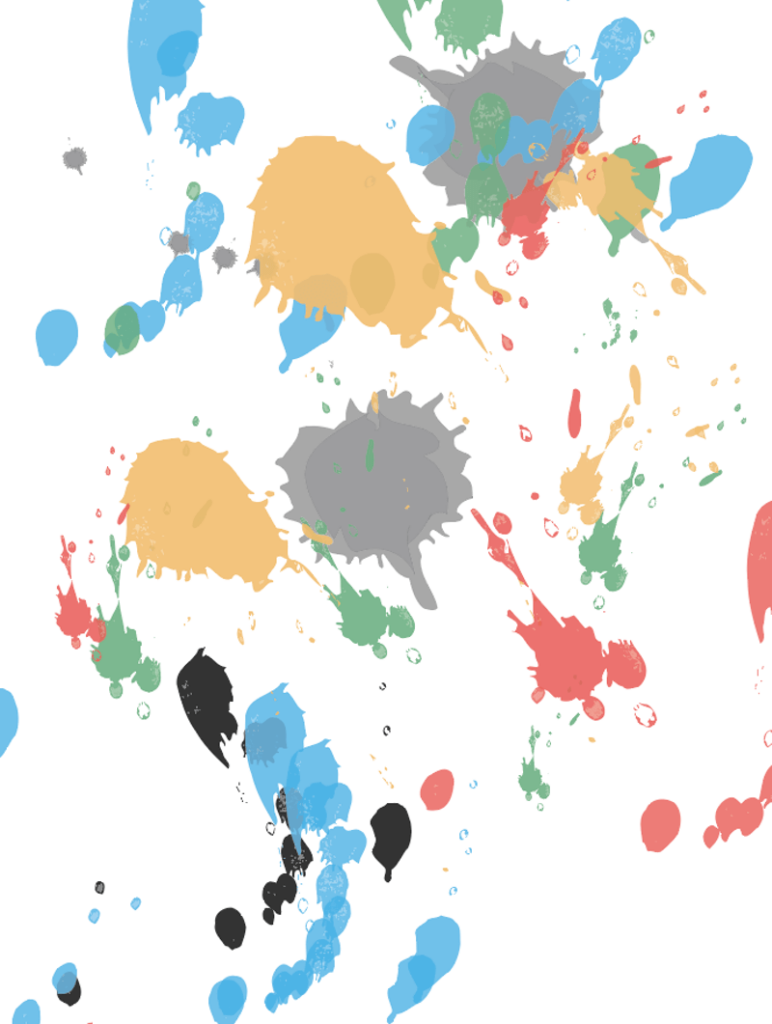
As you can see, this creates a watercolor splatter effect. If you want to make a more solid paint splatter, you can use the symbols tools to make vector paint splatters.
Method 2: Using the Symbol Tools
Before jumping into the steps, open the Symbols panel from the overhead menu Window > Symbols.
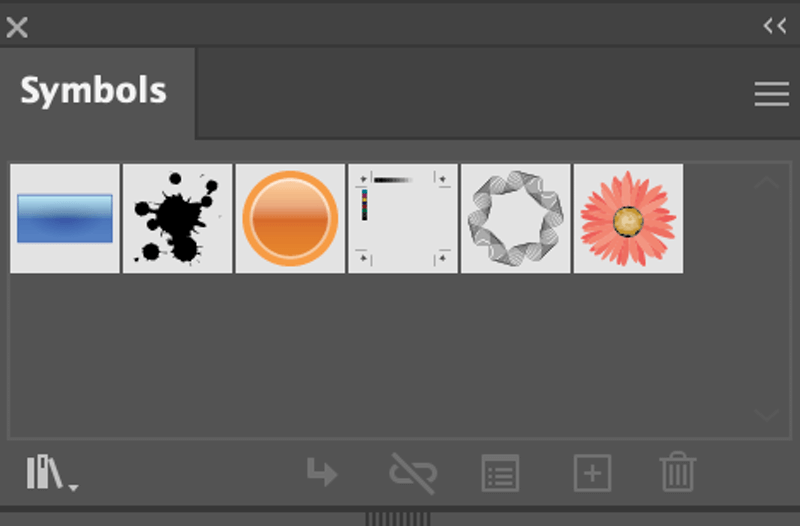
As you can see, there’s already a splatter symbol in the panel. If that’s what you want, you can simply select the splatter symbol and drag it to your artboard.
If not, follow the steps below to make your own vector splatter symbol in Adobe Illustrator.
Step 1: Choose the Elipse Tool (keyboard shortcut L) from the toolbar, hold the Shift key, click and drag on the artboard to make a perfect circle.

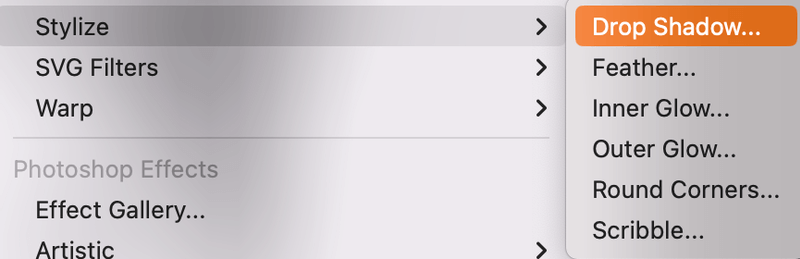
Step 2: Add a drop shadow to the circle.

Select the circle, go to the overhead menu Effect > Stylize > Drop Shadow. You can keep the default setting.
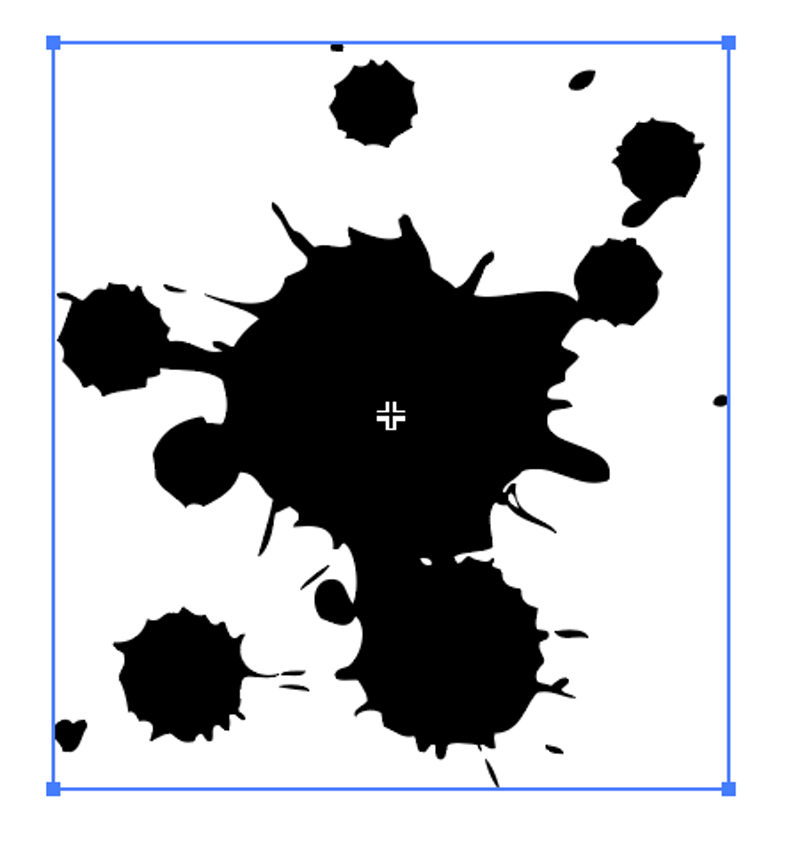
Step 3: Duplicate the circle as many times as you want depending on the dynamic of the splatter. Move around to arrange the appearance of the paint splash, you can change the size and color too.

Step 4: Select all shapes and drag them to the Symbols panel. You’ll see a symbol setting window. Feel free to add a name and keep the default settings and click OK.
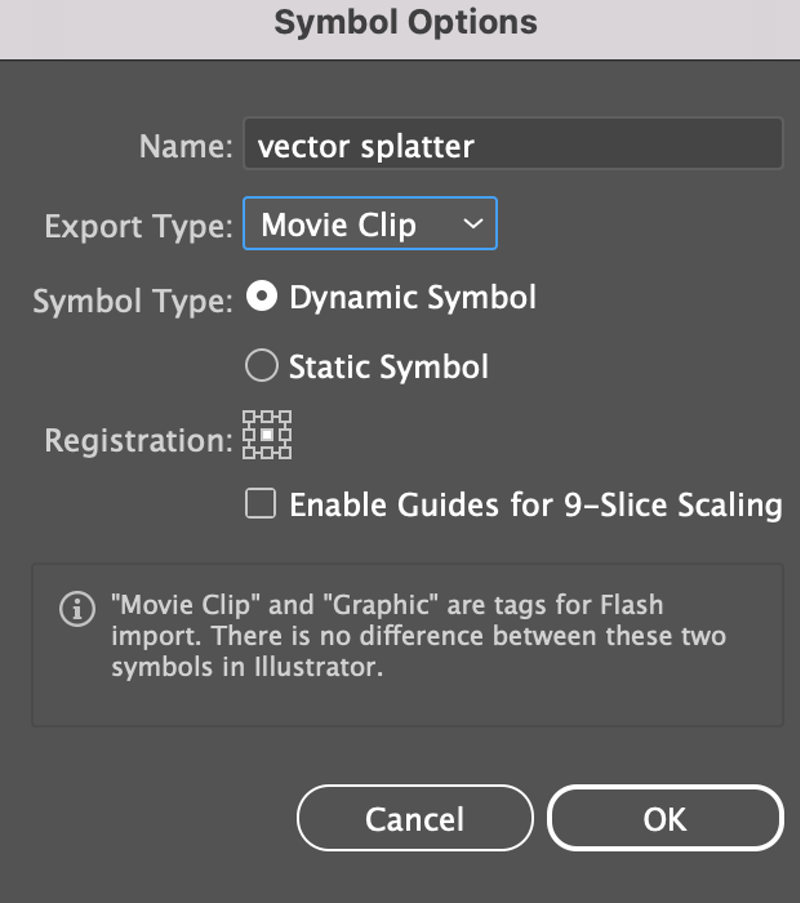
Now you should see the new splatter symbol on the Symbols panel. And the shapes you dragged to the panel should show a plus sign – meaning it’s a symbol.

Step 4: Go to the toolbar and choose the Symbol Sprayer Tool (keyboard shortcut Shift + S).
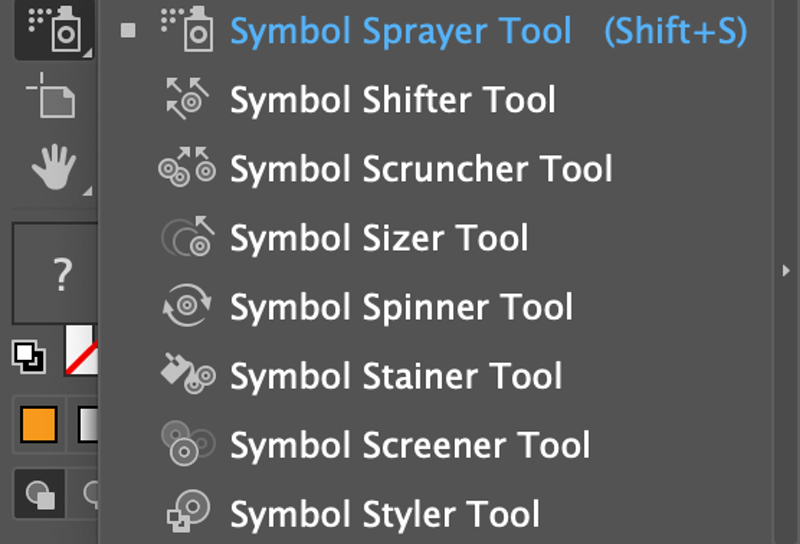
Click on the artboard to add more splatters.

Looking too “perfect”? If this is not the effect you’re looking for, you can make another type of splatter without the drop shadow. Instead, you can use the Wrinkle Tool to distort the circle and then use the Symbol Splatter Tool to make the paint splatter effect.
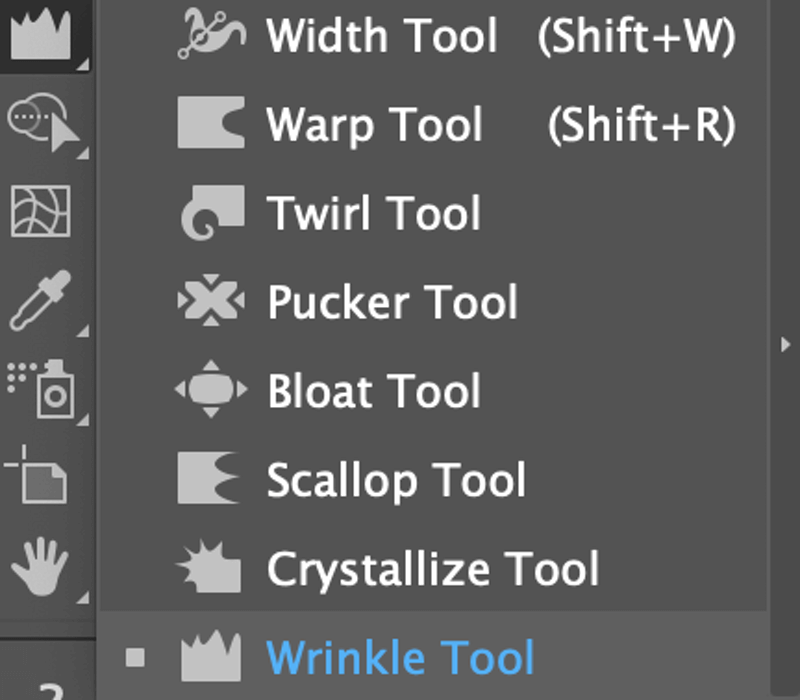
So in Step 2, instead of adding a drop shadow, go to the toolbar, click and hold on the Width Tool to choose the Wrinkle Tool.
Draw over the perfect circle(s) you create to make the edges wrinkly.
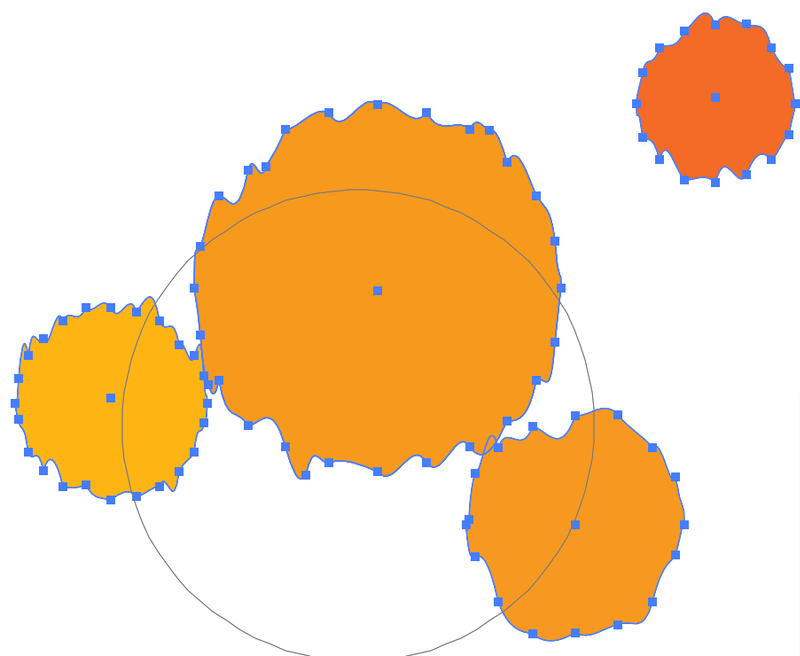
Then use the same step to add the shapes as a symbol and use the Symbol Sprayer Tool to create a paint splash effect.

How to Make a Splatter Brush in Adobe Illustrator
Instead of making the vector splatter a symbol, you can also make it a brush, and guess what? The idea is basically the same.
Once you have the vector ready, for example, wrinkled circles, simply drag them to the Brushes panel instead of the Symbols panel to make a splatter brush.
When you drag the vectors to the Brushes panel it will ask you what type of brush you want to create. You can choose either Scatter Brush or Art Brush. The scatter brush allows you to draw a path, and the art brush is more like adding stamps.
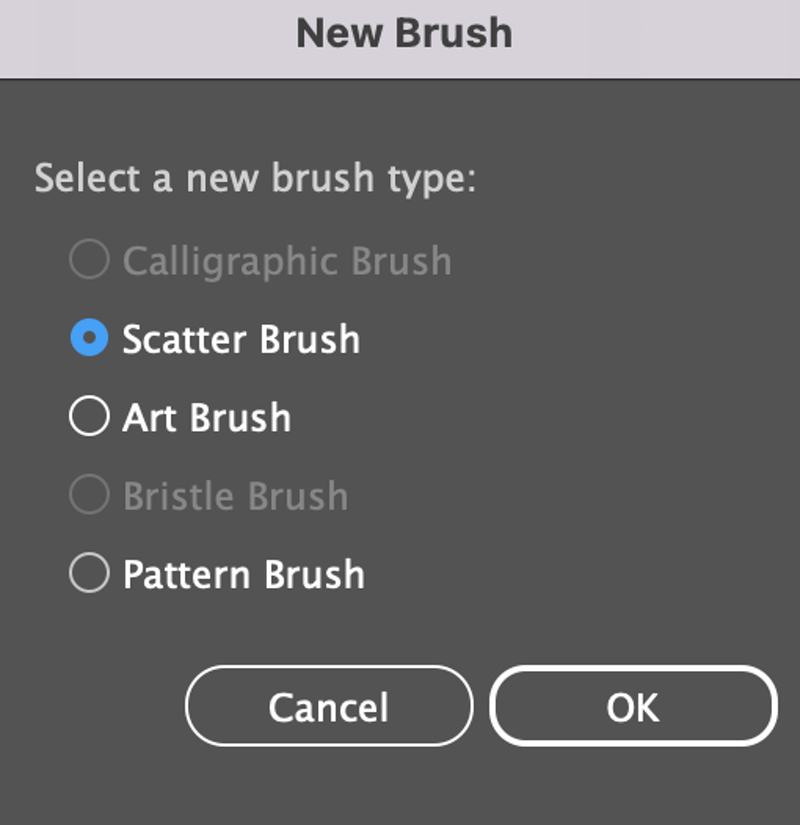
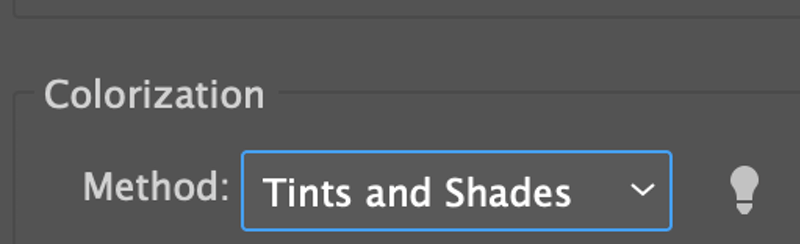
Choose either one and click OK. Depending on the brush type you choose, you can adjust the brush settings accordingly. Remember to change the color settings to Tints and Shades so that you can change the brush color later on.
I’ve made both a scatter brush and an art brush, as you can see, the new brushes will show on the Brushes panel.

Now you can select it and use the Paintbrush to draw with your splatter brush!

Wrapping Up
The easiest way to make paint splatters in Illustrator is by using ink brushes which create watercolor splash effects. However, if you want to make a vector paint splatter, you can start with a circle, and add shadows or wrinkles depending on the effect you want.
What’s your favorite splatter paint effect? Got other ways to make it? Feel free to share your ideas in the comments! 🙂