The quickest way to turn an image into a vector in Adobe Illustrator is by using Image Trace. You can use this method to vectorize a logo or any raster images. However, when the image background has complex colors, it’s easier to outline the logo or object using the Pen Tool.
Actually, many vectors and logos are made by vectorizing a raster image because it’s much easier than drawing from scratch. I’ve been working as a graphic designer for ten years. I found that the best way to practice making vector graphics is by tracing them using the Pen Tool.
In this tutorial, I’ll show you two ways to convert a raster image into a vector image using the Pen Tool and Image Trace.
Let’s get started with the easier option, Image Trace.
Note: the screenshots from this tutorial are taken from Adobe Illustrator CC Mac version. Windows or other versions can look different. When using keyboard shortcuts, Windows users change the Command key to Ctrl, and Option key to Alt.
Method 1: Image Trace
This is the easiest way to vectorize a raster image when the image isn’t too complex or you don’t need the image to be exactly the same.
For example, you want to add a YouTube logo to your banner but you have the logo file in JPEG or PNG format. Now you need to convert the JPEG/PNG into a vector.
Before jumping into the steps, here’s a quick explanation of the differences between a raster and vector image in case you didn’t know.
Step 1: Open the YouTube logo raster image in Adobe Illustrator.

Step 2: Select the image, and you will see the Image Trace option under the Properties > Quick Actions panel.
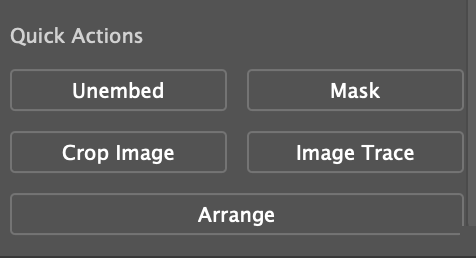
Click on the Image Trace option.
Step 3: Depending on the colors of the logo, choose the Image Trace preset. For example, the YouTube logo only has three colors, so I’m going to choose 3 Colors. The logo is vectorized, but there’s more you can do.

For example, we can get rid of the white background under the logo. I know, you can’t see it on a white Artboard, but if you add a color behind the YouTube logo, you’ll see it.

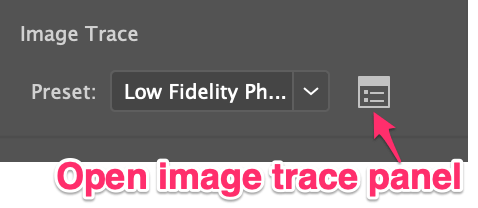
Here’s a trick, when your image background is white, you can open the Image Trace panel right next to the Preset under the Properties panel.

Then open the Advance settings, and click Ignore White.
If you’re not familiar with the Image Trace panel or options, here’s a quick step-by-step guide: How to Use Image Trace in Illustrator.

This option removes the white color on the vectorized image. But we have a problem here, it removed the white color on the play button as well.

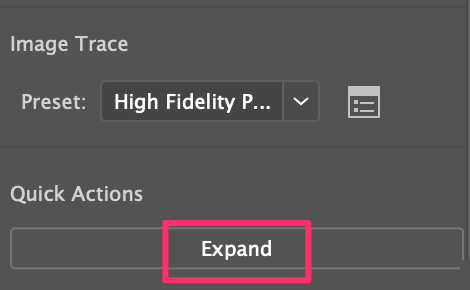
There’s another solution. You can select the image, and click on the Expand button under Quick Actions.

Select the logo again, right-click, and choose Ungroup.

Select the white background, and hit the Delete key.

You might see some white parts that haven’t been removed. Hold the Shift key to select the areas you want to remove, and hit Delete again.

All good. That’s a quick way to vectorize a logo in Illustrator.

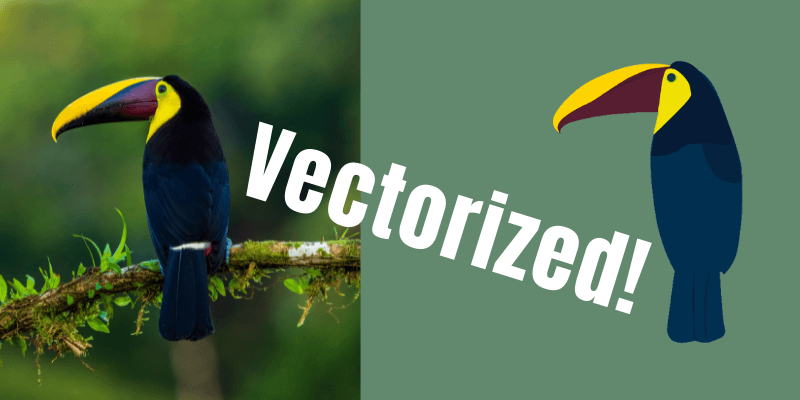
Now I’m going to show you an example of a more complex image.
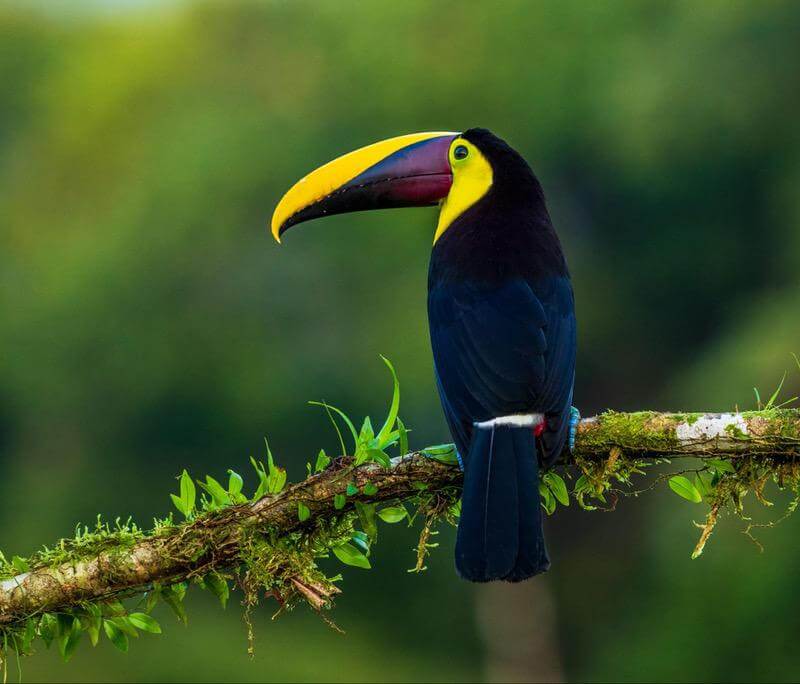
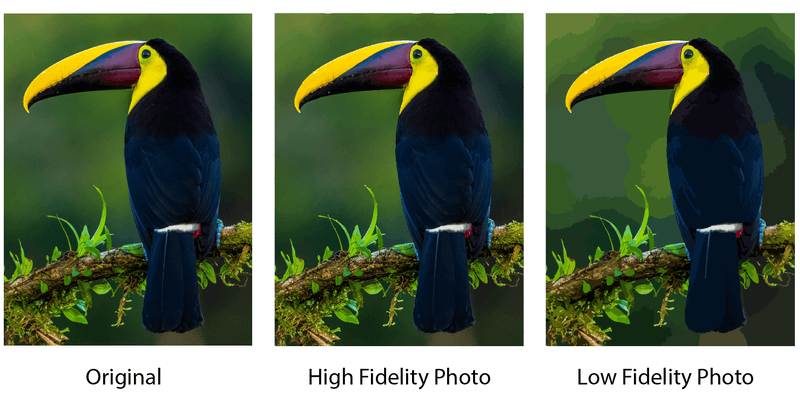
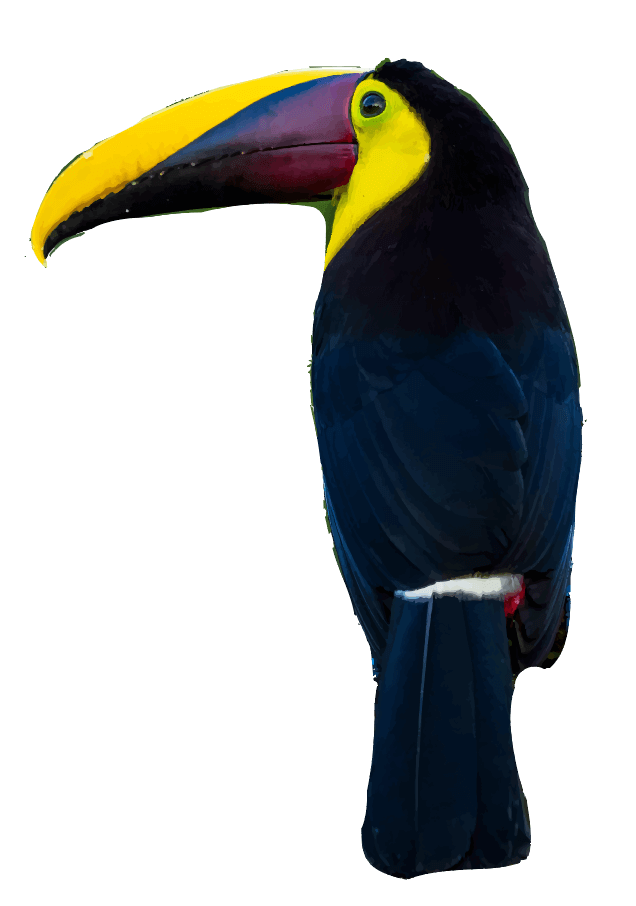
Step 1: Place the raster image in Adobe Illustrator and embed the image. I’m going to use this bird image to demonstrate.
Step 2: Click on the Crop Image option and crop the image to the size and area that you want to vectorize. Click Apply.

Step 3: Click Image Trace and choose an option for how you want to trace the image.
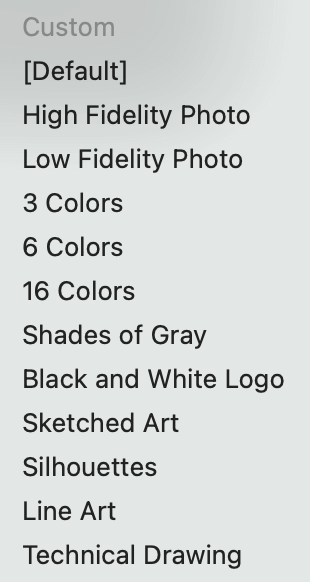
The closest look to the original image that you’ll get is a High Fidelity Photo. Low Fidelity Photo will give a more cartoony look.
Feel free to try out other options as well if you want to create different results. You can also adjust some detail settings from the Image Trace panel.
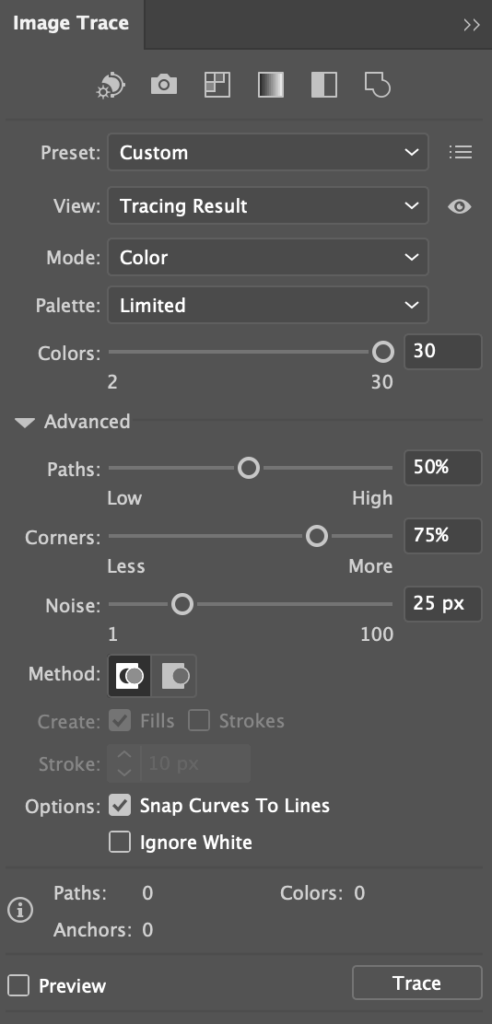
Click on the small panel icon next to the tracing result. If your Ai version doesn’t show this option, you can open the panel from the overhead menu Window > Image Trace.
Feel free to explore other tracing options.
Step 4: Click Expand and your image is vectorized!
When you select the image, it’ll look like this.
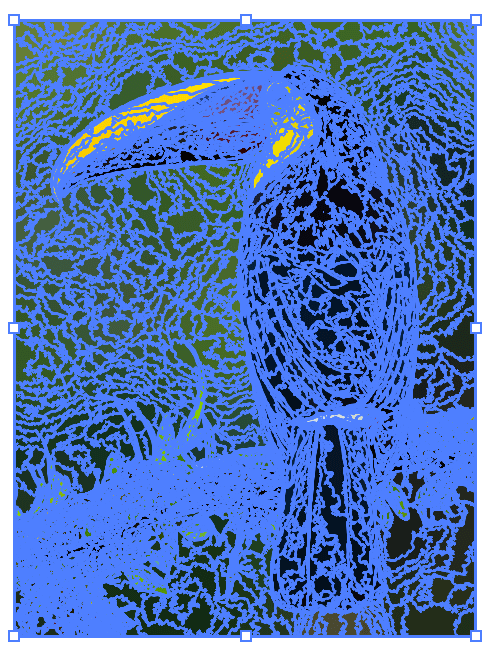
You can ungroup the image to edit it. For example, you can delete the background, leaving only the bird. Use the Eraser Tool to erase or simply select the unwanted area and hit the Delete key.
When the background is complex (like this example), it can take you some time to remove it, but If your background color has only a few colors, you can select all of the same colors and delete them.
What if you want to create a vector from a raster image?
You could try the Black and White logo option from Image Trace, but the outlines might not be very accurate. The perfect tool to vectorize in this case would be the pen tool.
Method 2: Pen Tool
You can convert a raster image into a simple outline, silhouette, or fill it with your favorite color and make it a vector graphic.
Let’s vectorize the same image from Method 1 using the Pen Tool.
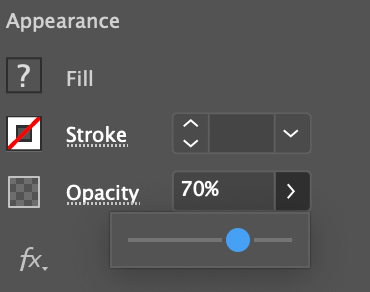
Step 1: Select the image and lower the opacity to about 70%.
Step 2: Lock the image layer so you won’t move it by accident as you work.
Step 3: Create a new layer and use the pen tool to draw/trace different parts of the image. Select the Pen Tool from the toolbar, choose a stroke color, and change the Fill to None.
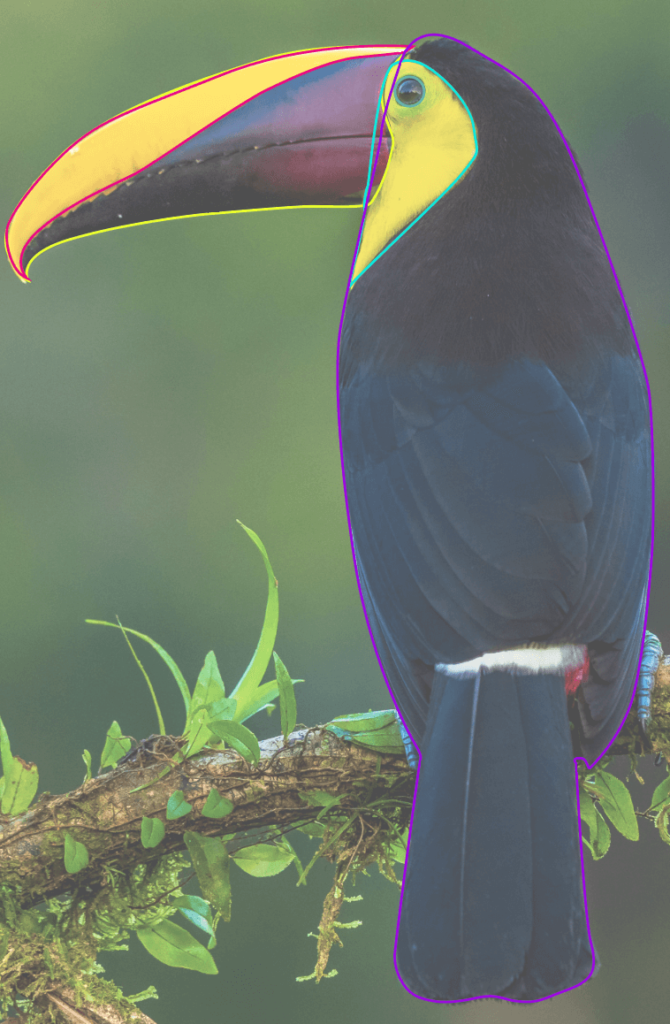
Useful tips: Use different stroke colors for different color areas and lock each path when you finish closing the path. I recommend choosing a bright stroke color so that you can see the path that you’re working on.
Now you can unlock the paths and color the image.
Step 4: Use the Eyedropper Tool (keyboard shortcut I) to sample colors from the original image and apply them to the vector image.

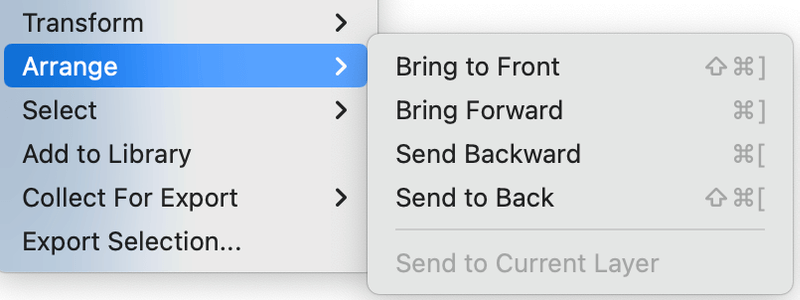
If some areas are not showing, right-click and arrange the color areas until you get the right order.
Feel free to add more details to the vector if you like.

Don’t want to use the same colors? You can get creative and make something totally different.

If the path and color areas are not aligning well, you can use the Direct Selection Tool or Eraser Tool to clean up and finalize the vector image.
Conclusion
The quickest way to vectorize an image is using the Image Trace feature. Choose the High Fidelity Photo option will get you a vector image most similar to the original raster image. If you want to make a vector graphic, the pen tool would be a better choice because you have more flexibility to make it your style.
Rah
Hello your work is so amazing
Thank you for sharing such insightful tip.
I would like to know if you can guide me with saving files to have high quality but small file size.
June Escalada
Hi Rah,
What are you using the image for? There are several ways to reduce file size. This article has more details: https://illustratorhow.com/reduce-ai-file-size/