Here’s an easy-to-catch explanation of color separation: It’s a process to separate the colors of the artwork and put each color component into its own layer.
Usually, we use color separation to prepare artwork for screen printing. Having each color on its own layer is crucial when it comes to screen printing because the result can be more accurate. Whenever I create graphics for T-shirts, I always do this process before sending them to print.
Adobe Illustrator is a great tool to separate colors into layers for screen printing as a vector software program because it allows you to resize and print without losing the image quality. Plus, the steps are simple.
In this tutorial, you’ll learn how to separate colors in Adobe Illustrator and some other color tricks.
Let’s jump into the topic.
Separating Colors into Different Layers in Adobe Illustrator
I’m going to show you how to separate the colors with an example of this vector image.
Tips: If you want to separate colors from a graphic that you downloaded, you can use Image Trace to vectorize the image first. Don’t forget to expand the image so that you can select the colors 😉

Note: all screenshots are taken from the Adobe Illustrator CC Mac version. Windows or other versions can look different.
Before getting into the steps, have the Layers and Swatches panels ready. You can open the panels from Window > Layers, and Window > Swatches.

As you can see, there’s only one layer in this document and all the colors are on the same layer. The idea is to divide each color into a separate layer. Follow the steps below to see how it works.
Step 1: Select one of the colors from the vector. If your artwork is grouped, ungroup it first. For example, I selected the lighter orange color.
Note: if your artwork includes text, make sure to outline the text first.

Step 2: Go to the overhead menu Select > Same > Fill Color (or FIll & Stroke if your artwork has stroke colors).
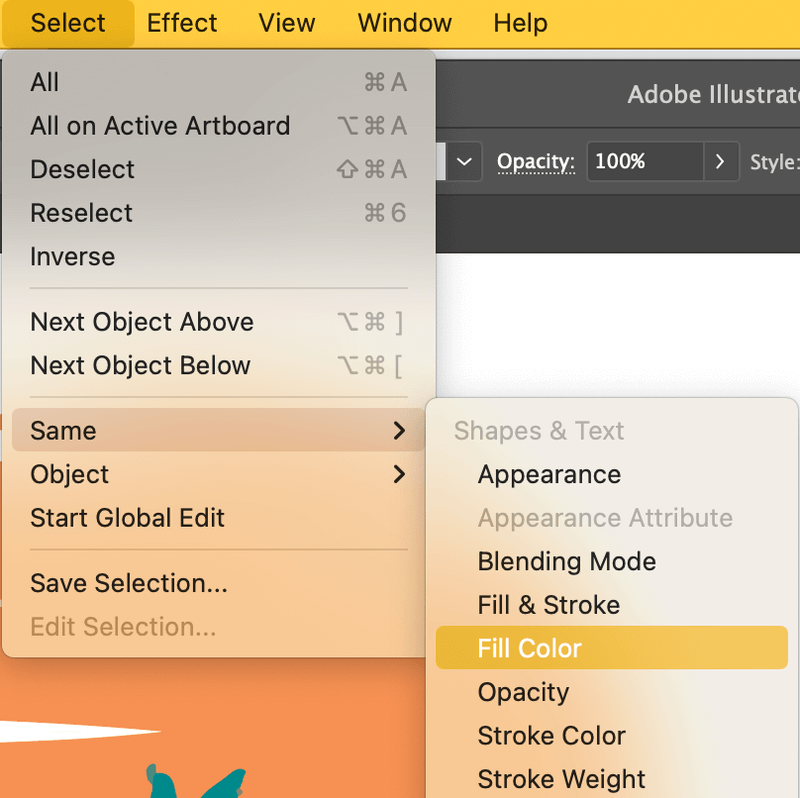
There are only two areas with the same orange color in this artwork, and you’ll see them both selected.

It’s highly recommended to group the selected color.
Step 3: Copy the selected color. You can use the keyboard shortcut Command + C, or Ctrl + C for Windows users.
Step 4: Go to the Layers panel and create a new layer.
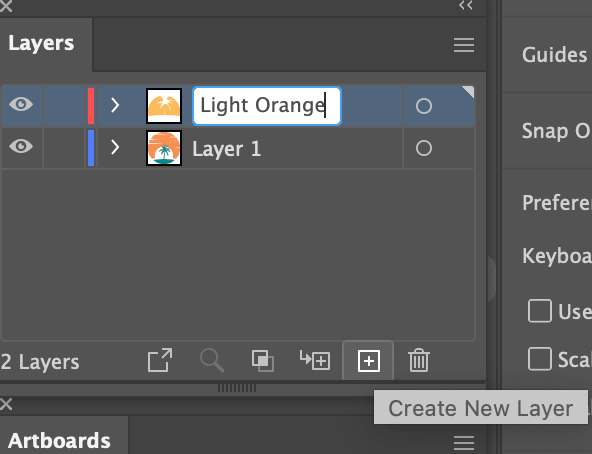
Step 5: Paste the selected color on the new layer and give it a name.
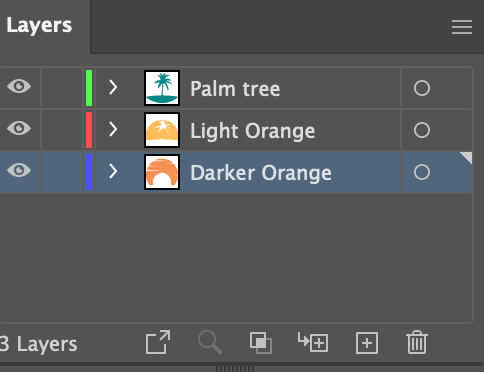
Repeat the same steps to create a new layer for the other orange color and green.
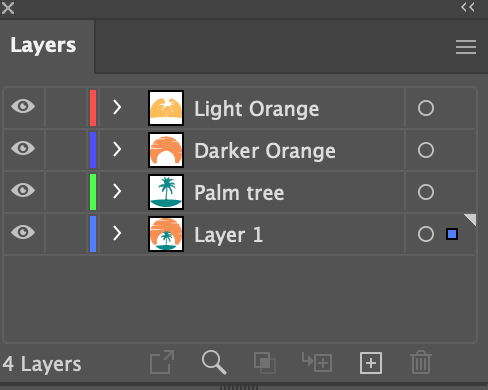
Once you’ve separated the colors into different layers, you can delete the original Layer 1, leaving only the layers with the colors of your artwork.
Step 6: Put together your artwork. When you copy and paste, the color parts might not paste in place of the original artwork, so you might need to arrange positions again.

That’s why I recommend grouping the same color, it’ll be easier for you to move the color (object) together.
So this is how you separate colors in Adobe Illustrator.
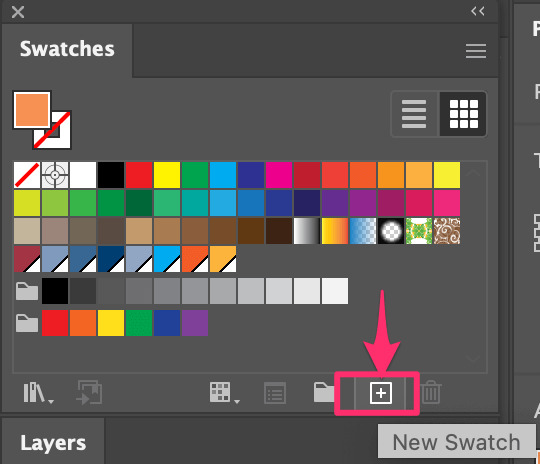
If you want to change the color mode to spot color, select a color, go to the Swatches panel, and click the New Swatch button.
A New Swatch setting should pop up and you can change the Color Type to Spot Color.
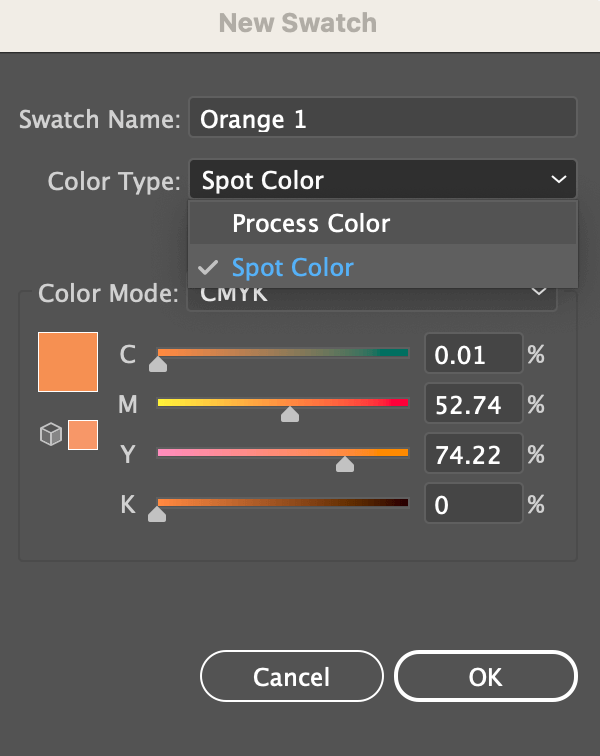
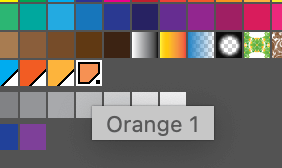
You can give it a name and click OK. Naming the color will help you find it easier on the Swatches panel.
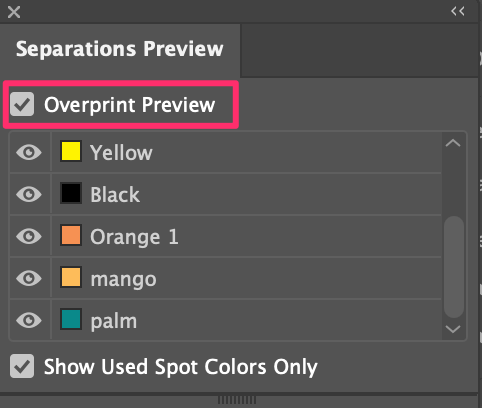
You can double-check your colors on the Separations Preview panel from Window > Separations Preview. And if you check the Overprint Preview box, you’ll see the colors of your artwork.
Tip: CMYK colors are awesome for printing, but Pantone colors are even better. You can also convert CMYK colors to Pantone colors 😉
FAQs
More questions about working with colors in Adobe Illustrator? See if you can find some answers below.
How do you use a Color Picker?
The Color Picker in Adobe Illustrator is used for choosing fill or stroke colors. You can switch between Color Models or Color Swatches when you choose a color.
Color Models mode gives you more freedom to select a color while Swatches gives you ideas and ready-to-use color options. If you have a color hex code, you can also input the code directly.
How do you change all of one color in Illustrator?
First of all, you’ll need to select all of the same color. Choose one sample color, go to the overhead menu Select > Same > Fill Color (or other attributes depending on your artwork). Group the colors, and then choose a new fill/stroke color.
Should I use CMYK or RGB in Illustrator?
Actually, you should use both CMYK and RGB color modes. Depending on what your project is. For example, RGB is best for digital design and CMYK is best for print design. Choose accordingly.
What is the difference between spot color and process color in Illustrator?
Skipping the literal explanation. Spot colors are specific premixed colors and process colors blend together four ink colors to create different colors. For example, CMYK colors are process colors and Pantone colors are spot colors.
Conclusion
The basic idea of color separation in Adobe Illustrator is putting different colors on different layers. When you have more than one part with the same color, use the Select > Same tool and it’s important to group the color.
Again, I recommend changing the color type to spot color for screen printing.
Let me know if you run into any trouble separating colors in Adobe Illustrator.
Asimwe Enos
Thanks so much