You can easily design and create your customized sticker sheets in Adobe Illustrator. All you need to do is to design graphics for the sticker and add a sticker cut line to get your sticker sheet ready for print.
When you design a sticker sheet, it’s important to keep the style and colors consistent. You should also arrange the sticker graphics layout nicely.
In this tutorial, I’ll show you how to design and create a sticker sheet in Adobe Illustrator along with some sticker sheet styling tips.
There are three essential steps to make a sticker sheet in Adobe Illustrator. Follow along!
Note: All screenshots from this tutorial are taken from Adobe Illustrator CC Mac version. Windows or other versions can look different.
Step 1: Create Stickers
You can basically make any type of sticker in Adobe Illustrator, and depending on the sticker artwork, you can use different tools to make the stickers.
For example, if you want to make stickers from realistic images, you’ll be cutting out a raster image. And if you want to make a logo sticker or any vector graphic sticker, you can create shapes and text from scratch, or vectorize a raster image.
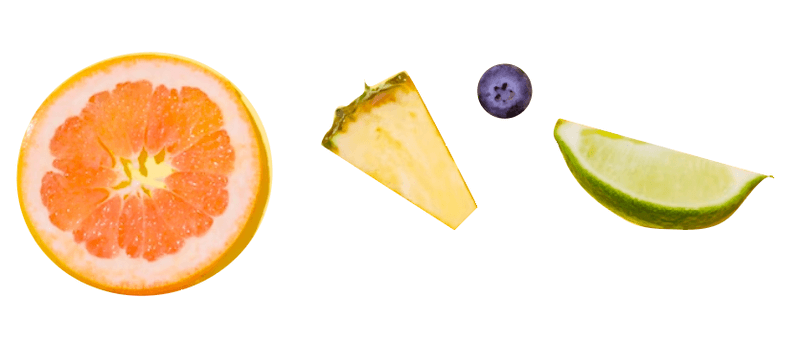
For example, I’ll show you two ways to make a sticker from this image.

How to make a sticker from a raster image in Adobe Illustrator
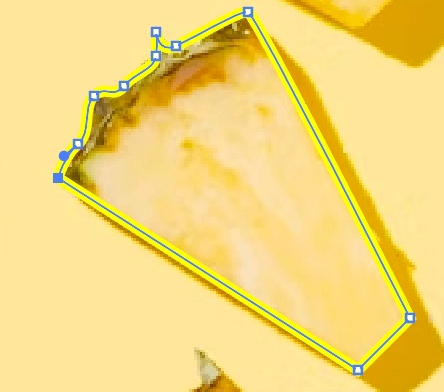
If you want to make a sticker from a raster image, you can trace the shape outline using the Pen Tool to create a clipping mask.
Step 1: Choose the Pen Tool (keyboard shortcut P) or basic shape tool from the toolbar. For example, if you want to cut off the orange shape, you can use the Ellipse Tool (keyboard shortcut L) instead of the Pen Tool to trace the shape outline.
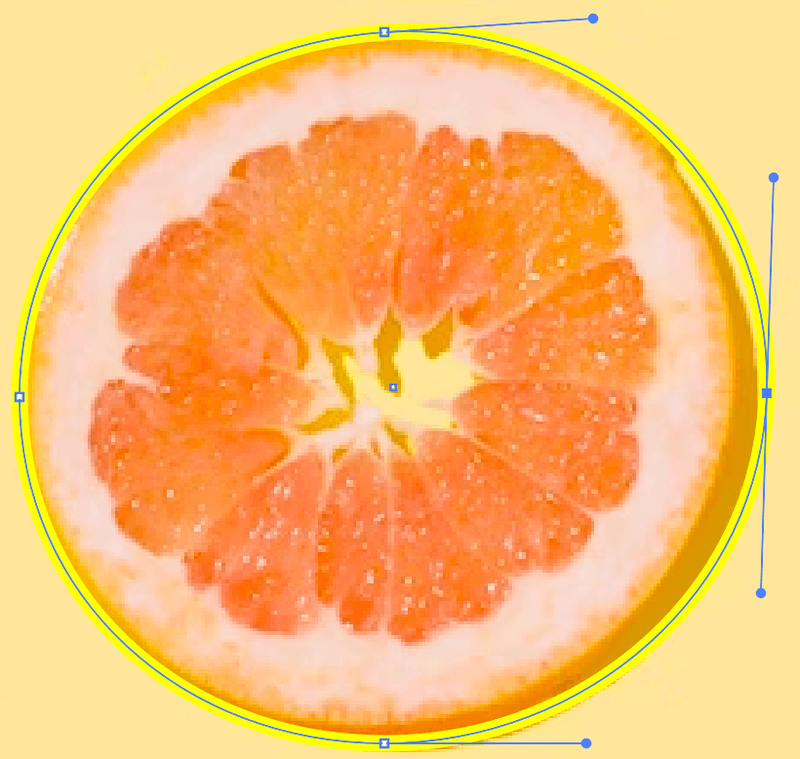
For more complex shapes, you do need to use the Pen Tool.
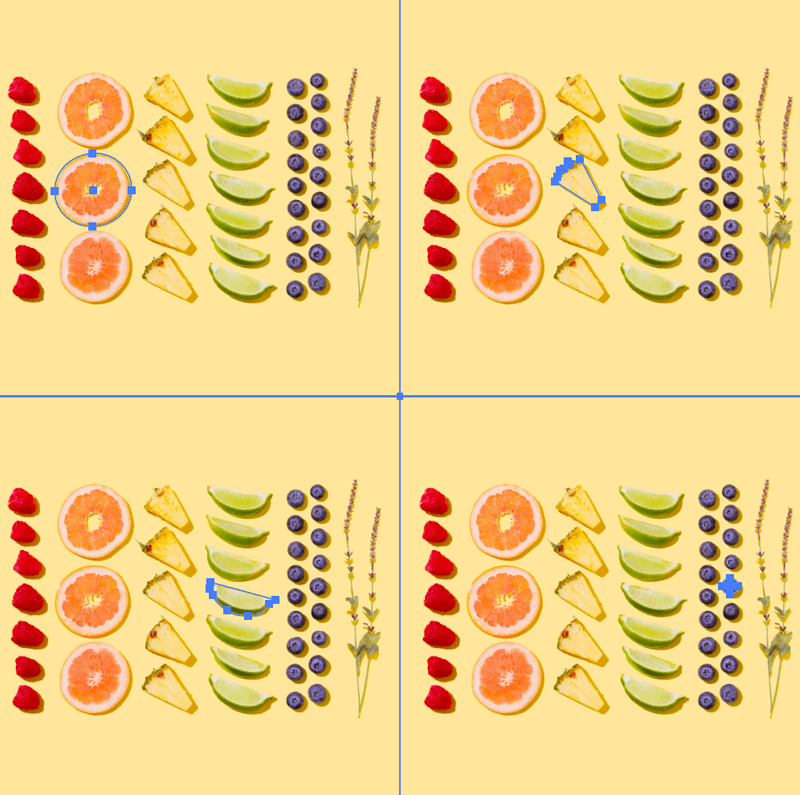
If you want to trace other shapes from the same image, you should duplicate the image several times because once you make the clipping mask, the background image disappears.
For example, I duplicated the image four times to trace out four shapes – the orange, pineapple, lime, and blueberry.
Step 2: Select the Pen Tool path or shape outline and the background image, right click and choose Make Clipping Mask (keyboard shortcut Command/Ctrl + 7).

You’ll cut out the orange shape.

Cut out the shapes one by one.
How to make stickers in Adobe Illustrator
Designing stickers is basically creating shapes in Adobe Illustrator. You can also create text stickers, but remember when you add text, you must create a text outline. There are many ways to make vector shapes. You can vectorize a raster image, and create shapes from scratch.
For example, I used the Image Trace feature to make these fruits.
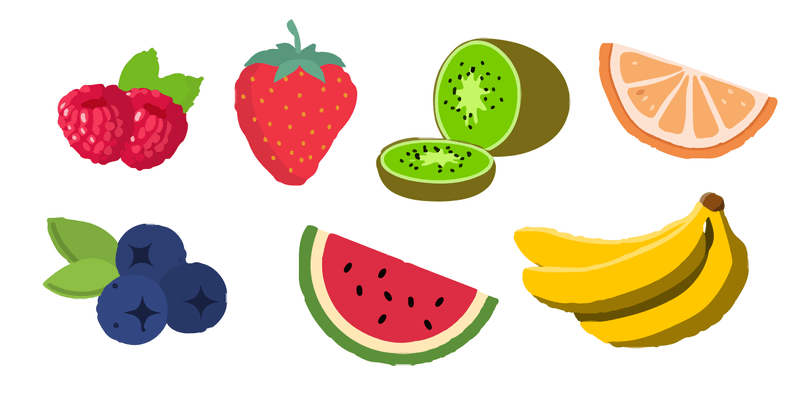
Then I added some text.

Since the colors of the artwork and text are not matching, I’ll play with the colors to make the overall look more consistent.
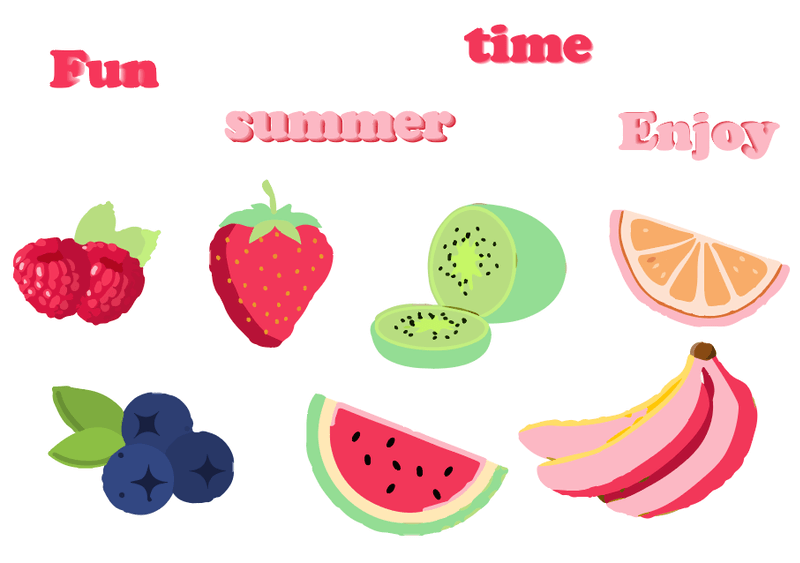
Tip: You can use the Eyedropper Tool or Recolor Artwork feature to make sample colors from the main color theme of your design.
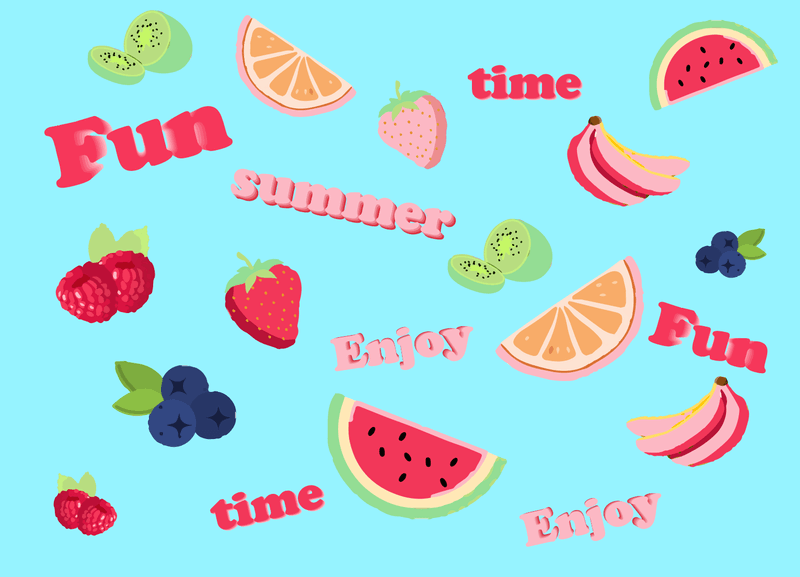
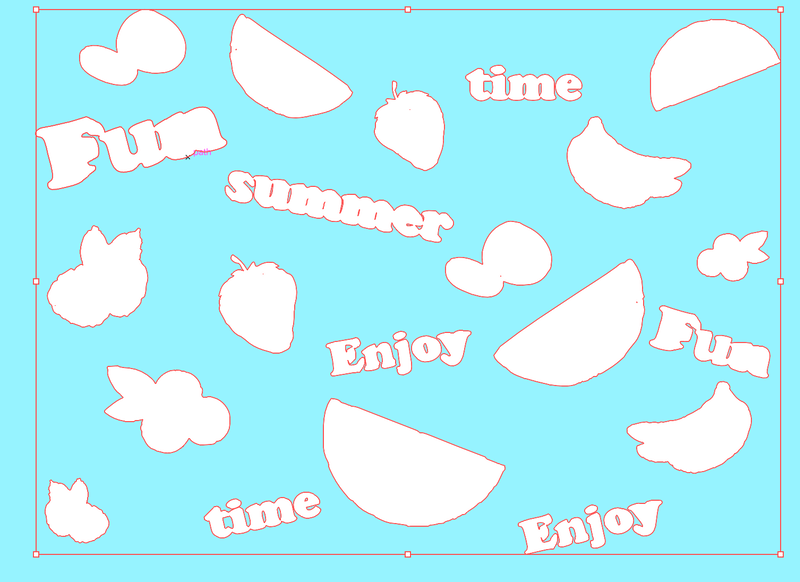
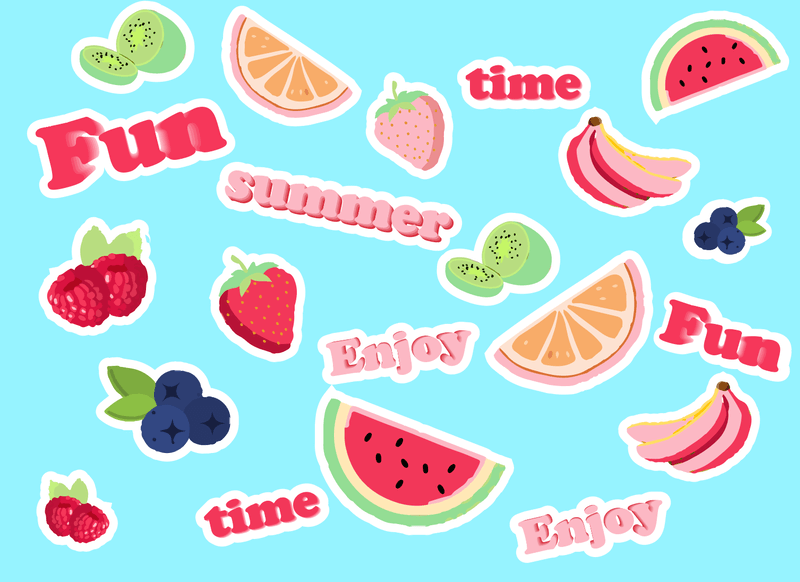
Step 2: Arrange the Sticker Layout
Now that you have your designs ready, the next step is to arrange the sticker layout so that they look good on the sticker sheet.

You can also add a background color to the sticker sheet. Simply choose the Rectangle Tool from the toolbar, create a rectangle the same size as the artboard, and fill it with a color you like.
Step 3: Create Sticker Die Cut Lines
Once you’ve created your stickers in Illustrator. You should add the sticker cut lines so that your artwork doesn’t get cut off when it’s peeled. You can make sticker cut lines by adding offset paths to your object.
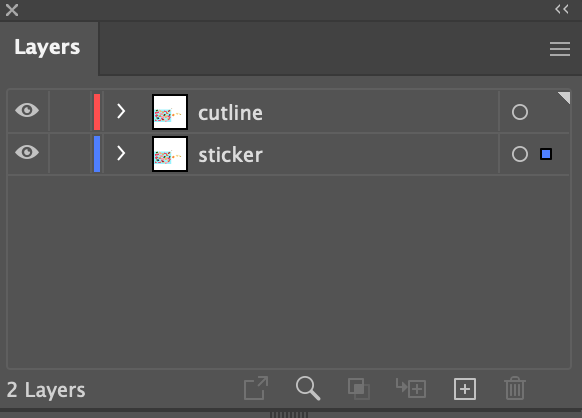
It’s highly recommended that you create the die-cut lines on a new layer. You can select all stickers, and duplicate the layer. If you have added a background color to your sticker sheet in Step 2, lock the rectangle using the keyboard shortcut Command/Ctrl + 2.
Select all the objects on the cutline layer, go to the Properties > Pathfinder panel, and click Unite.
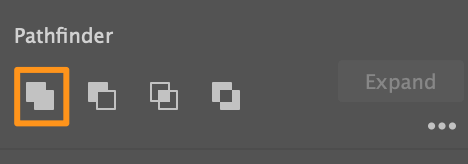
It will unite the detail and you will only see the shape of your design.
With the layer selected, go to the overhead menu Object > Path > Offset Path.
The Offset Path setting window will pop and you can change the settings.
The Offset value determines the space between the cut line and your artwork, so you can change it accordingly. Normally, for making stickers, the Joins setting is Round, but you can change it too. Miter Limit controls how far the points extend from the original path.
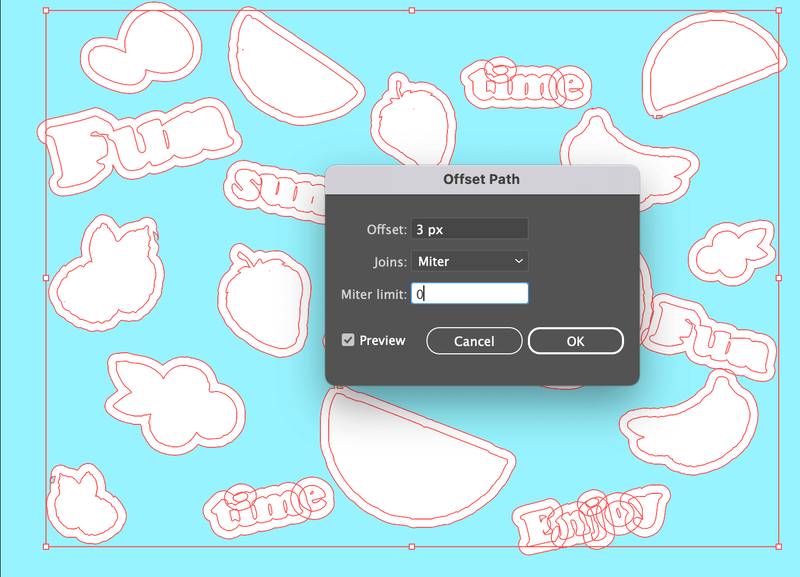
You can check the Preview box as you adjust the settings for the best result. Once you’re happy with the cut line area (shape), click OK.
Move the cutline layer under the sticker layer and you should see the cutline.
You can also add a stroke to the cut lines.
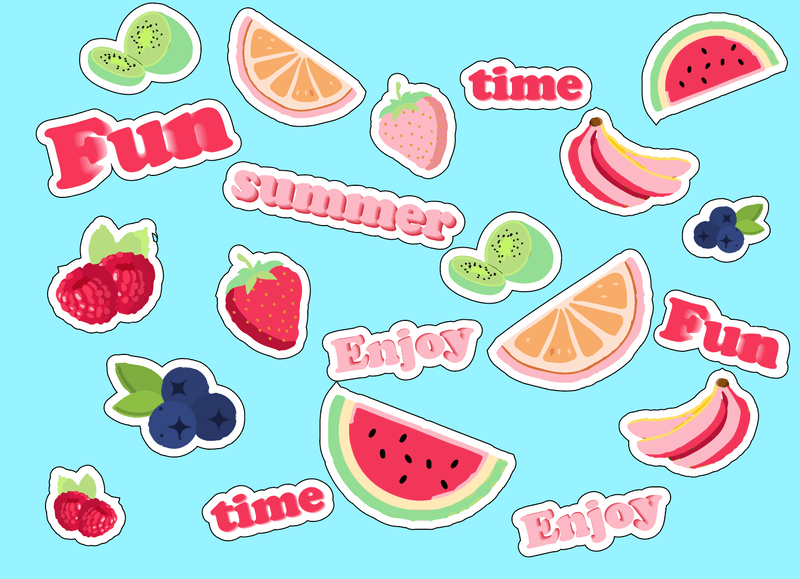
With the sticker die-cut lines, you won’t peel off the artwork on the sticker (at least you shouldn’t).
Wrapping Up
Making a sticker sheet in Adobe Illustrator is basically creating consistent designs and arranging the layout. Although is not a must, it’s always a good idea to add sticker cut lines so that the sticker design doesn’t get peeled off.